Widget embed
The script tag, every data attribute it accepts, how the widget resolves its chatbot and configuration, and the Shadow DOM isolation you get.
The fastest way to put Evoriqa on a page is the embed script. If you need your own interface instead, see Public endpoints.
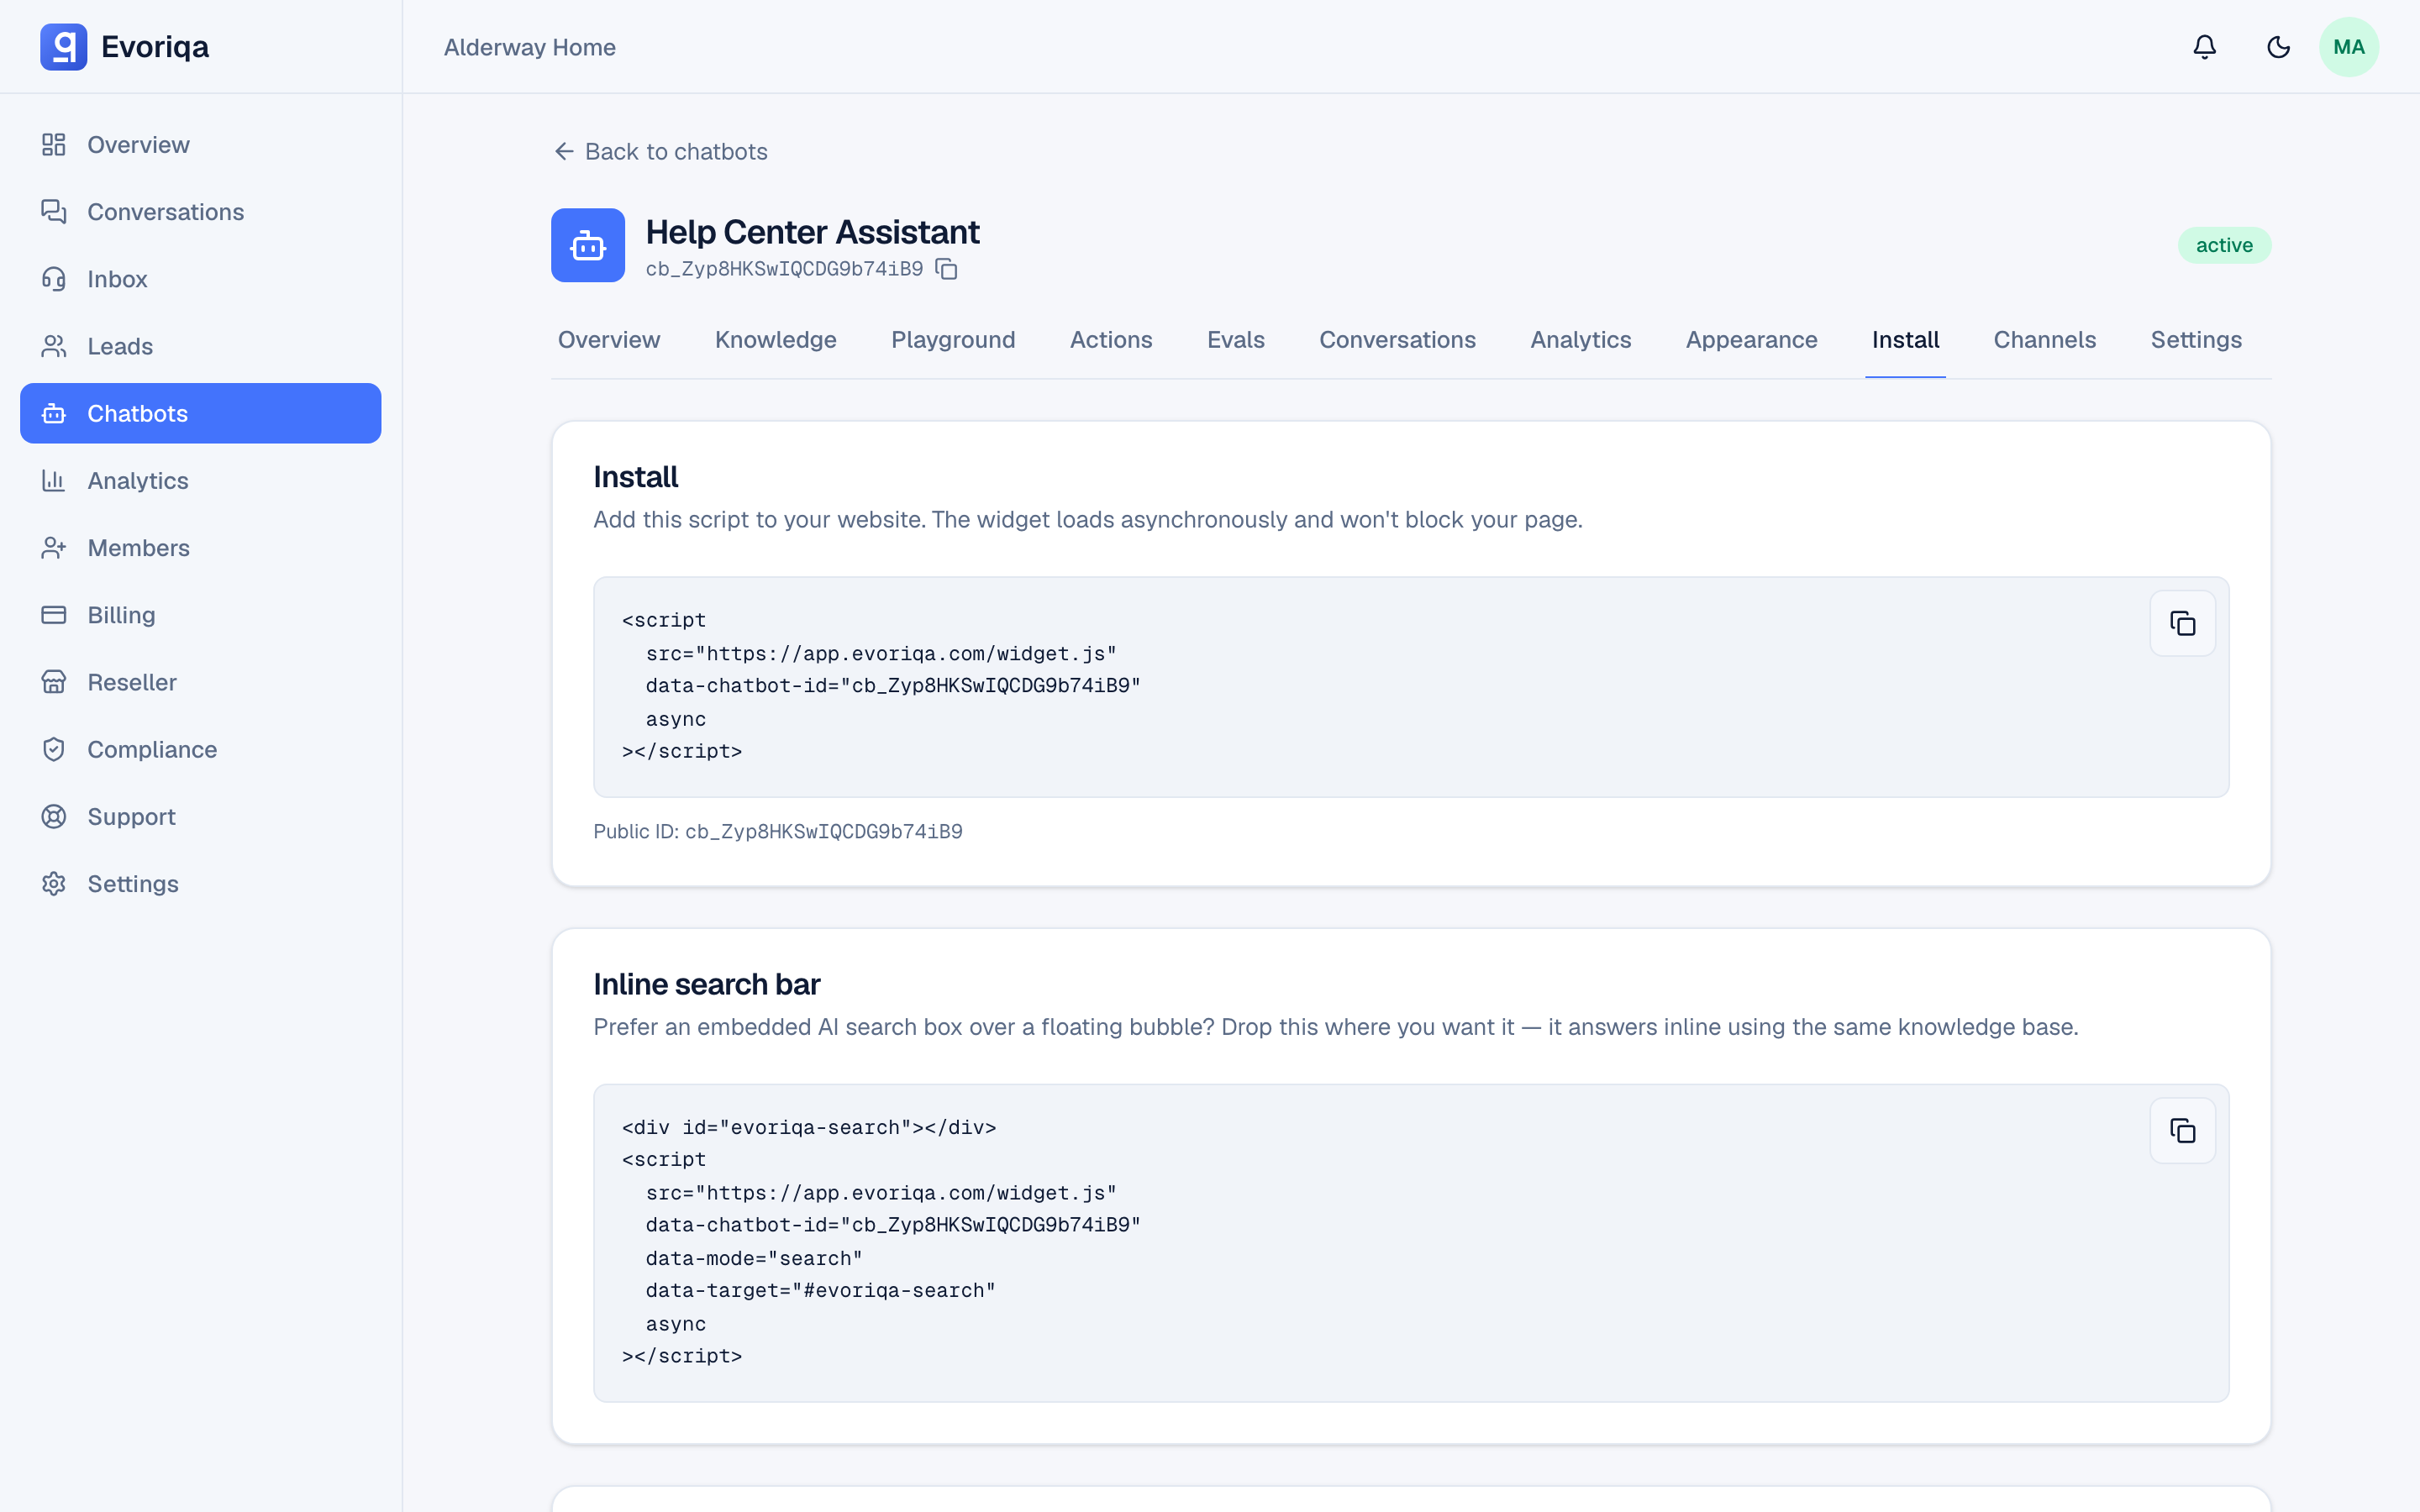
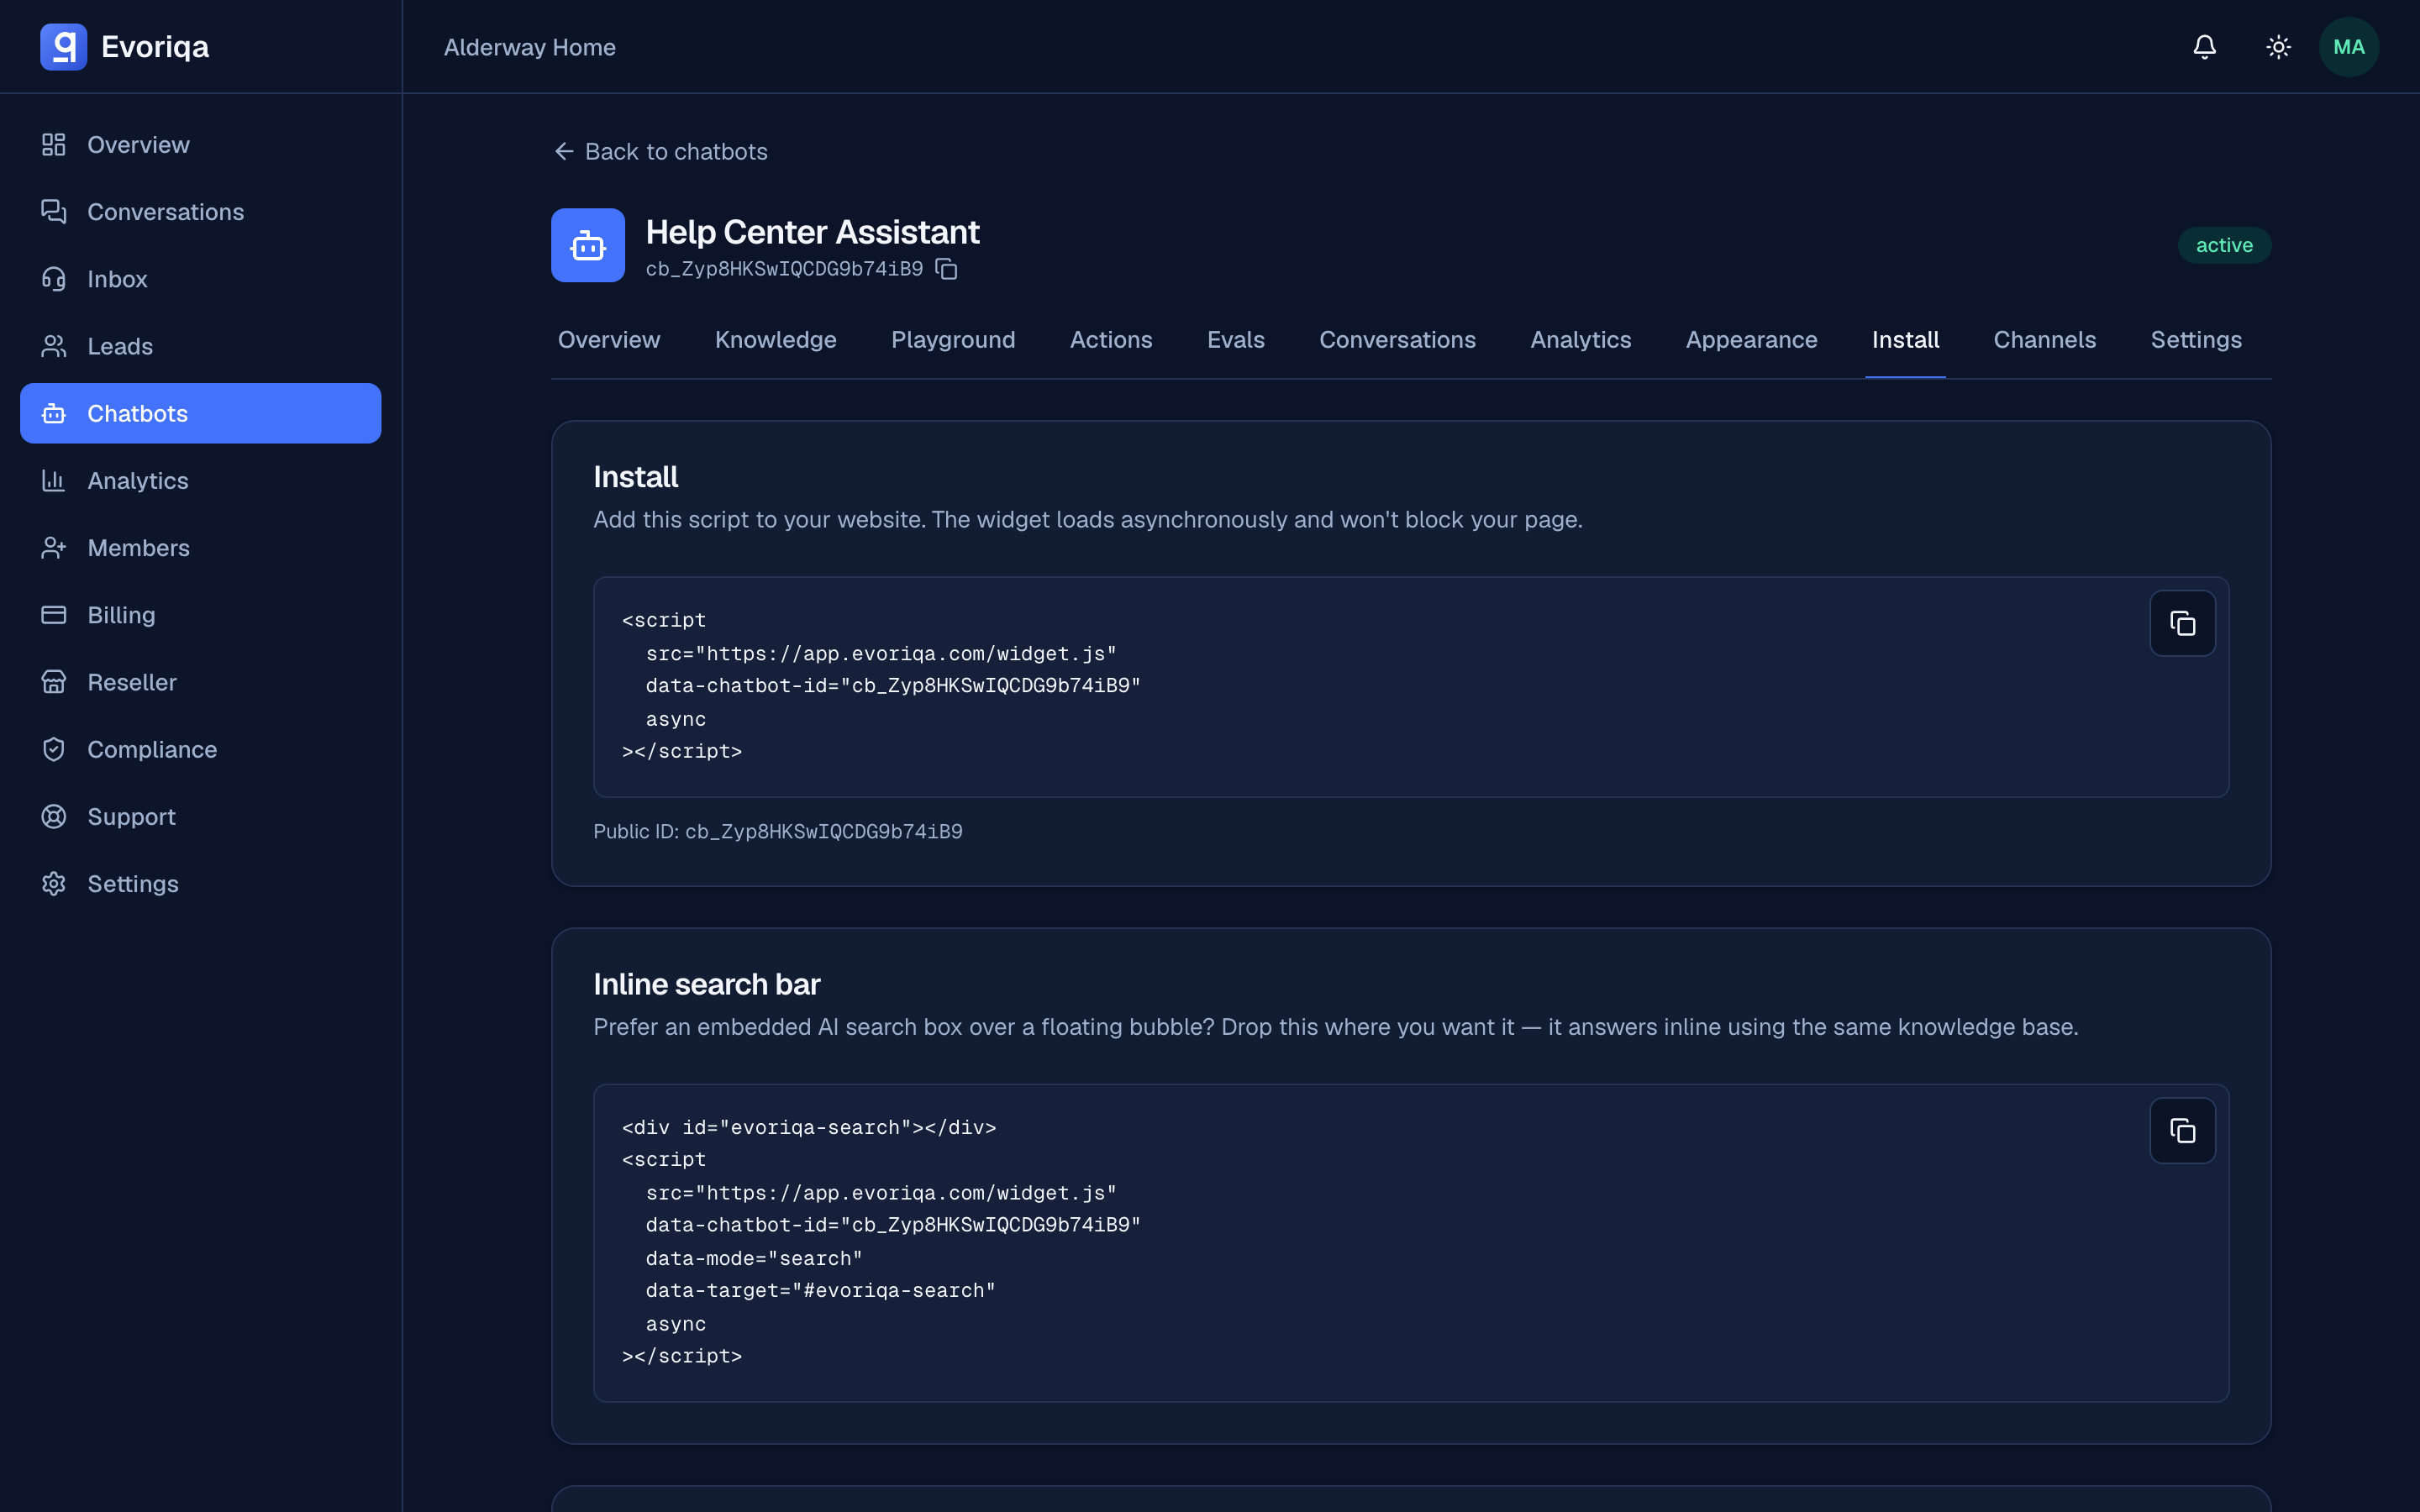
The script tag
<script
  src="https://app.evoriqa.com/widget.js"
  data-chatbot-id="cb_your_public_id"
  async
></script>Place it before the closing </body> tag on every page the widget should appear on.
Attributes
| Attribute | Required | Value |
|---|---|---|
data-chatbot-id | yes | The chatbot's public id, cb_…, from its Install tab |
data-position | no | bottom-right or bottom-left, overriding the saved setting |
data-mode | no | search renders an inline AI search bar instead of the bubble |
data-target | no | CSS selector where the search bar mounts, with data-mode="search" |
Without data-chatbot-id the script logs an error and does nothing:
[Evoriqa] Missing data-chatbot-id on the widget script.How it resolves a chatbot
- 1The script finds its own tag by the
data-chatbot-idattribute. - 2It requests that chatbot's public configuration.
- 3The request carries the page's
Origin, which is checked against the chatbot's allowed domains. A disallowed origin returnsDOMAIN_NOT_ALLOWEDand nothing renders. - 4The returned configuration — branding, greeting, suggested questions, lead capture, online/away state — drives the UI. It also carries the widget's resolved language, its text direction, and that language's UI strings; see Languages.
That configuration is cached for up to about a minute, so a settings change can take that long to appear; saving in the dashboard clears the cache.
Isolation
The widget renders inside a Shadow DOM. Your page's CSS cannot reach into it, and its styles cannot leak out. That is why appearance is configured through the dashboard's Appearance settings and its custom CSS field rather than through your own stylesheet.
The inline search bar
<div id="evoriqa-search"></div>
<script
  src="https://app.evoriqa.com/widget.js"
  data-chatbot-id="cb_your_public_id"
  data-mode="search"
  data-target="#evoriqa-search"
  async
></script>Same chatbot, same knowledge, answered inline instead of in a floating panel.
What the widget gives you for free
Conversation persistence across reloads, streaming replies, markdown rendering, a typing indicator, keyboard and screen-reader accessibility, per-answer thumbs feedback, an end-of-chat CSAT card, transcript download, an unread badge, retry on a failed send, the away state outside business hours, and — when booking is enabled — an in-chat scheduling calendar with an optional persistent "Book a meeting" chip.
Rebuilding those is the real cost of a custom frontend — worth knowing before you choose Public endpoints.
Where to go next
Last updated