Install the widget
The embed snippet, every attribute it accepts, where it goes in each framework and site builder, the inline AI search bar, and how to verify it.
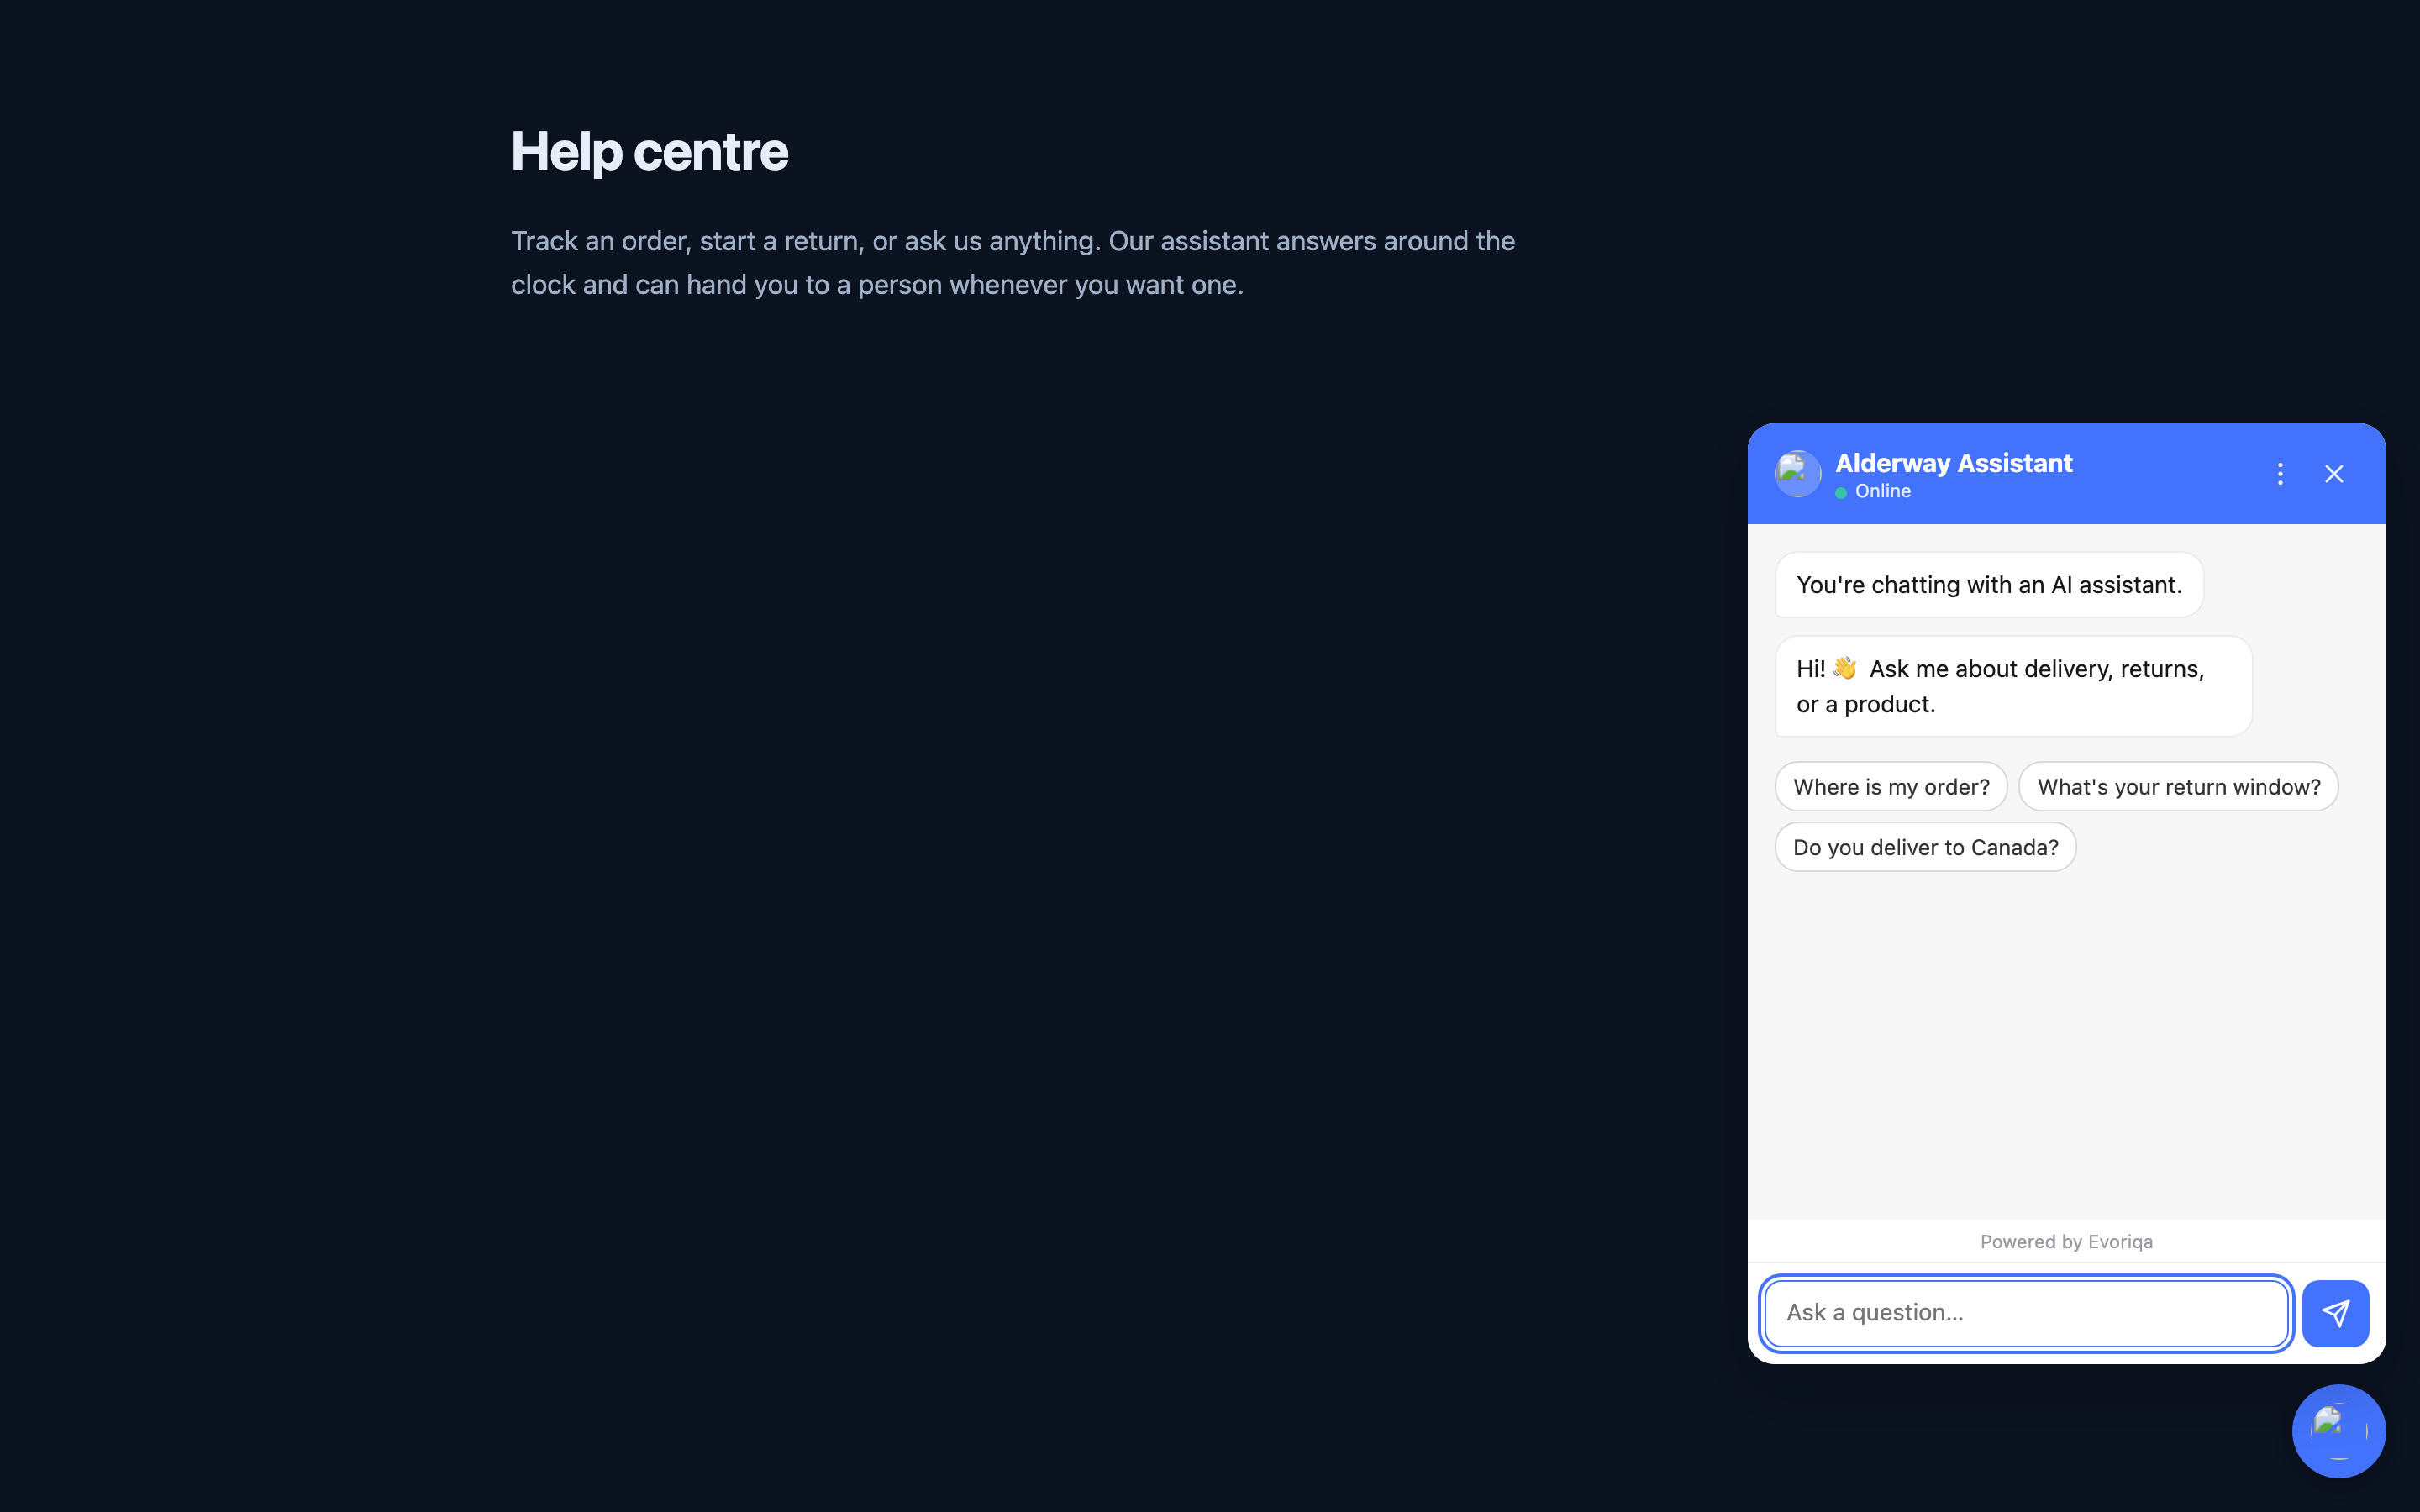
One <script> tag puts the chat widget on any site. It renders inside a Shadow DOM, so your page's CSS cannot affect the widget and the widget's cannot affect your page.
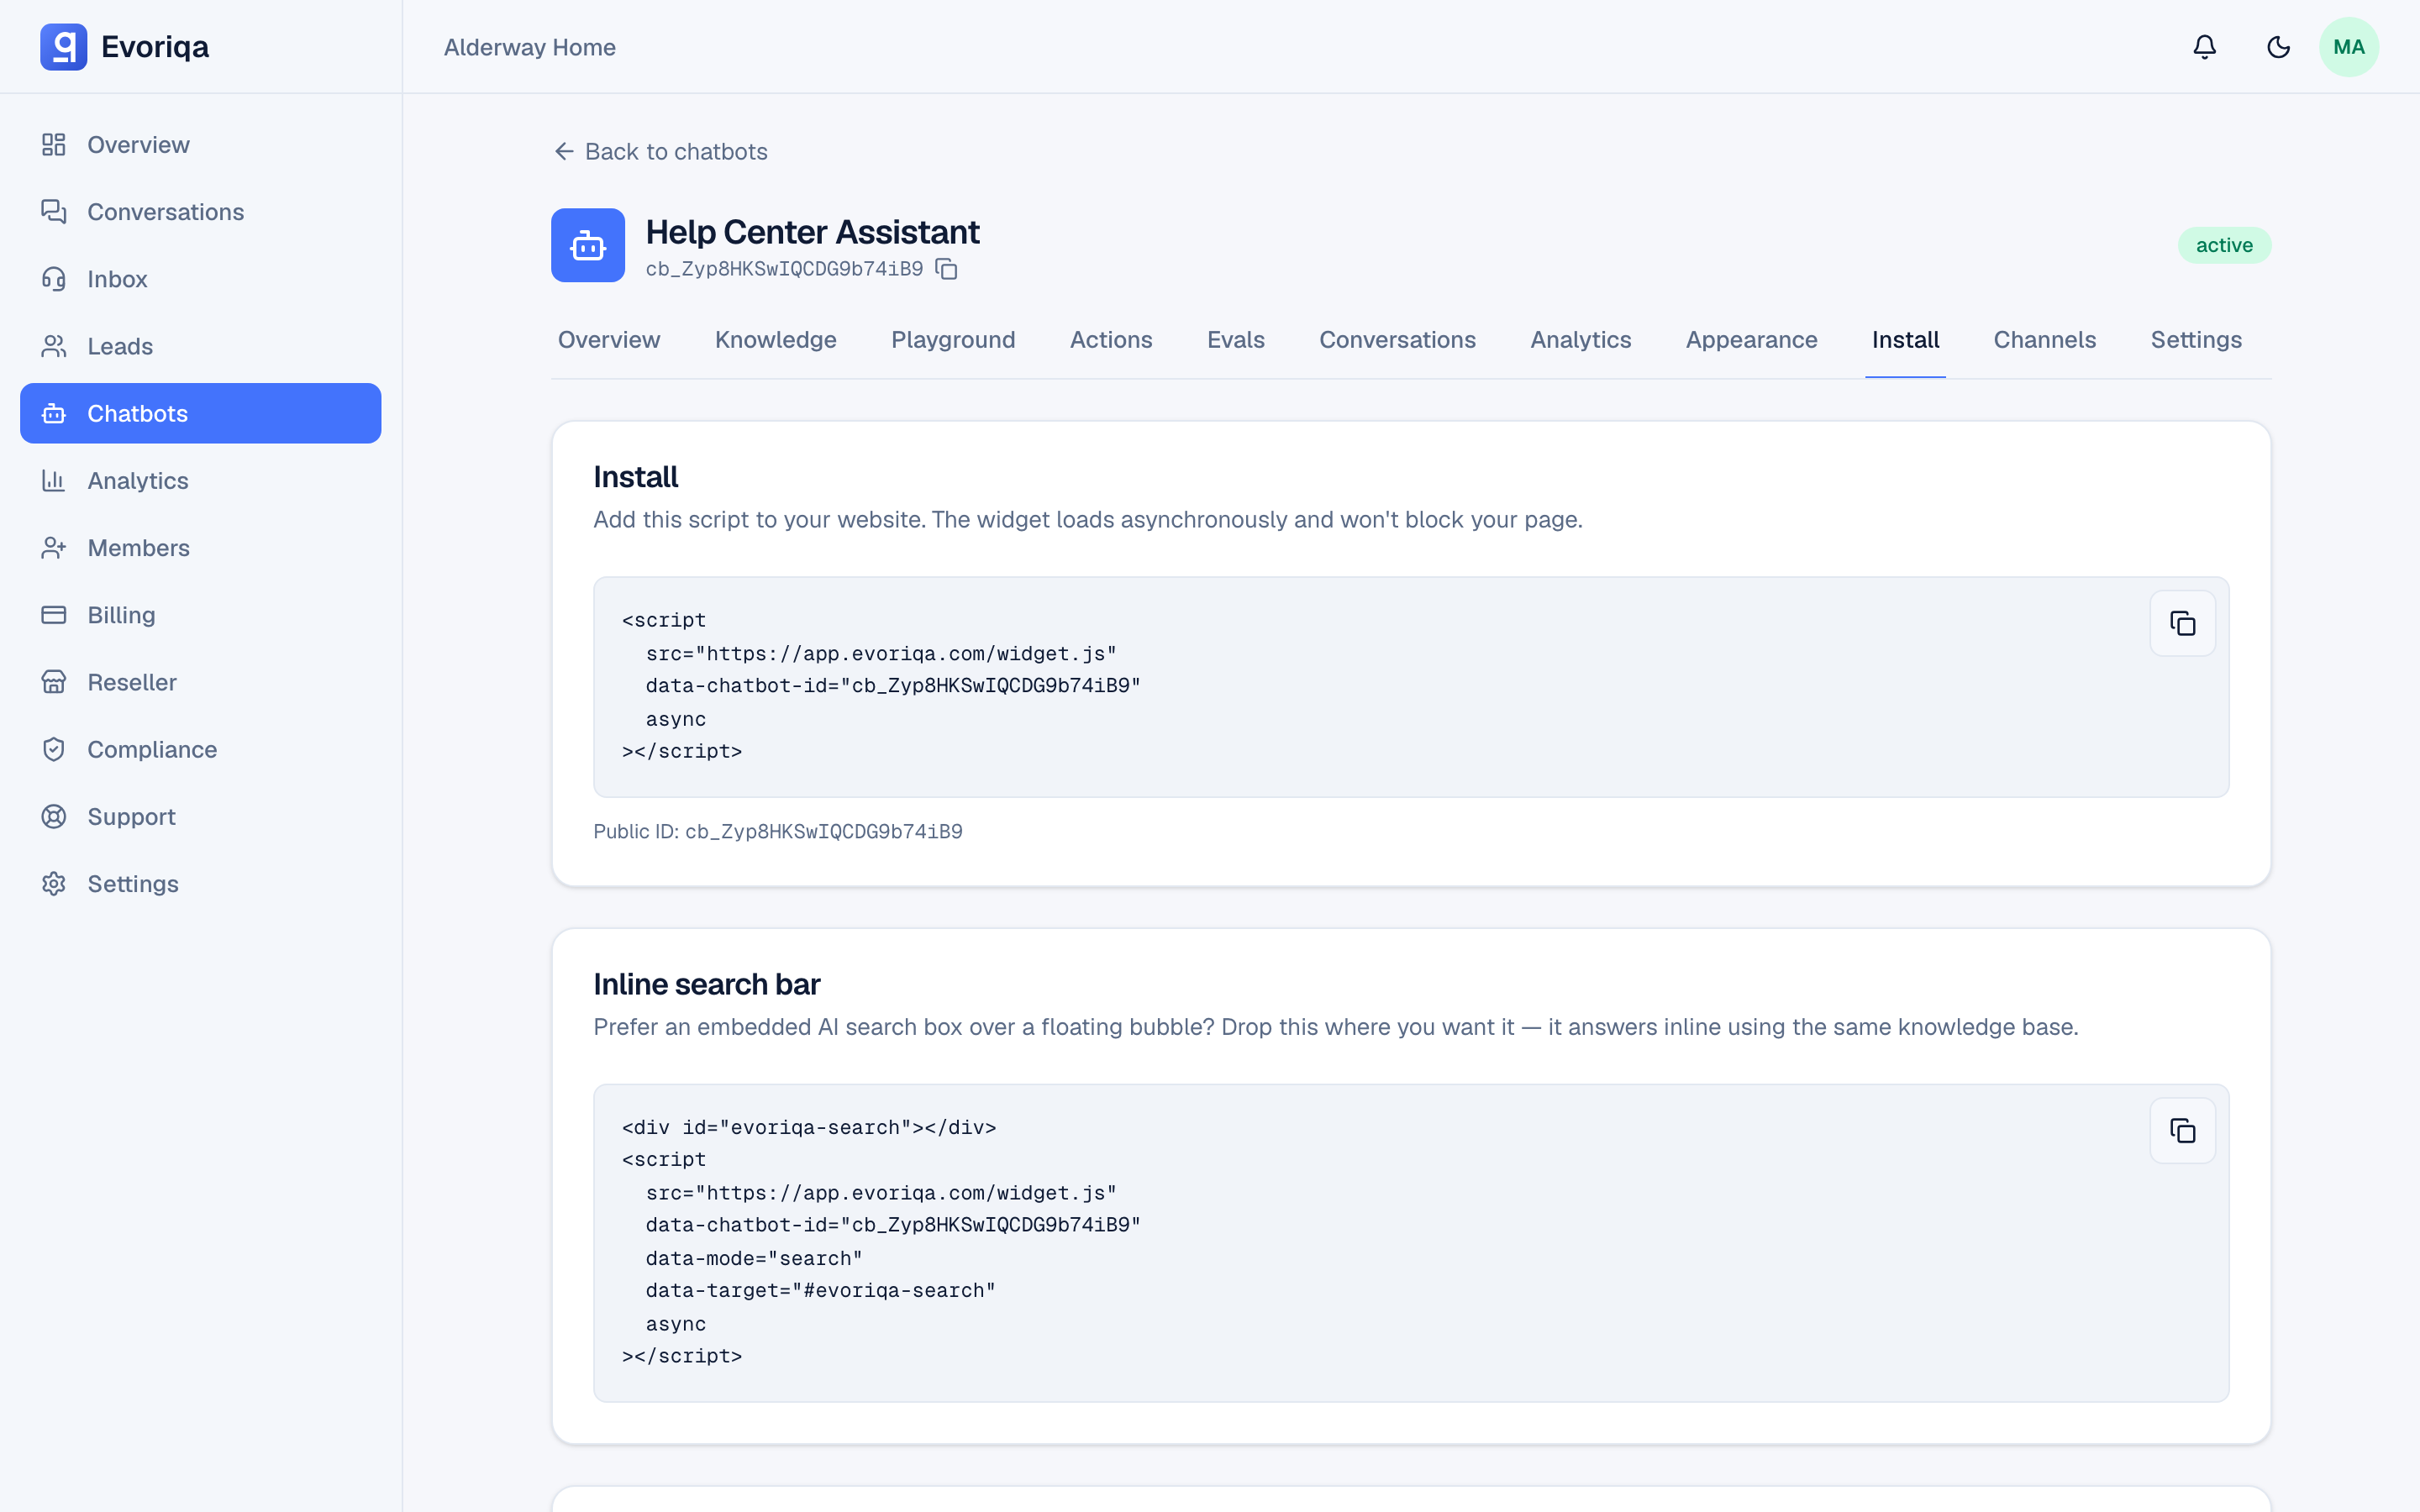
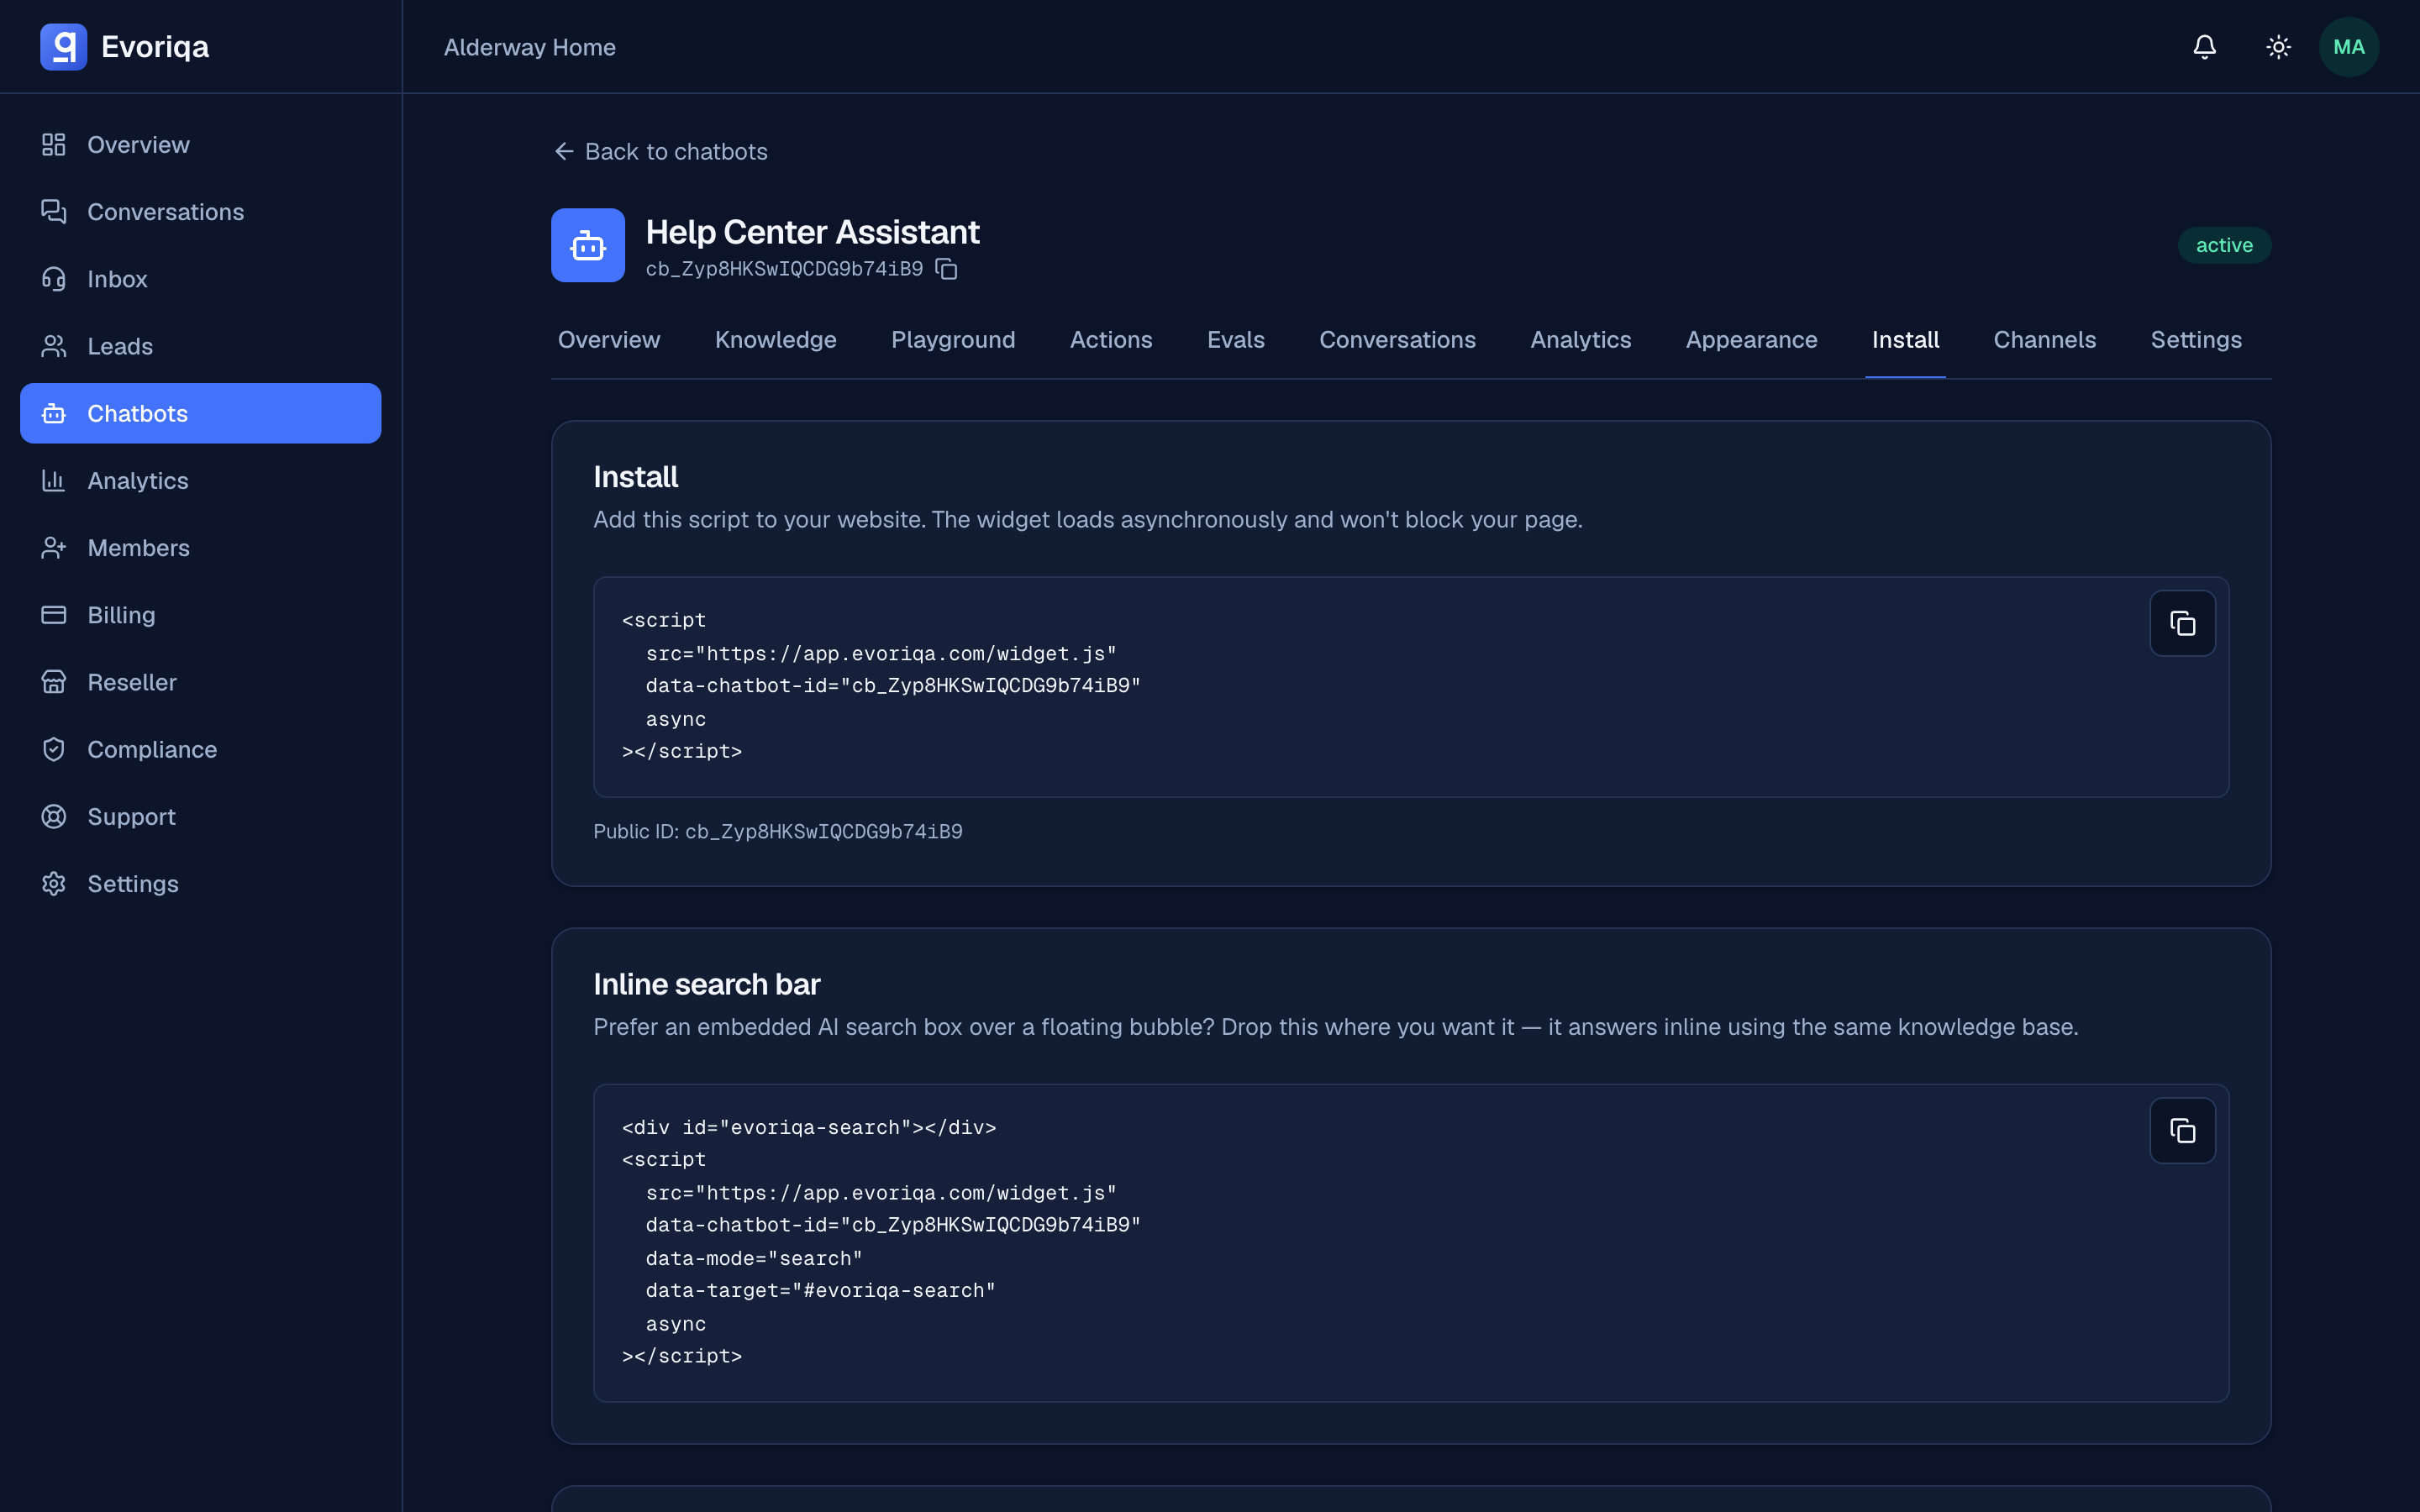
Copy the ready-made snippet from the chatbot's Install tab — it already carries your public ID.
The snippet
<script
  src="https://app.evoriqa.com/widget.js"
  data-chatbot-id="cb_your_public_id"
  async
></script>Put it just before the closing </body> tag, on every page the widget should appear on. A shared layout, footer partial, or template is the reliable place.
Attributes
| Attribute | Required | Value |
|---|---|---|
data-chatbot-id | yes | The chatbot's public ID, cb_… |
data-position | no | bottom-right or bottom-left; overrides the appearance setting for this embed |
data-mode | no | search to render the inline AI search bar instead of the bubble |
data-target | no | A CSS selector saying where the search bar mounts (used with data-mode="search") |
Without data-chatbot-id the script does nothing and logs an error to the browser console:
[Evoriqa] Missing data-chatbot-id on the widget script.Where to paste it
The snippet is the same everywhere — it is one plain <script> tag with no build step, no package to install, and nothing running on your server. All that changes per platform is where the tag goes.
Code you edit yourself
  <!-- … your page … -->
  <script
    src="https://app.evoriqa.com/widget.js"
    data-chatbot-id="cb_your_public_id"
    async
  ></script>
</body>import Script from "next/script";
export default function RootLayout({
children,
}: {
children: React.ReactNode;
}) {
return (
<html lang="en">
<body>
{children}
<Script
src="https://app.evoriqa.com/widget.js"
data-chatbot-id="cb_your_public_id"
strategy="afterInteractive"
/>
</body>
</html>
);
}export default defineNuxtConfig({
app: {
head: {
script: [
{
src: "https://app.evoriqa.com/widget.js",
"data-chatbot-id": "cb_your_public_id",
async: true,
tagPosition: "bodyClose",
},
],
},
},
});<!-- Theme footer, before </body>. A headers-and-footers plugin works too. -->
<script
src="https://app.evoriqa.com/widget.js"
data-chatbot-id="cb_your_public_id"
async
></script>{% comment %} Online Store → Themes → Edit code → theme.liquid {% endcomment %}
<script
src="https://app.evoriqa.com/widget.js"
data-chatbot-id="cb_your_public_id"
async
></script>A Vite, Create React App, Vue, Angular, or any other single-page app has one index.html — paste the snippet before its </body> and the widget is on every route, because the tag outlives client-side navigation.
Site builders, with no code to edit
Every one of these takes the same snippet verbatim. Use the footer or end-of-body slot, never the head one: the widget mounts against the page it finds, so running it before the body exists just makes it wait.
| Platform | Where the snippet goes |
|---|---|
| Webflow | Site settings → Custom code → Footer code |
| Framer | Site settings → General → Custom code → End of <body> tag |
| Wix | Settings → Custom code → Add code → Body – end, on all pages |
| Squarespace | Website → Website tools → Code injection → Footer |
| Ghost | Settings → Code injection → Site footer |
| Google Tag Manager | New tag → Custom HTML, firing on All Pages |
| Any other host | Whatever it calls "custom code", "footer scripts", or "body end" |
Going through Google Tag Manager means the widget only loads for visitors whose consent banner allows that container to fire. That is usually what you want for consent management, but it does mean a blocked container is a widget that never appears — worth knowing before you debug the allowlist.
The inline AI search bar
Instead of a floating bubble, the widget can render an inline answer box anywhere on the page — the same chatbot, the same knowledge, answered in place:
<div id="evoriqa-search"></div>
<script
  src="https://app.evoriqa.com/widget.js"
  data-chatbot-id="cb_your_public_id"
  data-mode="search"
  data-target="#evoriqa-search"
  async
></script>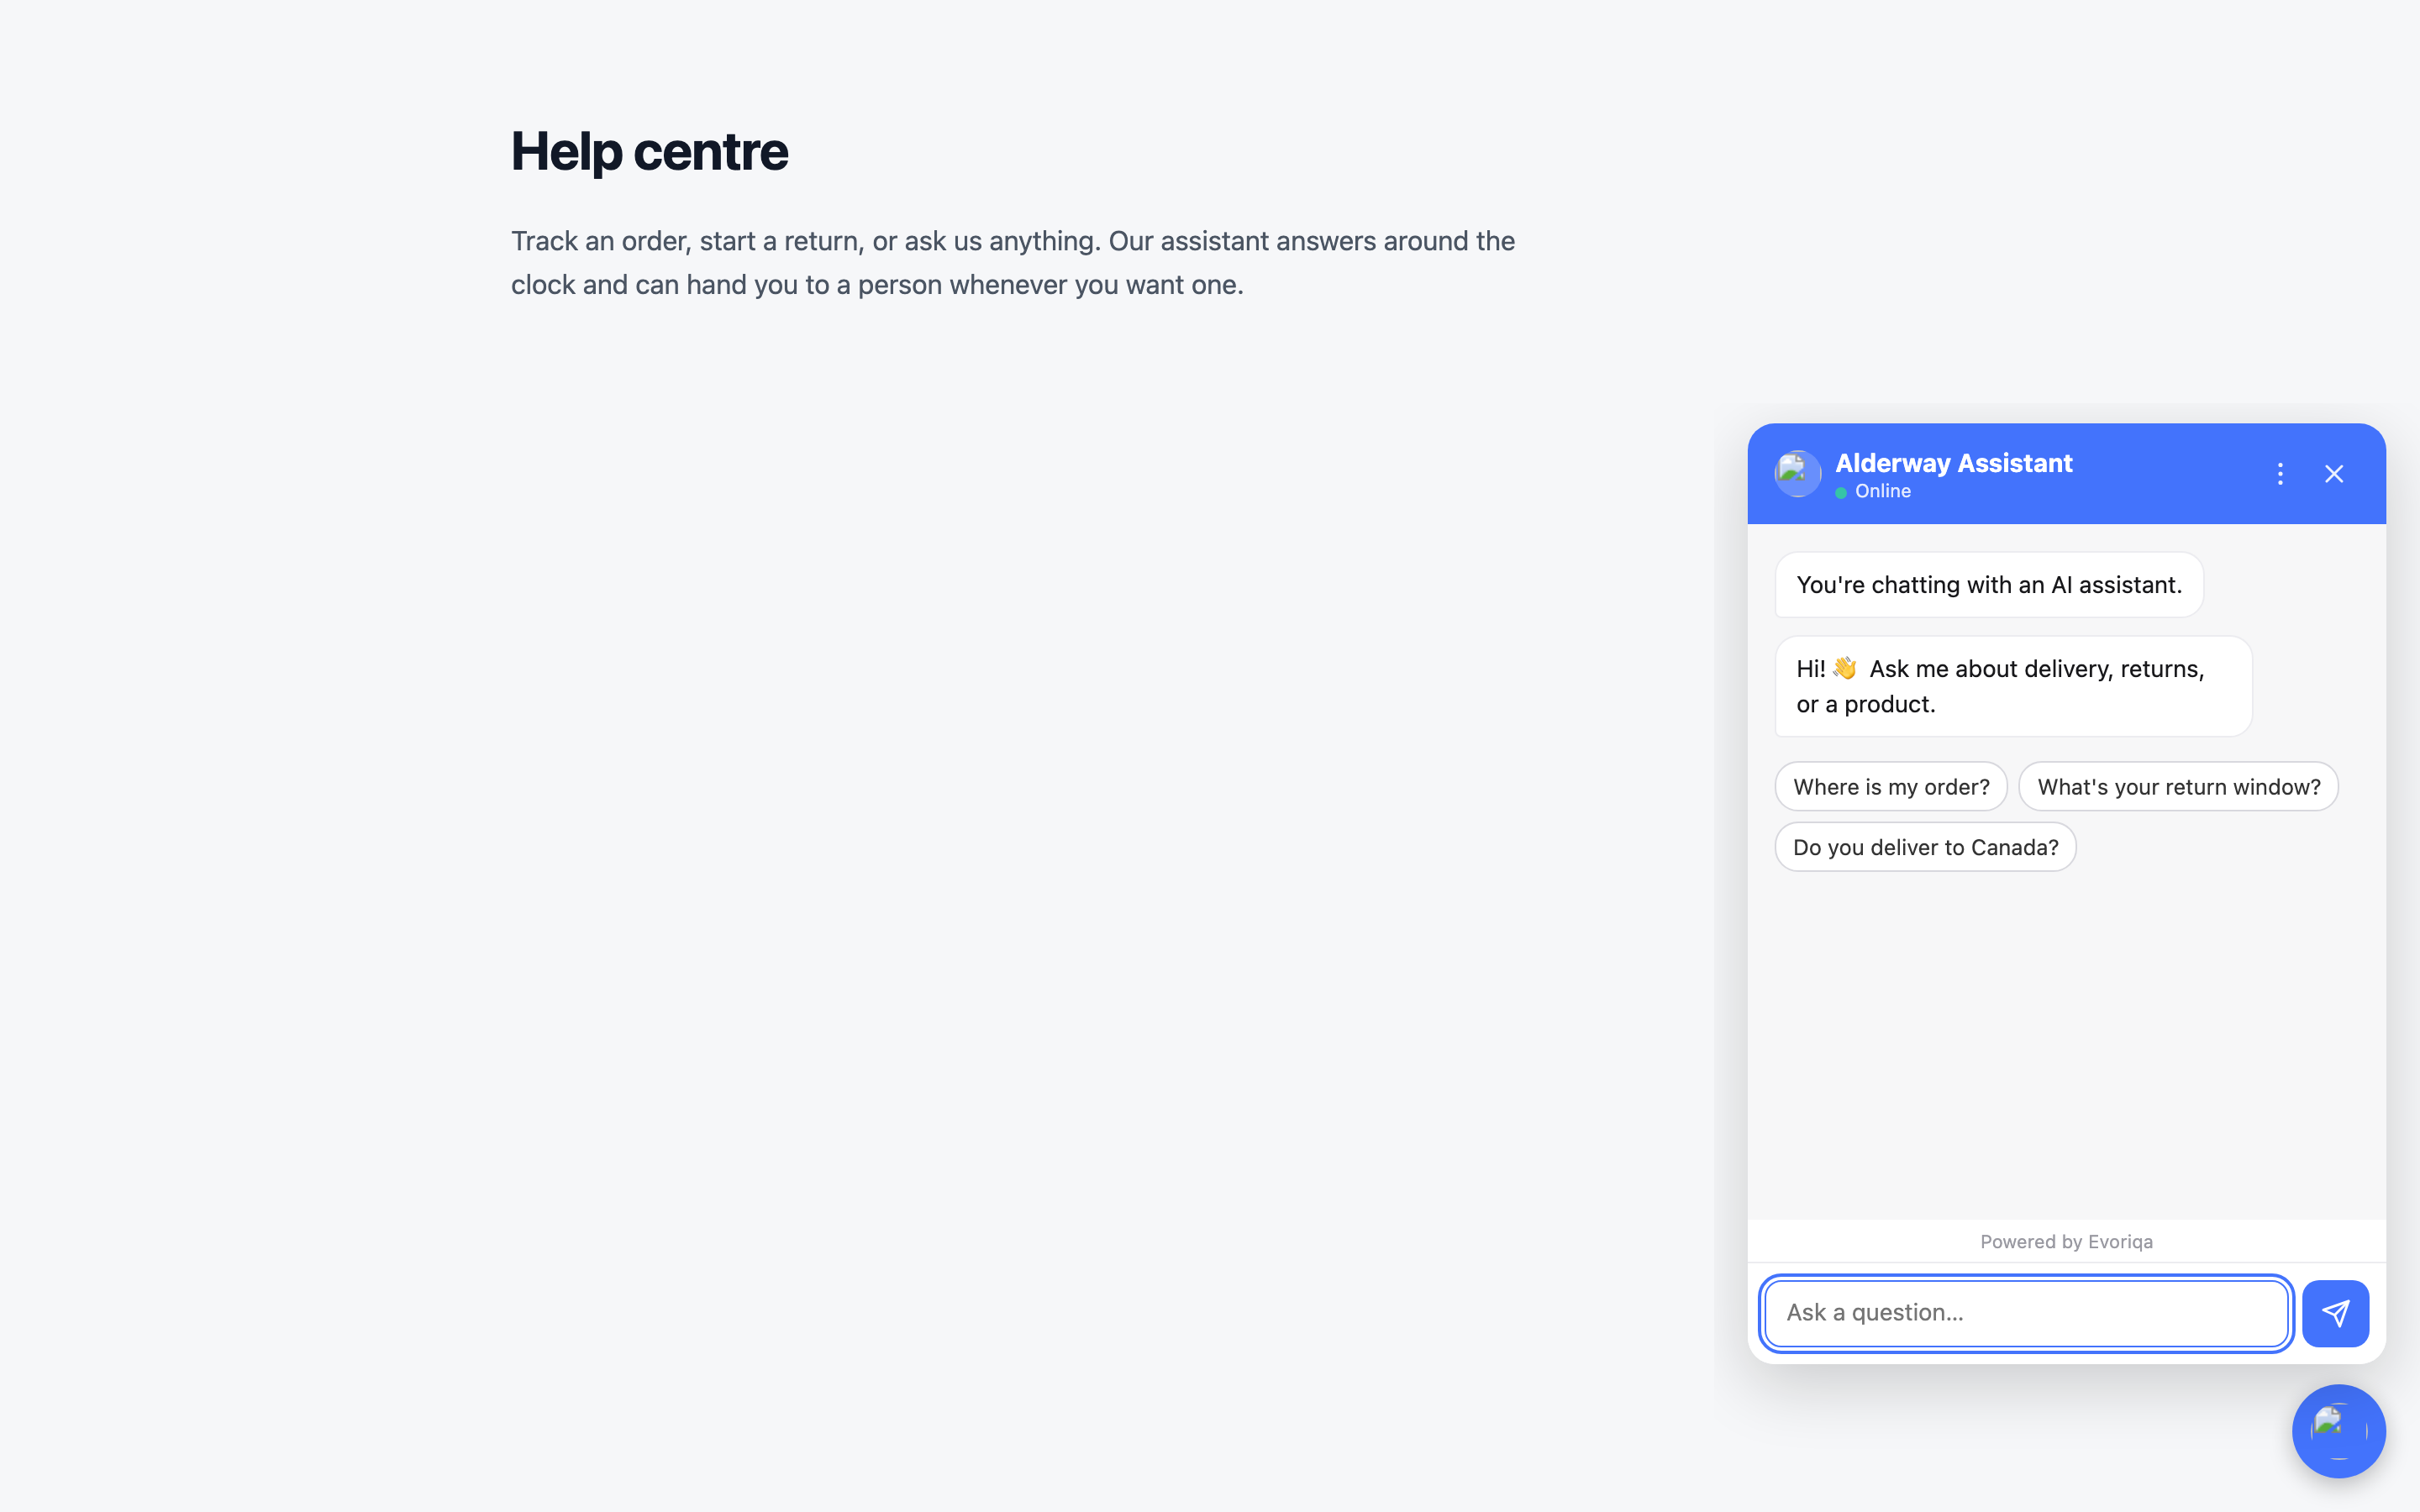
Verify it works
- 1Load the page and confirm the bubble (or search box) appears.
- 2Send a question you know the knowledge base covers.
- 3Check the conversation lands in the Inbox.
If nothing appears, check the browser console and the chatbot's allowed domains — see Domain allowlist.
Where to go next
Last updated