Set up from scratch
The whole reseller setup in order — subscribe, brand the portal, verify your domain in DNS, send your own mail, and provision a first client.
Everything needed to go from a fresh organisation to a branded client working on your own domain, in the order it has to happen. Each step says what you do in Evoriqa and, where it applies, what you do at your DNS or mail provider — the parts nobody else can do for you.
Budget an afternoon. Two steps wait on the outside world: DNS propagation and, if you use one, Meta or your ESP's verification.
Every step here requires an active reseller plan. The organisation owner or a primary-workspace admin can do most of them; subscribing to (and managing) the reseller plan itself is owner-only. The reference pages linked at the end go deeper on each.
Step 1 — Subscribe to a reseller plan
Reseller in the sidebar → pick a tier → Start reselling → Stripe Checkout.
On payment your organisation gets that tier's pooled credits and its client-seat allowance. The console then shows the three numbers you will live with: plan, pool balance, and seats used.
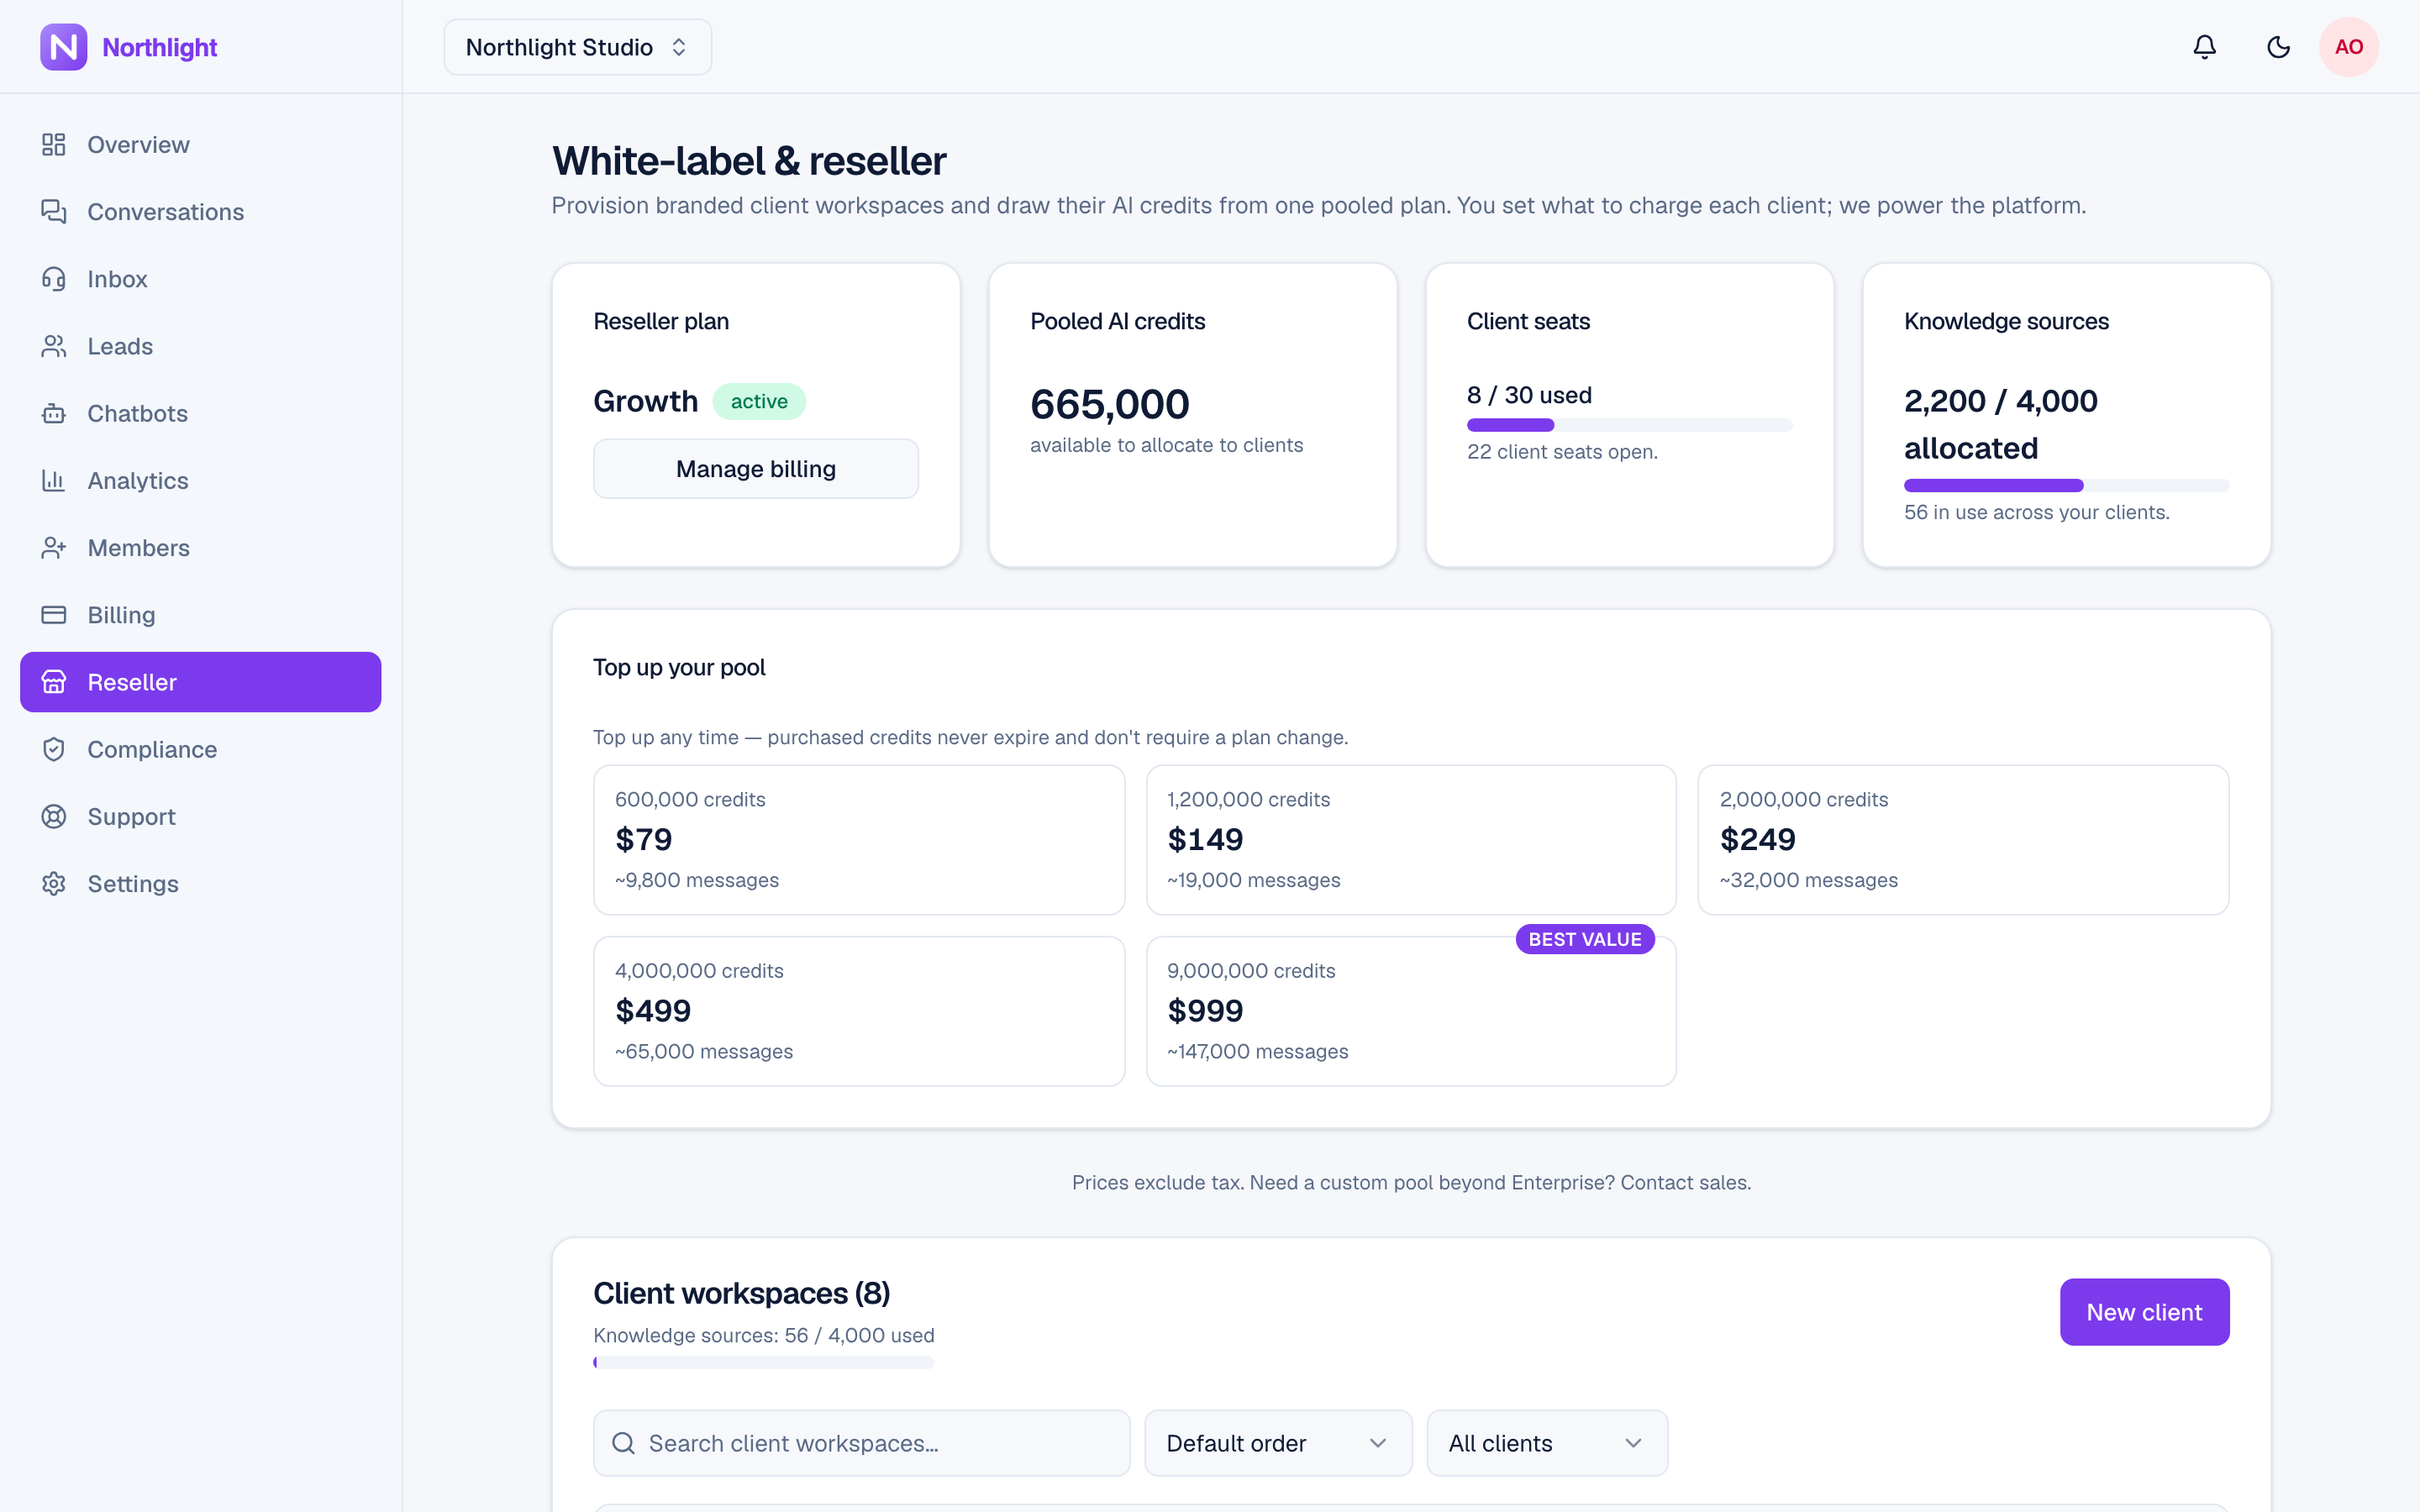
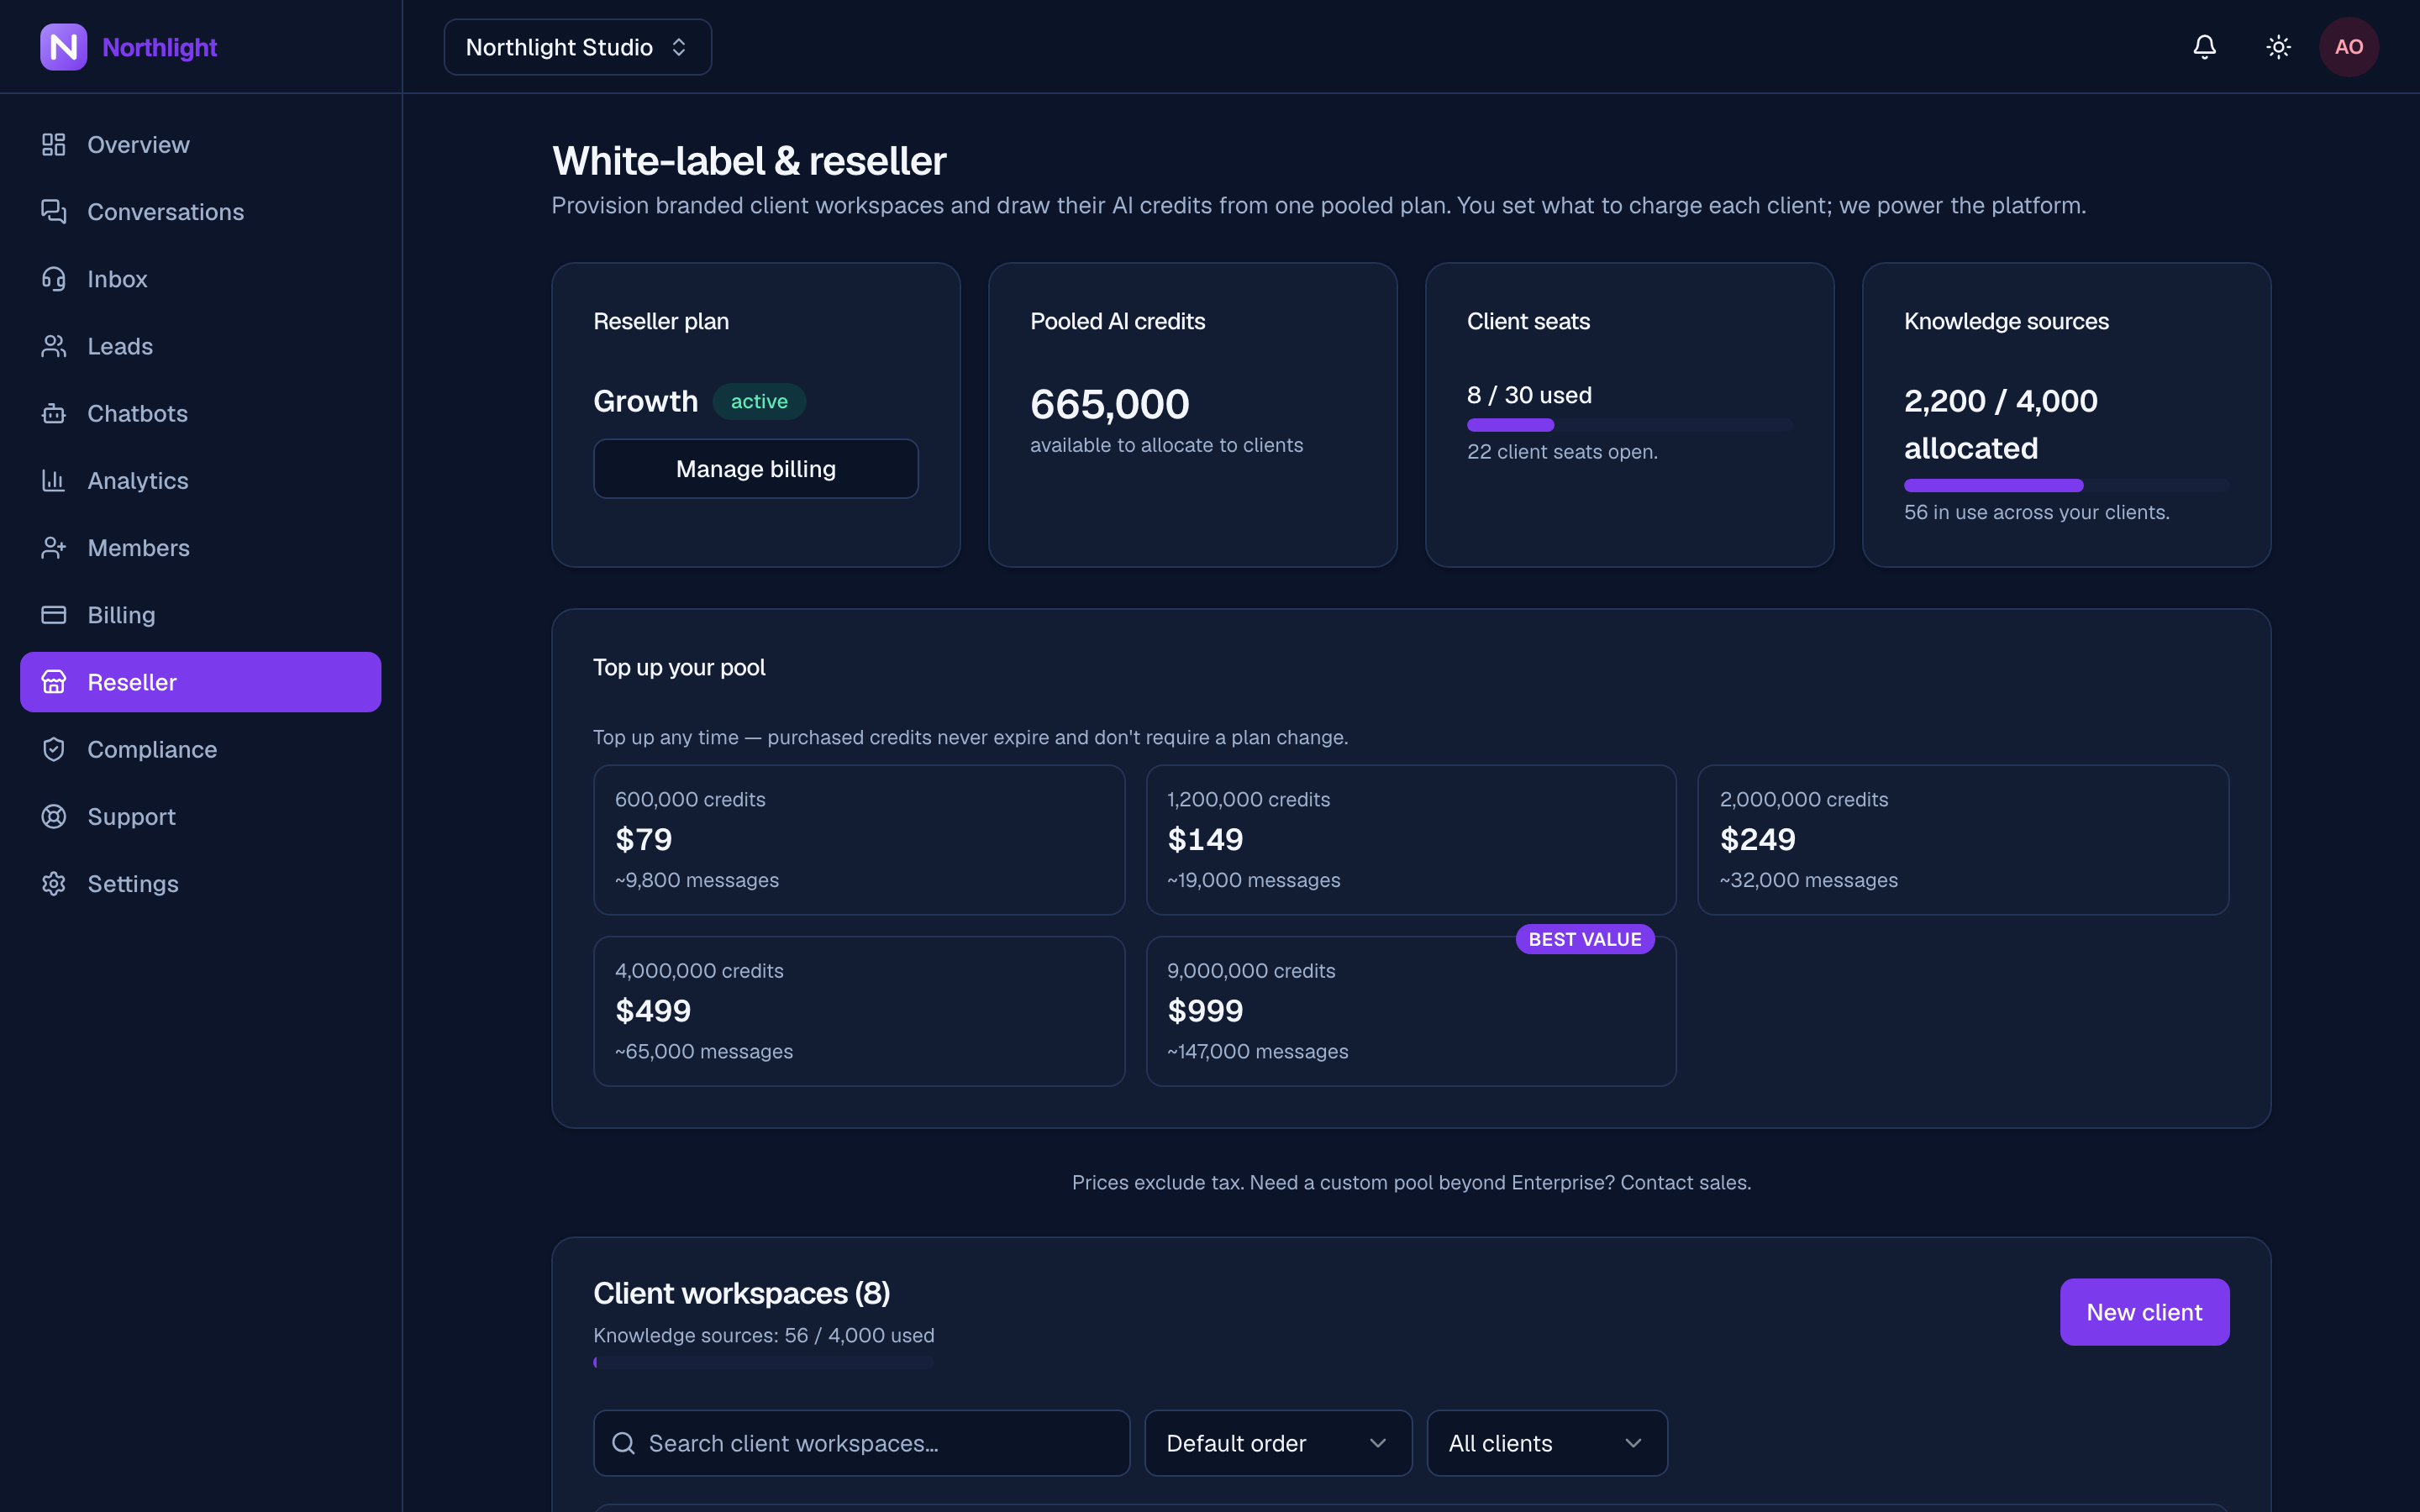
Annual billing is a prepay on the same tier; its pool is paced monthly — one month's credits land on each monthly anniversary, not the whole year up front. Tiers differ in pooled credits, seats, and an org-wide knowledge-source ceiling — see the pricing page for the numbers.
Step 2 — Brand the portal
Settings → Branding. Set the app name, upload your logo, choose the primary colour, and set the email sender name and reply-to. Turn the "Powered by" badge off if your tier allows it.
This is what your clients see the moment they log in — the dashboard chrome and the pre-login pages both pick it up.
Reset clears styling only. Your custom domain, support URL, and mail sender survive it, because they are wiring rather than decoration.
Step 3 — Claim your domain in Evoriqa
Settings → Custom domain → enter the bare hostname you want the portal on, for example support.acme.com. Do not include https:// or a path.
Evoriqa marks the domain pending and issues a verification token.
Step 4 — Publish the two DNS records
This step is on your side, and it is all the DNS work the domain needs. The Custom domain card shows both records with copy buttons:
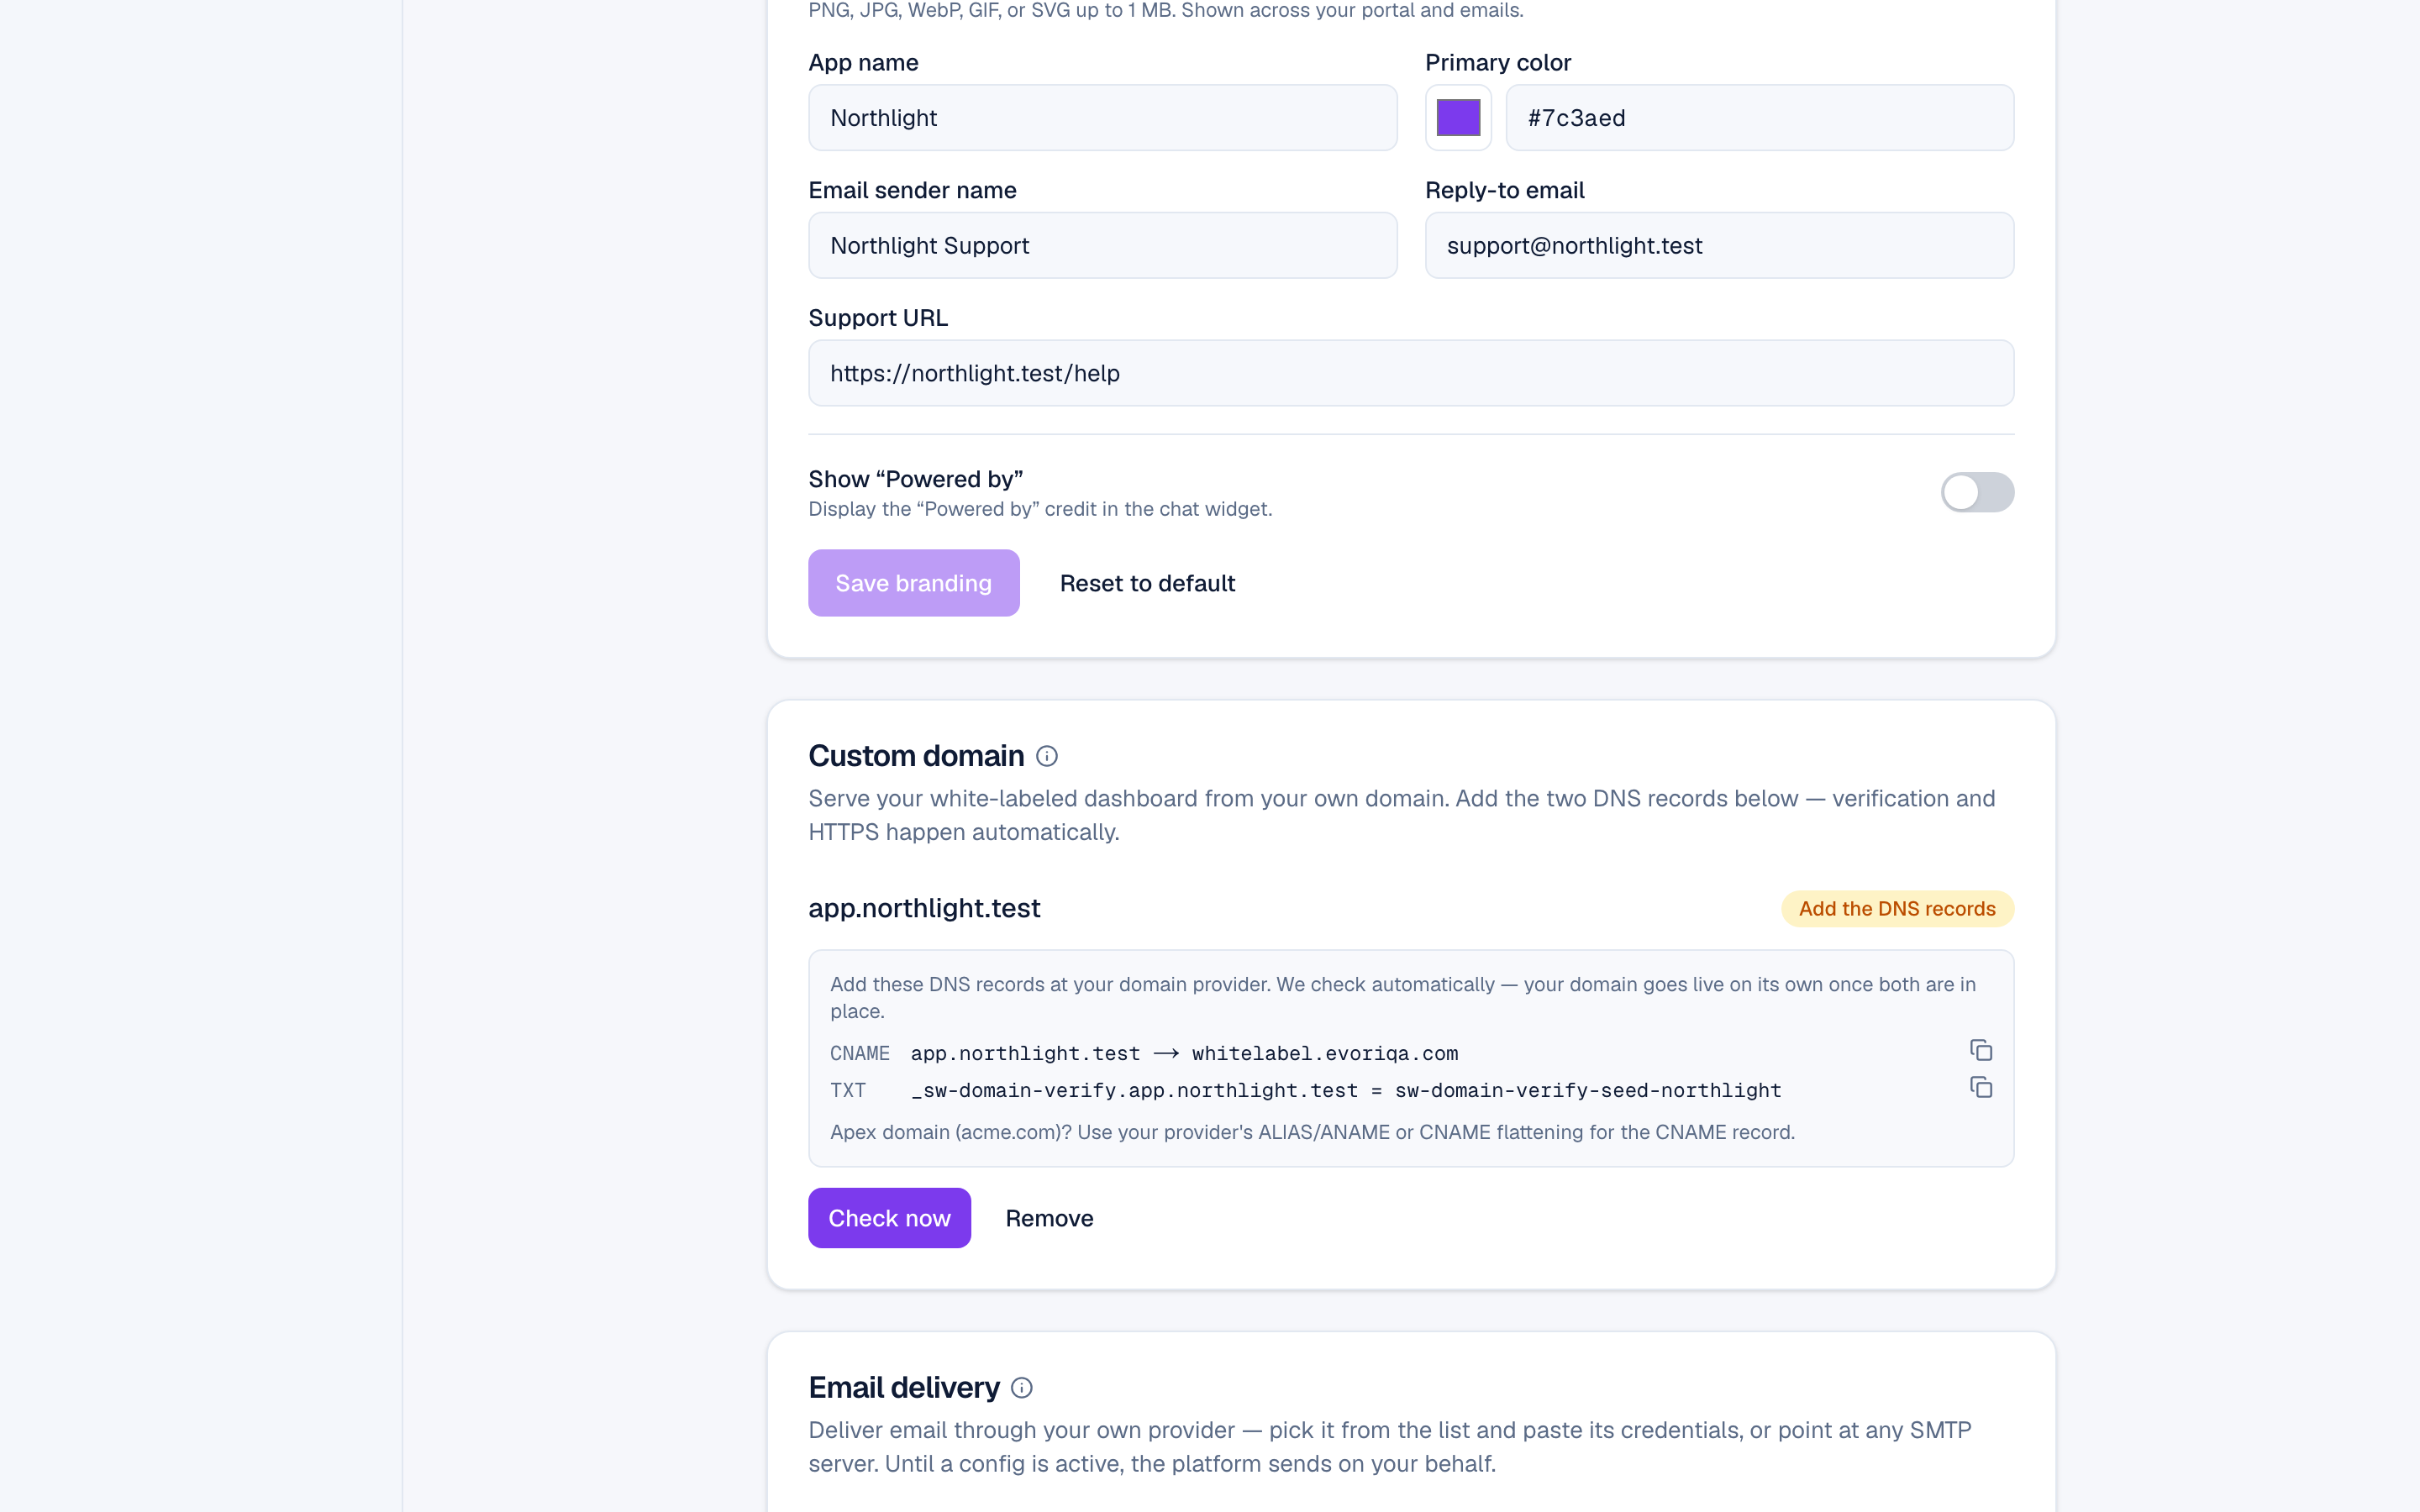
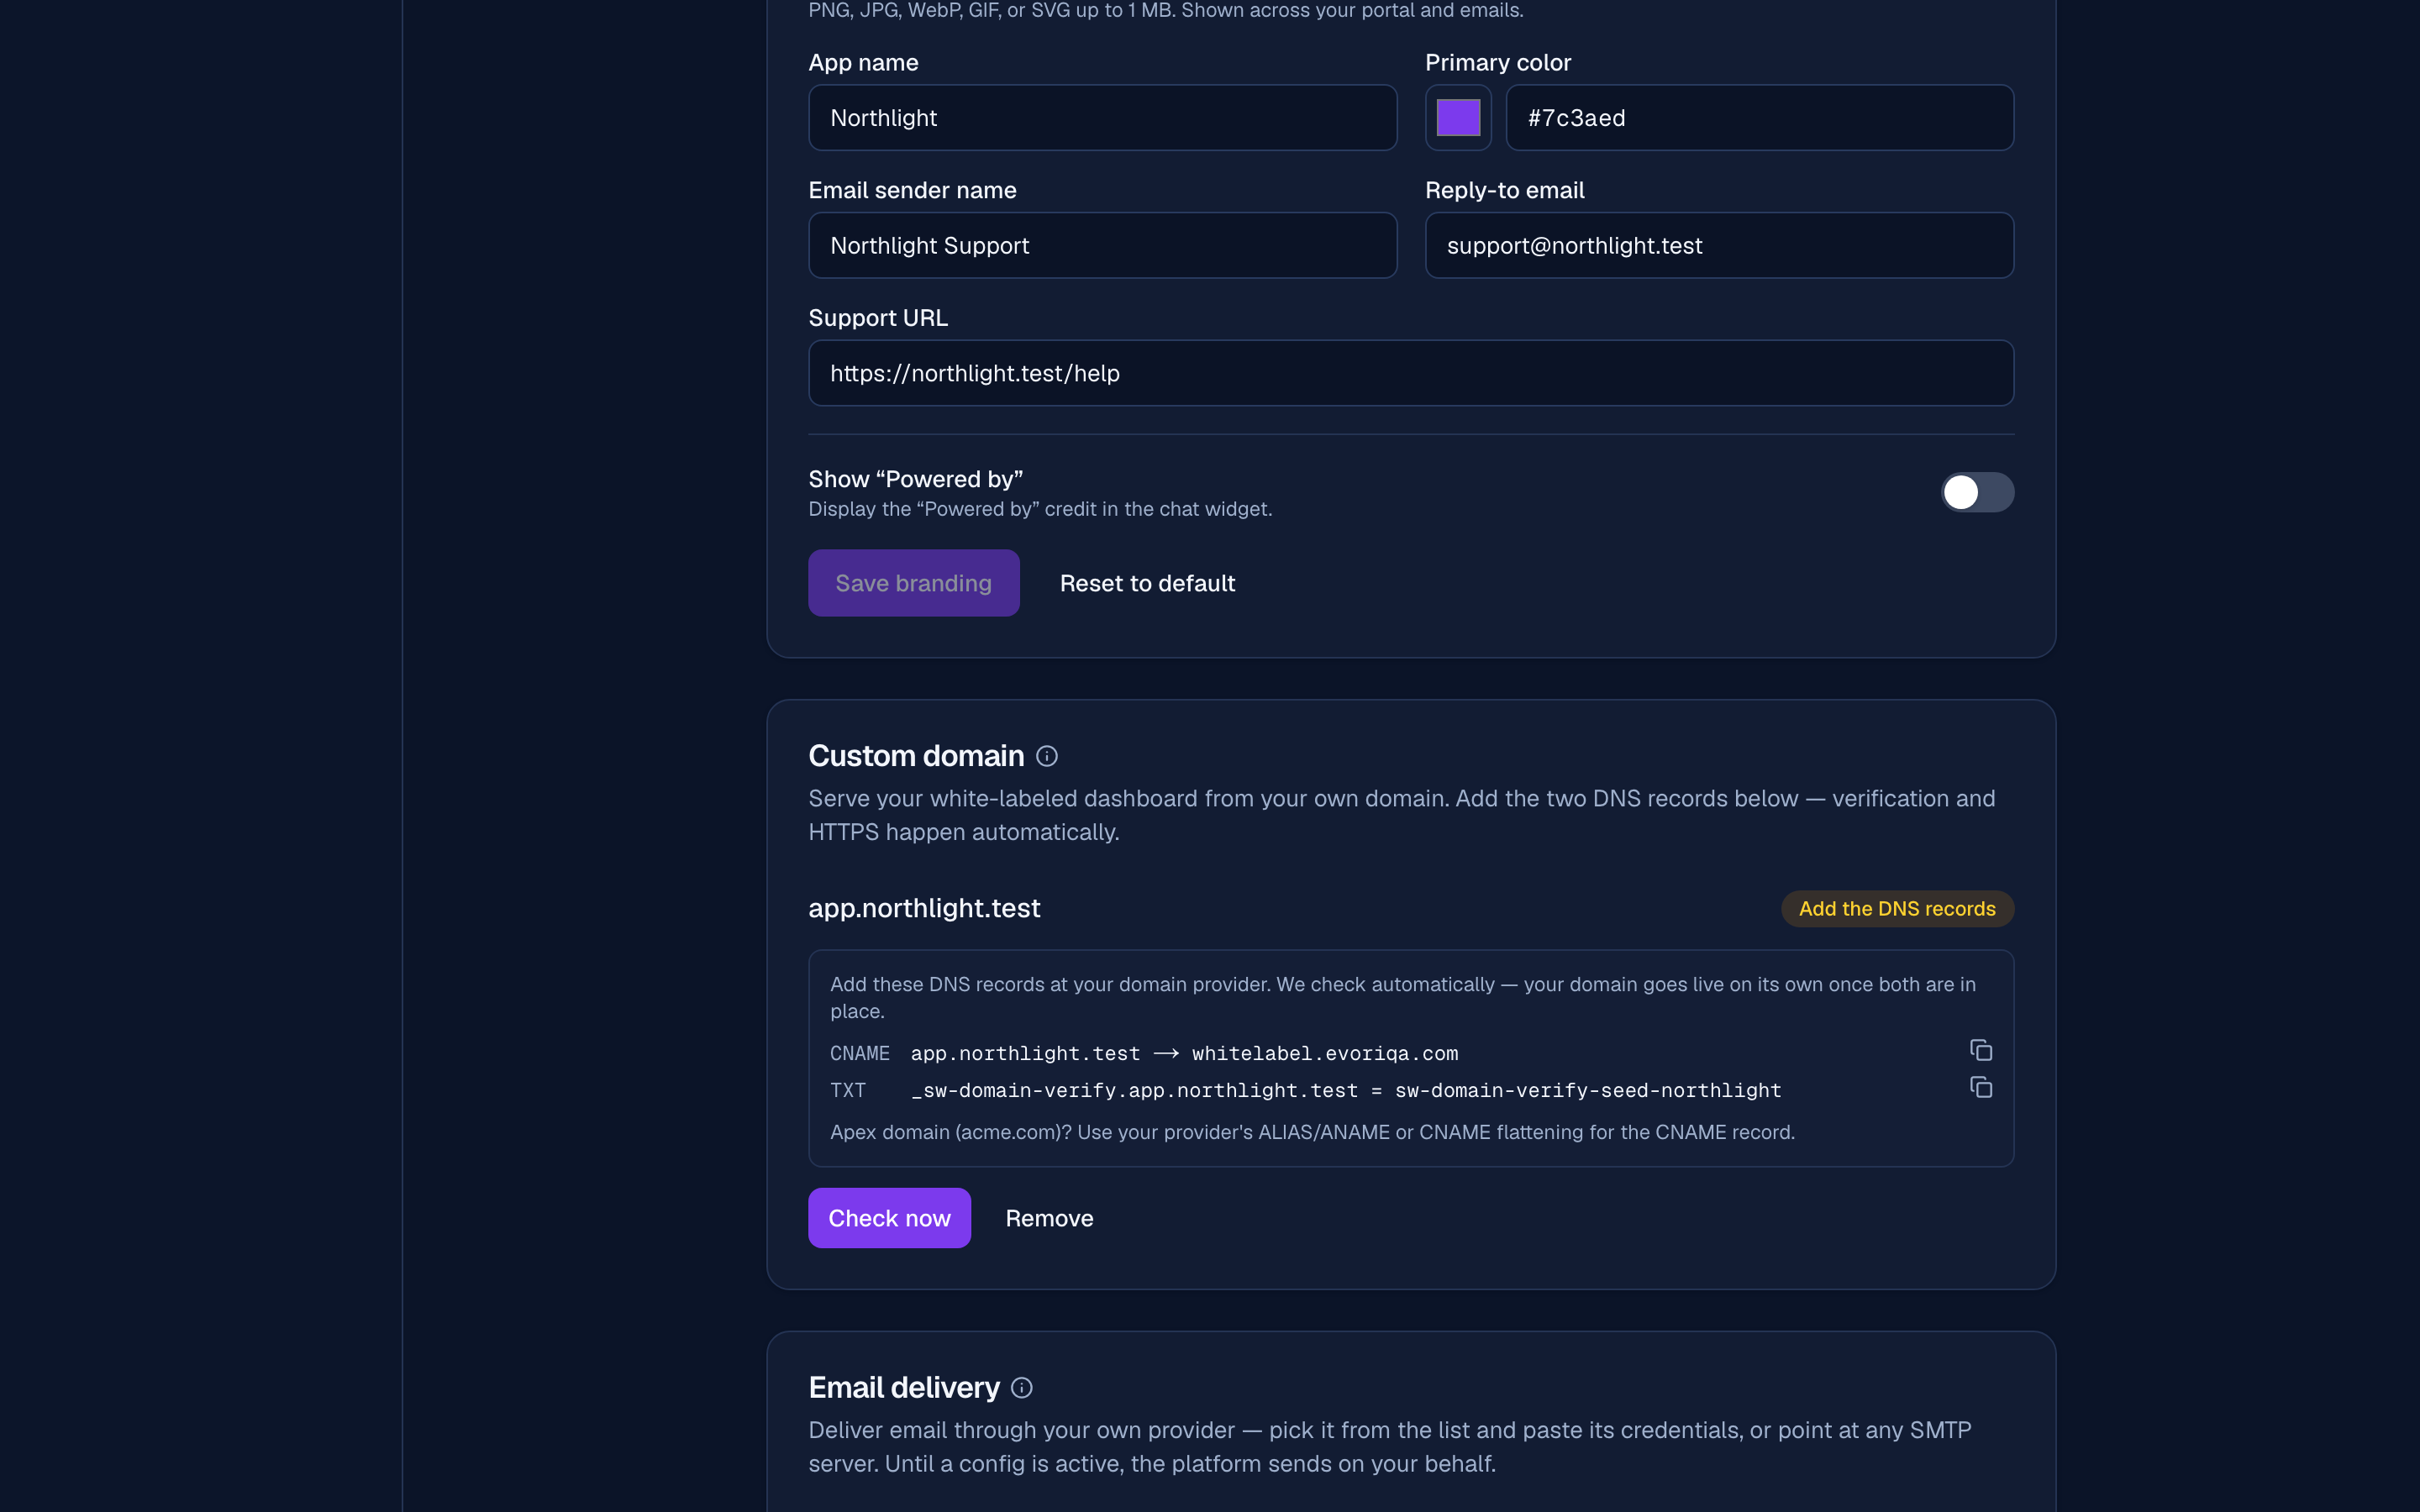
Type:  CNAME
Host:  support.acme.com
Value: whitelabel.evoriqa.com

Type:  TXT
Host:  _sw-domain-verify.support.acme.com
Value: <the token shown in Settings → Custom domain>
TTL: default is fineThe CNAME routes traffic to Evoriqa; the TXT proves you own the name. Some registrars want the host relative to the zone. On acme.com that means entering support and _sw-domain-verify.support rather than the full names — check how your provider displays existing records and match it.
Using an apex/root domain (acme.com rather than support.acme.com)? A literal CNAME is not allowed at the apex — use your provider's ALIAS/ANAME record or CNAME flattening, pointed at the same whitelabel.evoriqa.com.
Step 5 — Watch it go live (automatic)
Nothing else to do. Evoriqa re-checks your DNS every couple of minutes and the card walks itself through the ladder:
Add the DNS records → Issuing HTTPS… → Live
While only one of the two records has landed, the badge names the missing one:
- Waiting for the TXT record — the
CNAMEis routing, but ownership isn't proven yet. - Verified — add the CNAME — the
TXTmatched; ownership is proven and the domain resolves to your brand, but traffic isn't routing yet. - Issuing HTTPS… — both records are in; the certificate is issued automatically on the first request. No proxy, no certificate work, nothing to configure on your side.
- Live —
https://support.acme.comserves your branded portal, and from this point transactional email links use your domain too.
DNS propagation is the only wait — usually minutes. Check now forces an immediate re-check; automatic checks stop after 7 days, so a claim parked longer than that needs a manual Check now once the records are in place.
Stuck on Add the DNS records, Waiting for the TXT record, or Verified — add the CNAME? The relevant record is almost always either not propagated yet or entered at the wrong host. Check both resolve:
dig +short TXT _sw-domain-verify.support.acme.com   # must print the token
dig +short support.acme.com # must resolve via whitelabel.evoriqa.comGoogle sign-in is not offered on custom domains — it stays on the platform host by design. Your clients sign in with email + password on your domain.
Step 6 — Send mail from your own provider
Until you do this, transactional email carries your name and reply-to but leaves from the platform's sending domain. To make it fully yours:
- 1In the organisation's mail settings, pick your provider — Resend, SendGrid, Mailgun, Postmark, Brevo, Mailjet, SparkPost, Amazon SES — or Custom SMTP, and paste its credentials. They are encrypted at rest.
- 2At your provider and in DNS, publish the SPF and DKIM records it gives you for your sending domain. This is the step that decides whether your mail lands in inboxes.
- 3Back in Evoriqa, save. The config is pending until a branded test email to you succeeds — up to 5 tests an hour.
Delivery reporting stops at the SMTP handshake: sent or failed, with no bounce or complaint feedback. Watch deliverability at your provider, not here.
Step 7 — Provision your first client
Reseller → Client workspaces → New client → enter the client's name, the client email (required), pick a starting plan, Create client.
The workspace is created under your organisation, isolated from every other client, and inherits your brand. It consumes one seat; your own workspace never does. Because the email is required, the workspace is provisioned for that client and a 30-day owner-handover invite goes to the address straight away — you keep read-only client-view access.
Step 8 — Allocate credits and set a cap
In the client's row, enter an amount and Allocate. That debits your pool, credits the client, and switches credit metering on for them.
Then set their monthly credit cap so one client cannot burn the pool. Make it proportional to what you charge them, and revisit it when you change their price.
Step 9 — Set their limits
Same row, Limits: chatbots, team seats, and knowledge sources. Blank inherits their plan. Lowering a limit never deletes anything — it only blocks new creations.
Whether the client can use the API is not a reseller control — it follows your organisation's API-access decision, which a platform admin sets. See Per-client API access.
Step 10 — Hand over
The owner-handover invite went out when you created the client (Step 7), so there's nothing extra to send — watch the client row's Invite pending badge turn to Client-owned when they accept, and ⋯ → Resend invite if it expires after 30 days. What the client gets on their side:
- your portal, on your domain, in your colours,
- no billing tab — their checkout and portal routes are refused with "Billing is managed by your provider",
- no platform support — support requests are refused with "Support is provided by your service provider".
Both messages point them at you, which is the arrangement you just built.
Step 11 — Optional: let clients sign themselves up
Everything above provisions clients by hand, and your domain stays invite-only until you say otherwise. Once the manual path works end to end, Settings → Client sign-up turns your portal into a self-serve product: a visitor signs up on your domain, verifies a branded email, and lands in a client workspace they own with you as its admin.
Each sign-up costs a seat, and the plan they land on is yours to choose. Read Client sign-up before switching it on — particularly the seat maths and the paid-plan funding note.
Checklist
| Done | Step | Where |
|---|---|---|
| ☐ | Reseller plan active | Evoriqa |
| ☐ | Branding set | Evoriqa |
| ☐ | Domain claimed | Evoriqa |
| ☐ | TXT + CNAME records published | Your DNS |
| ☐ | Domain shows Live (verify + HTTPS are automatic) | Evoriqa |
| ☐ | Mail provider connected, test send passed | Evoriqa |
| ☐ | SPF and DKIM published | Your DNS |
| ☐ | First client provisioned | Evoriqa |
| ☐ | Credits allocated and a cap set | Evoriqa |
| ☐ | Per-client limits set | Evoriqa |
| ☐ | Client owner invited | Evoriqa |
| ☐ | Optional: self-serve sign-up opened | Evoriqa |
Where to go next
- Branding and domain — the full white-label surface, and what a lapsed plan changes.
- Client workspaces — limits and the org-wide knowledge ceiling in detail.
- Pooled credits and caps — how allocation and the burn alerts work.
Last updated