Quickstart
Create a chatbot, train it on your content, test it in the playground, embed the widget, and watch the first conversation reach your inbox.
Five steps take you from an empty workspace to a working AI support agent on your website. Each step says what you click and what you should see before moving on.
1. Create a chatbot
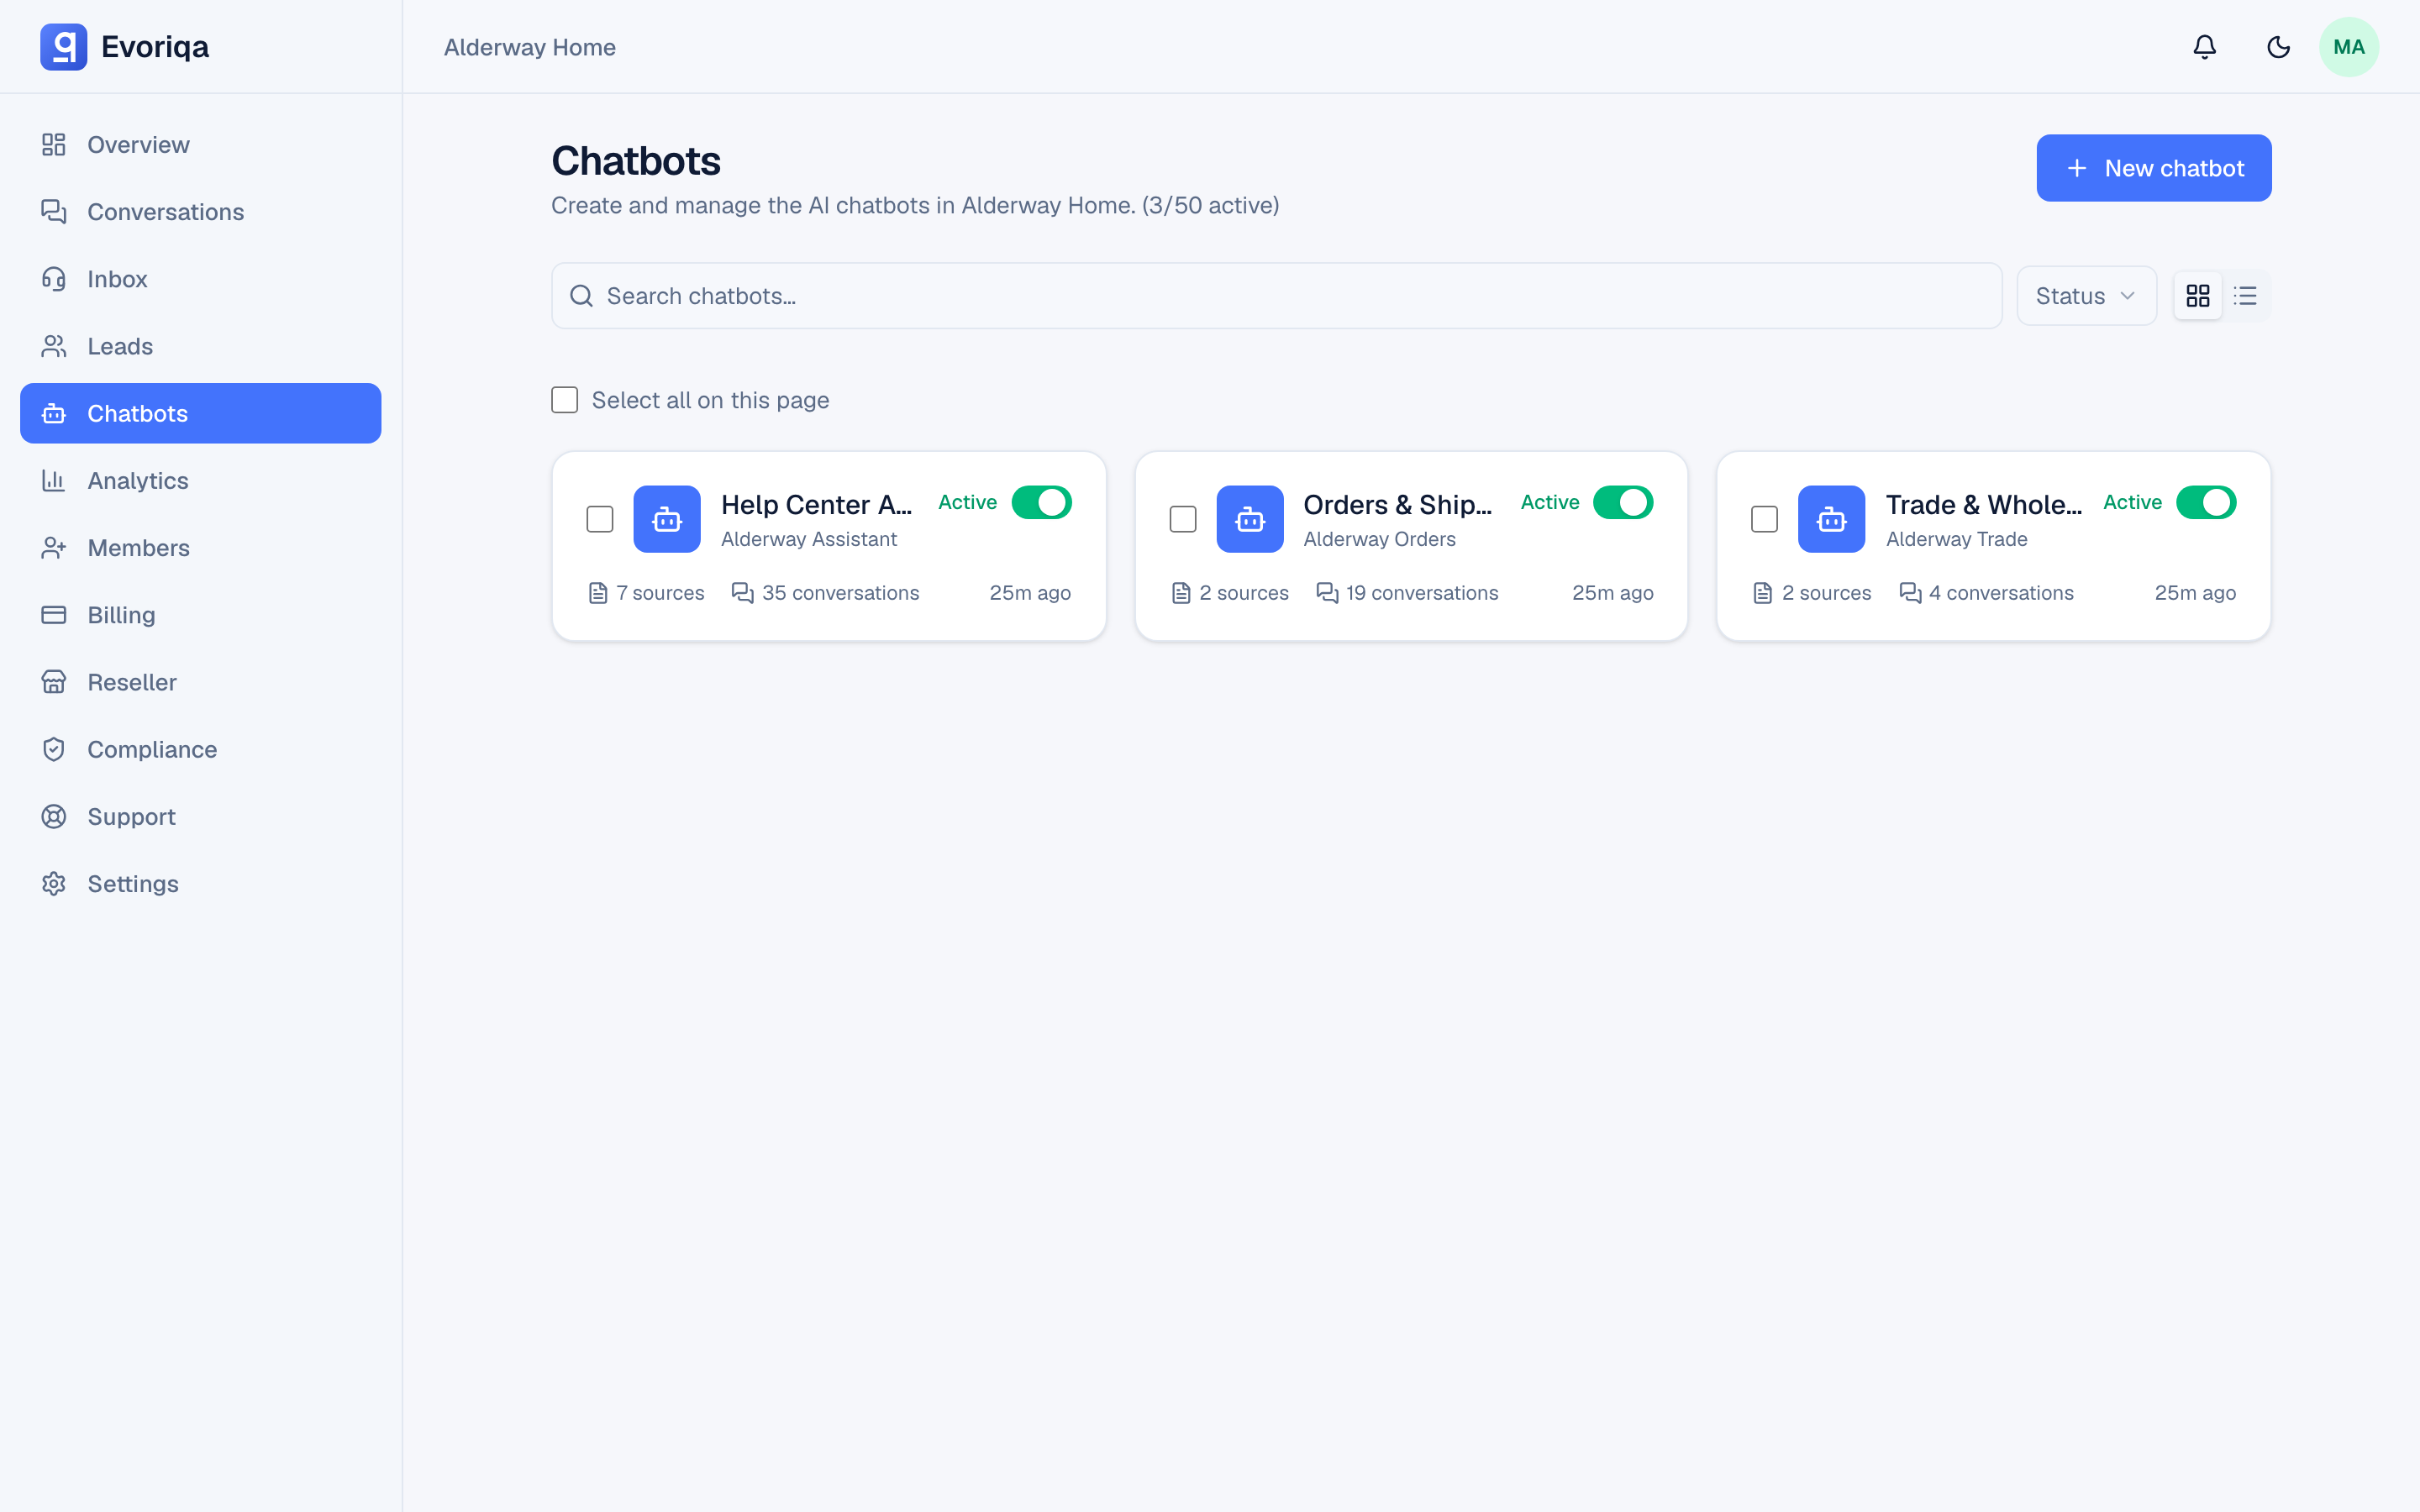
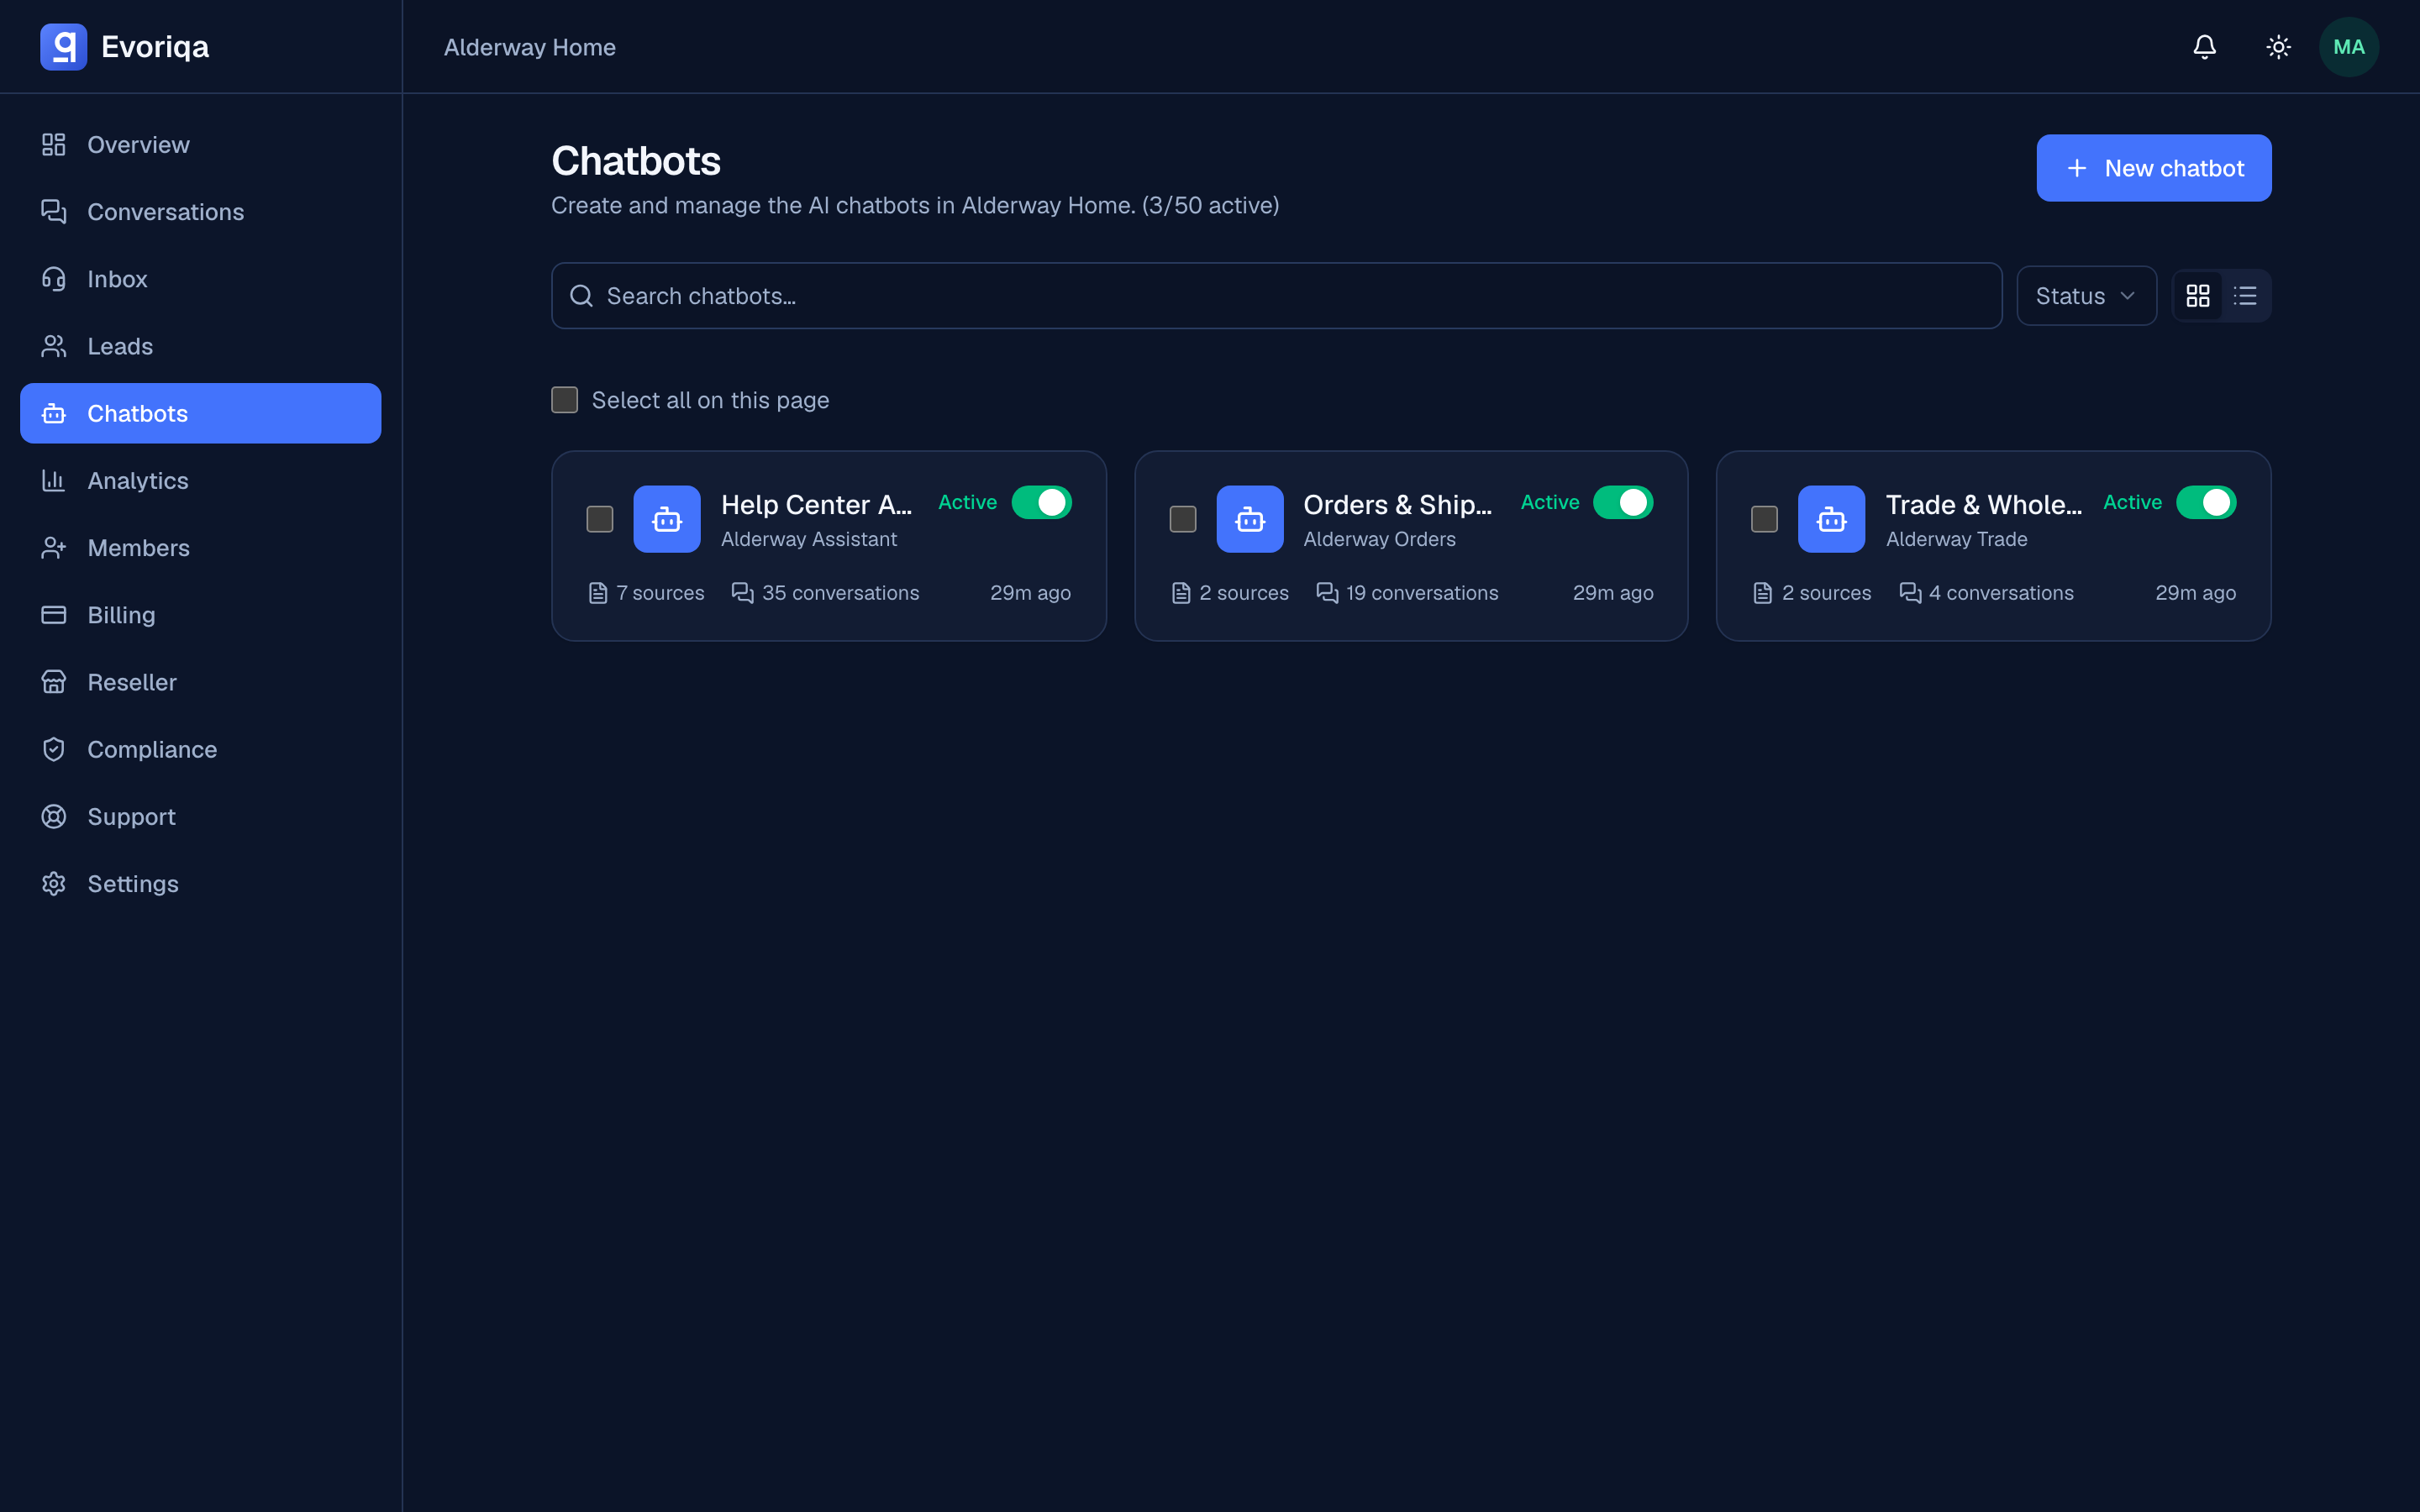
In the dashboard, open Chatbots and choose New chatbot. Give it a name your team will recognise — the customer never sees it — and save.
You should see the new chatbot's overview page with a setup checklist of three steps: knowledge, appearance, and install. The checklist is what the rest of this page walks through.
Each chatbot gets a public ID of the form cb_…. That is the value the widget script uses to find it, and it does not change when you rename the chatbot.
How many chatbots a workspace can have is capped by its plan. If New chatbot refuses, you are at the plan limit — see Plans.
2. Add a knowledge source
Open Knowledge on the chatbot and add one source. Four kinds are supported:
- File — PDF, DOCX, TXT, MD, or CSV. The maximum size is set by your plan.
- URL — Evoriqa fetches the page and extracts its content.
- Manual text — paste content directly.
- FAQ — a question and answer pair. FAQ pairs are boosted in retrieval, so they are the fastest way to fix one specific wrong answer.
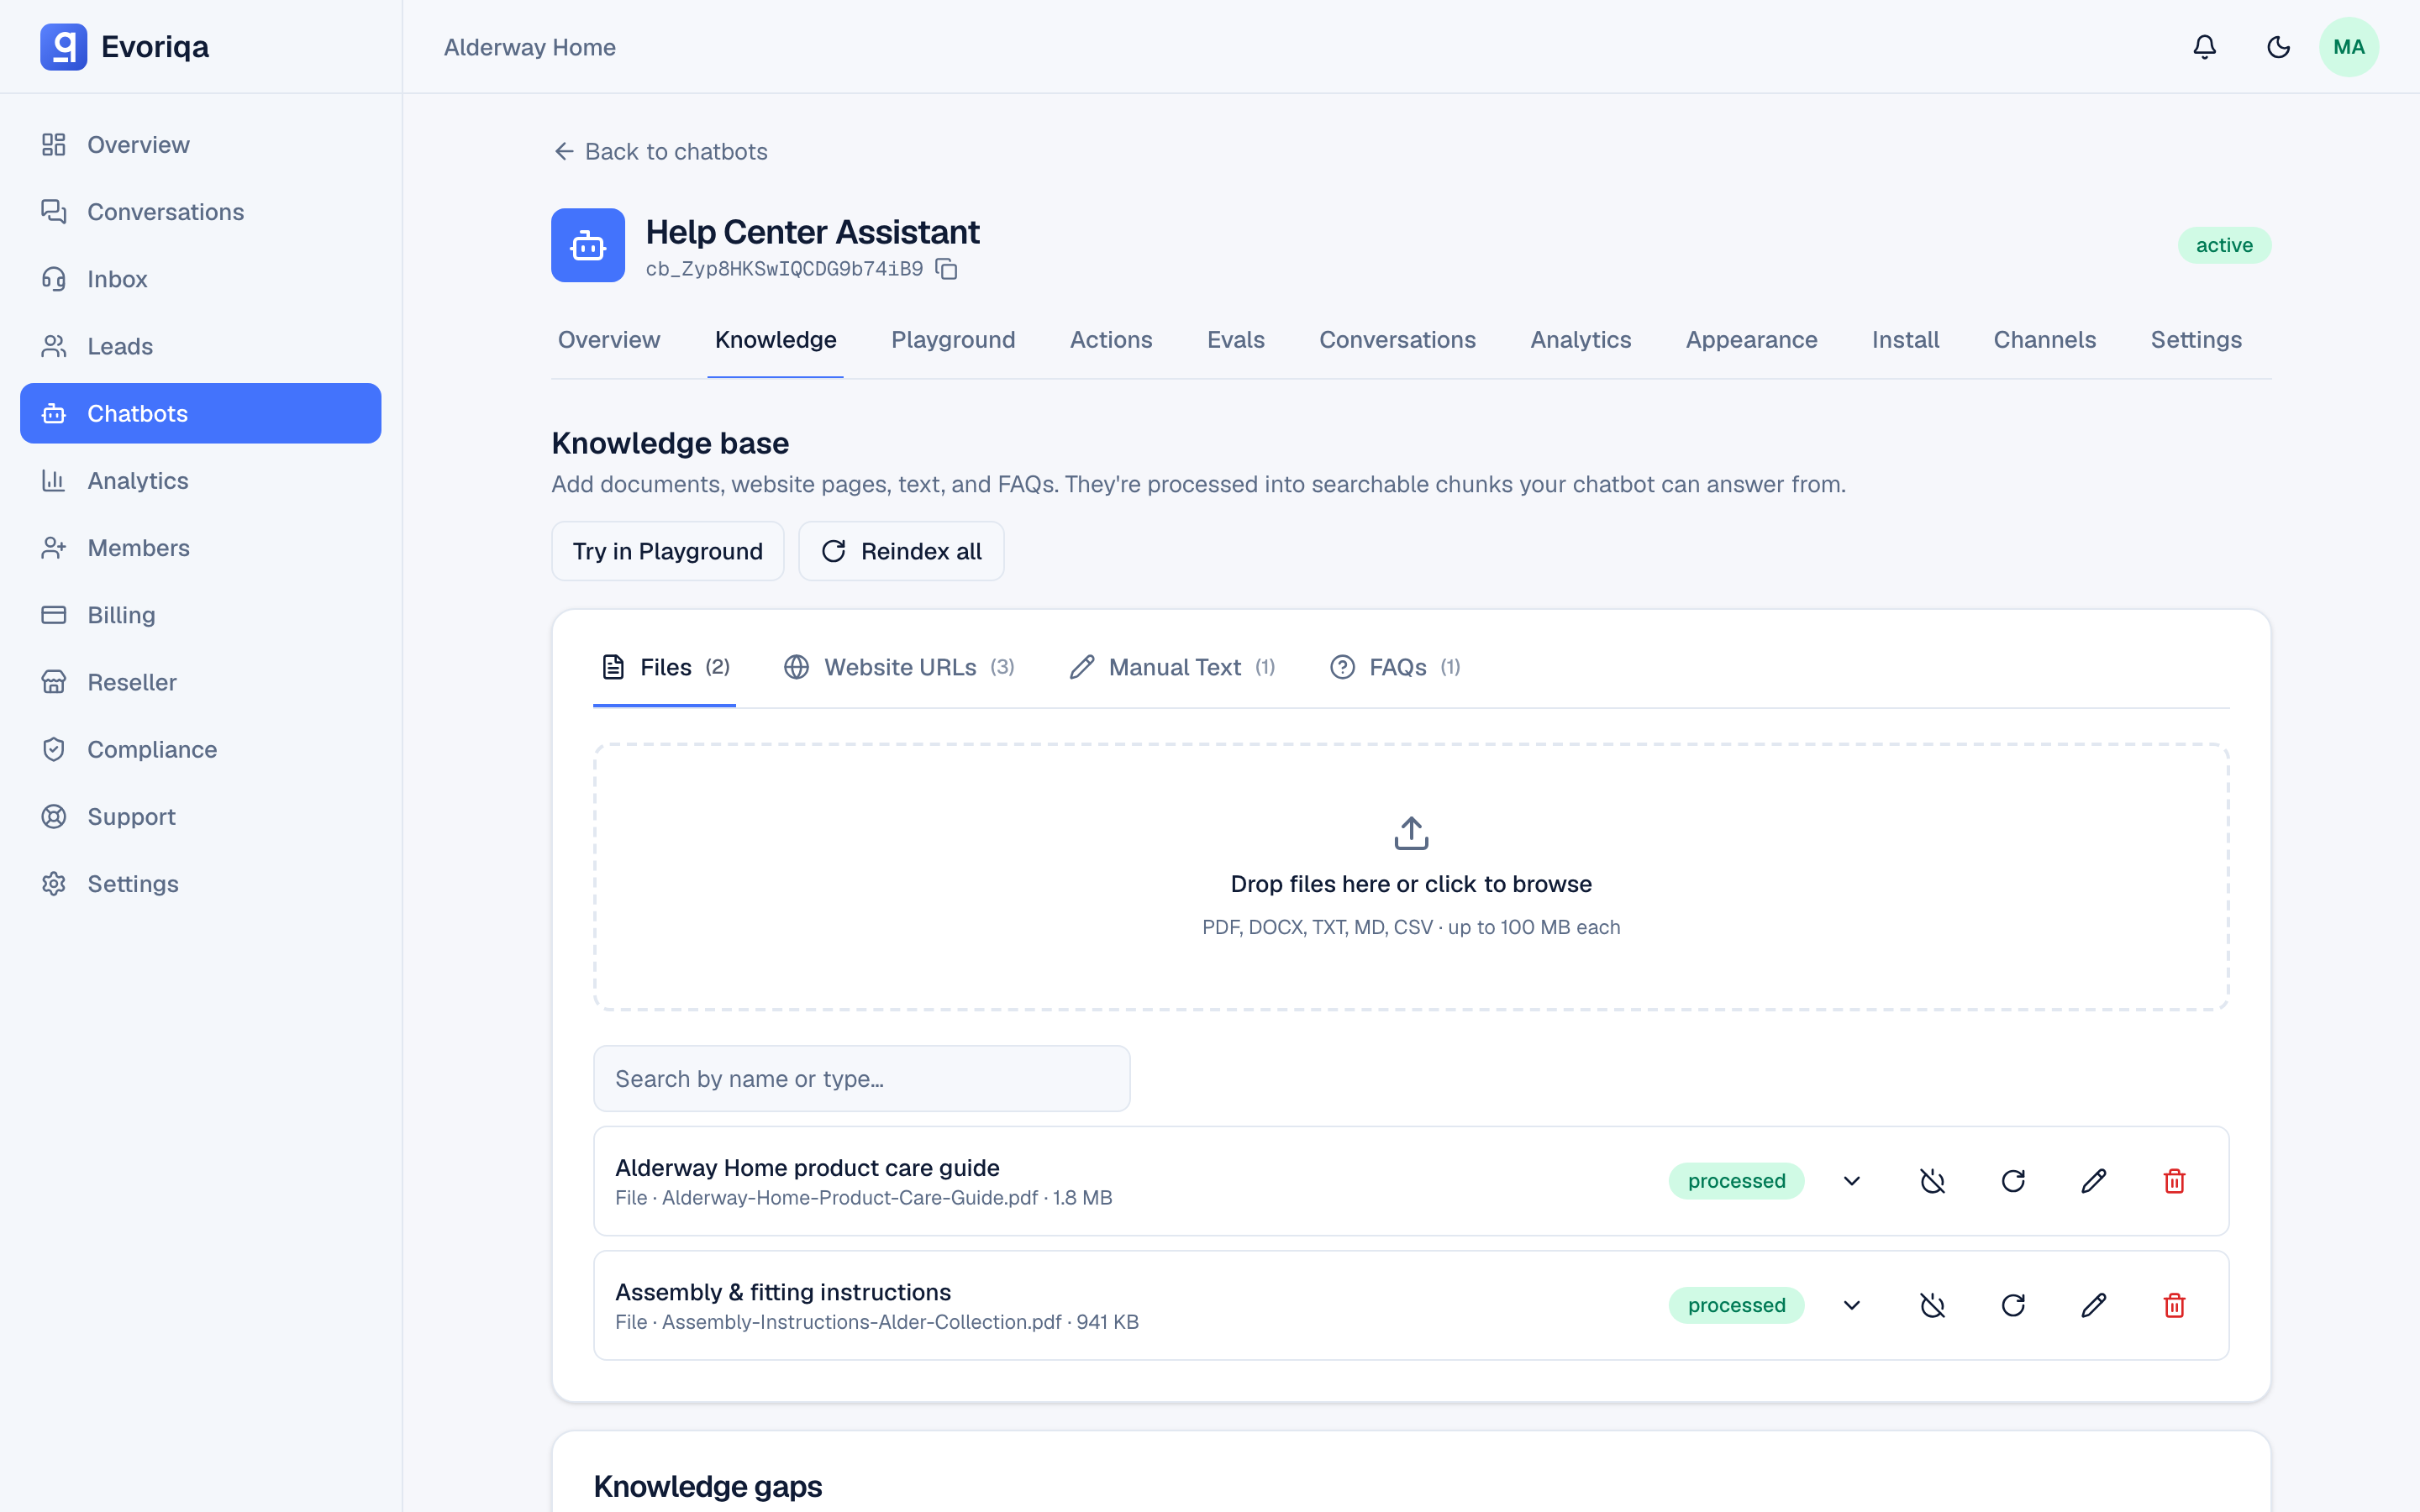
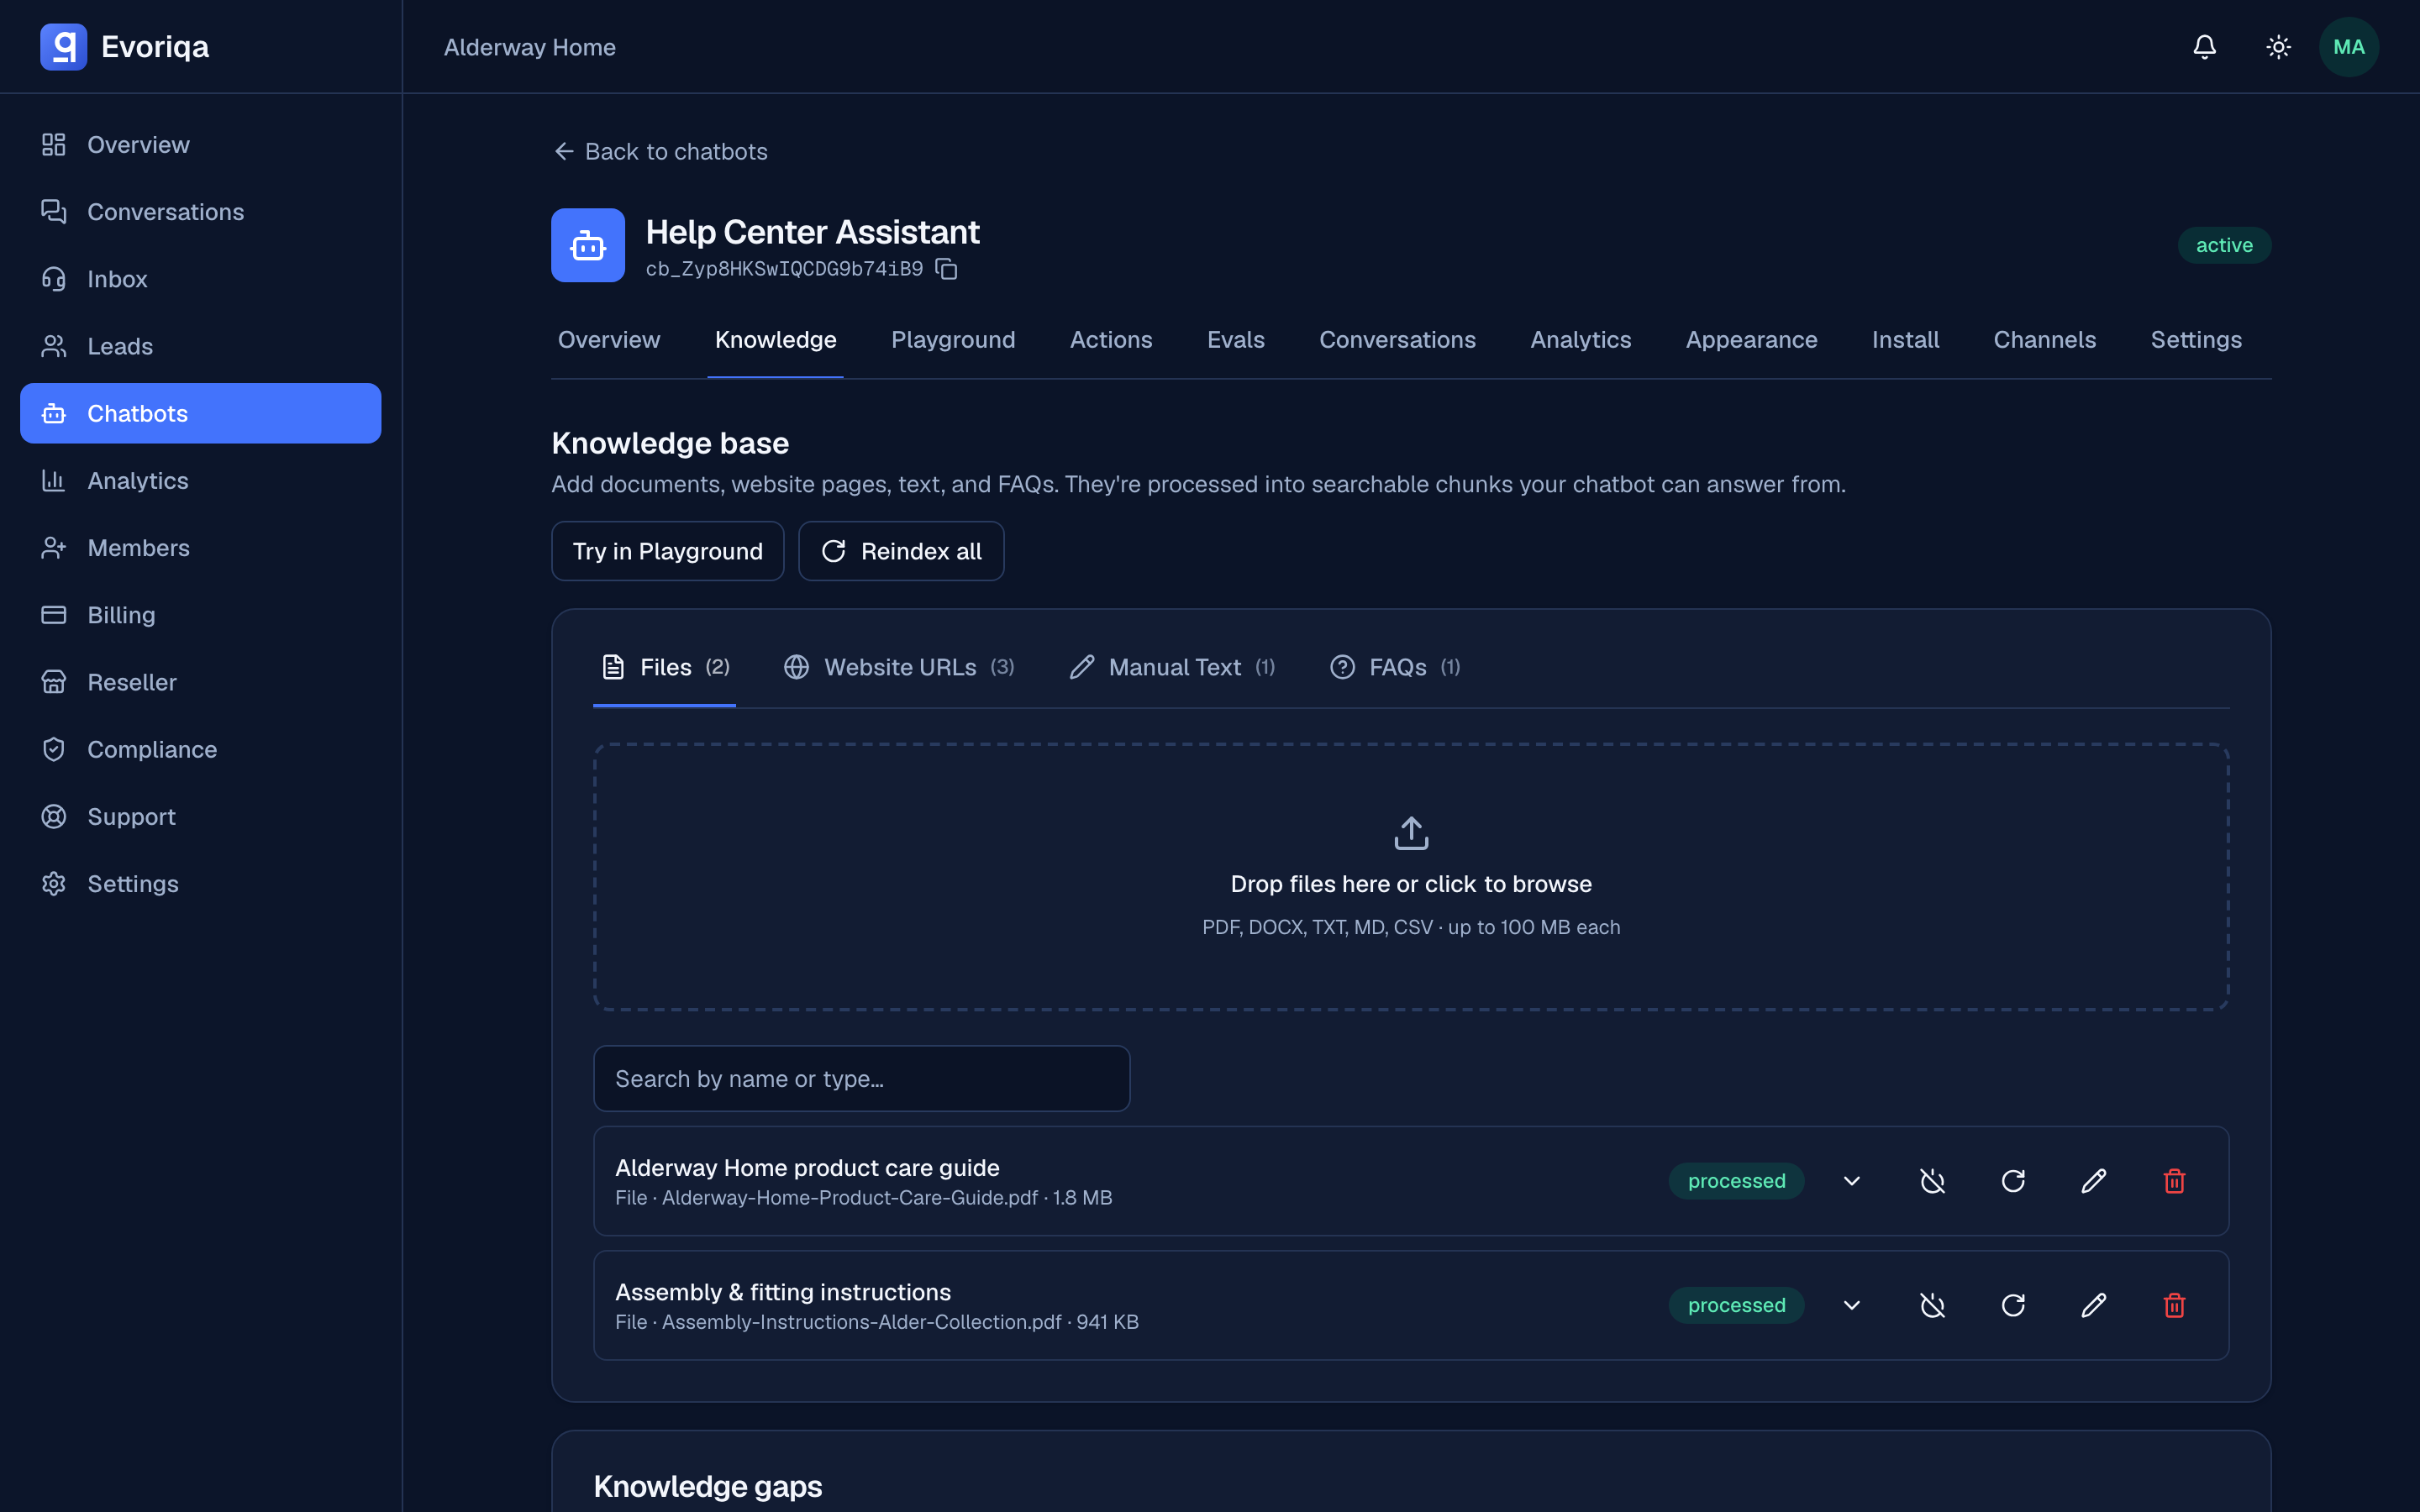
The source appears in the list with a status. Wait for it to reach ready.
Indexing runs on a background worker: every source is extracted, chunked, and embedded before it can be searched. "Processing" is a real state, not a spinner — a source you uploaded a second ago is not answerable yet. Large files and crawled URLs take longer, and failures are retried automatically.
3. Test it in the playground
Open the Playground and ask a question your source should answer. You should get a grounded answer, streamed back token by token.
Turn on Debug to see which chunks were retrieved, their similarity scores, the latency, the token usage, and the assembled prompt. That panel is the fastest way to tell an answer quality problem (the right chunk was retrieved and the reply was still poor) from a knowledge problem (the right chunk was never retrieved).
If the agent says it does not know, that is deliberate: answers are grounded in your knowledge base, and a deterministic fallback is returned rather than a guess. Add the missing content and try again.
4. Embed the widget
Open Install on the chatbot and copy the snippet. It looks like this, with your own chatbot's public ID:
<script
  src="https://app.evoriqa.com/widget.js"
  data-chatbot-id="cb_your_public_id"
  async
></script>import Script from "next/script";
export default function RootLayout({ children }) {
return (
<html>
<body>
{children}
<Script
src="https://app.evoriqa.com/widget.js"
data-chatbot-id="cb_your_public_id"
strategy="afterInteractive"
/>
</body>
</html>
);
}<!-- Paste before </body>, or use a headers-and-footers plugin. -->
<script
src="https://app.evoriqa.com/widget.js"
data-chatbot-id="cb_your_public_id"
async
></script>{% comment %} Online Store → Themes → Edit code → theme.liquid {% endcomment %}
<script
src="https://app.evoriqa.com/widget.js"
data-chatbot-id="cb_your_public_id"
async
></script>Paste it just before the closing </body> tag of every page the widget should appear on. Putting it in a shared layout or footer partial is the reliable way to do that.
On Webflow, Framer, Wix, Squarespace, Ghost, or through Google Tag Manager there is no file to edit — the same snippet goes in that platform's footer or end-of-body slot. Install the widget lists where each one keeps it, along with Nuxt and single-page apps.
Reload your site. You should see the chat bubble in the corner, rendered inside a Shadow DOM so your page's CSS and the widget's cannot affect each other.
A new chatbot is seeded with a * allowed-domain, so the widget runs anywhere until you lock it down. Before going live, replace * with your own domains — and if the bubble stops appearing after that, the allowlist is the first thing to check. See Domain allowlist.
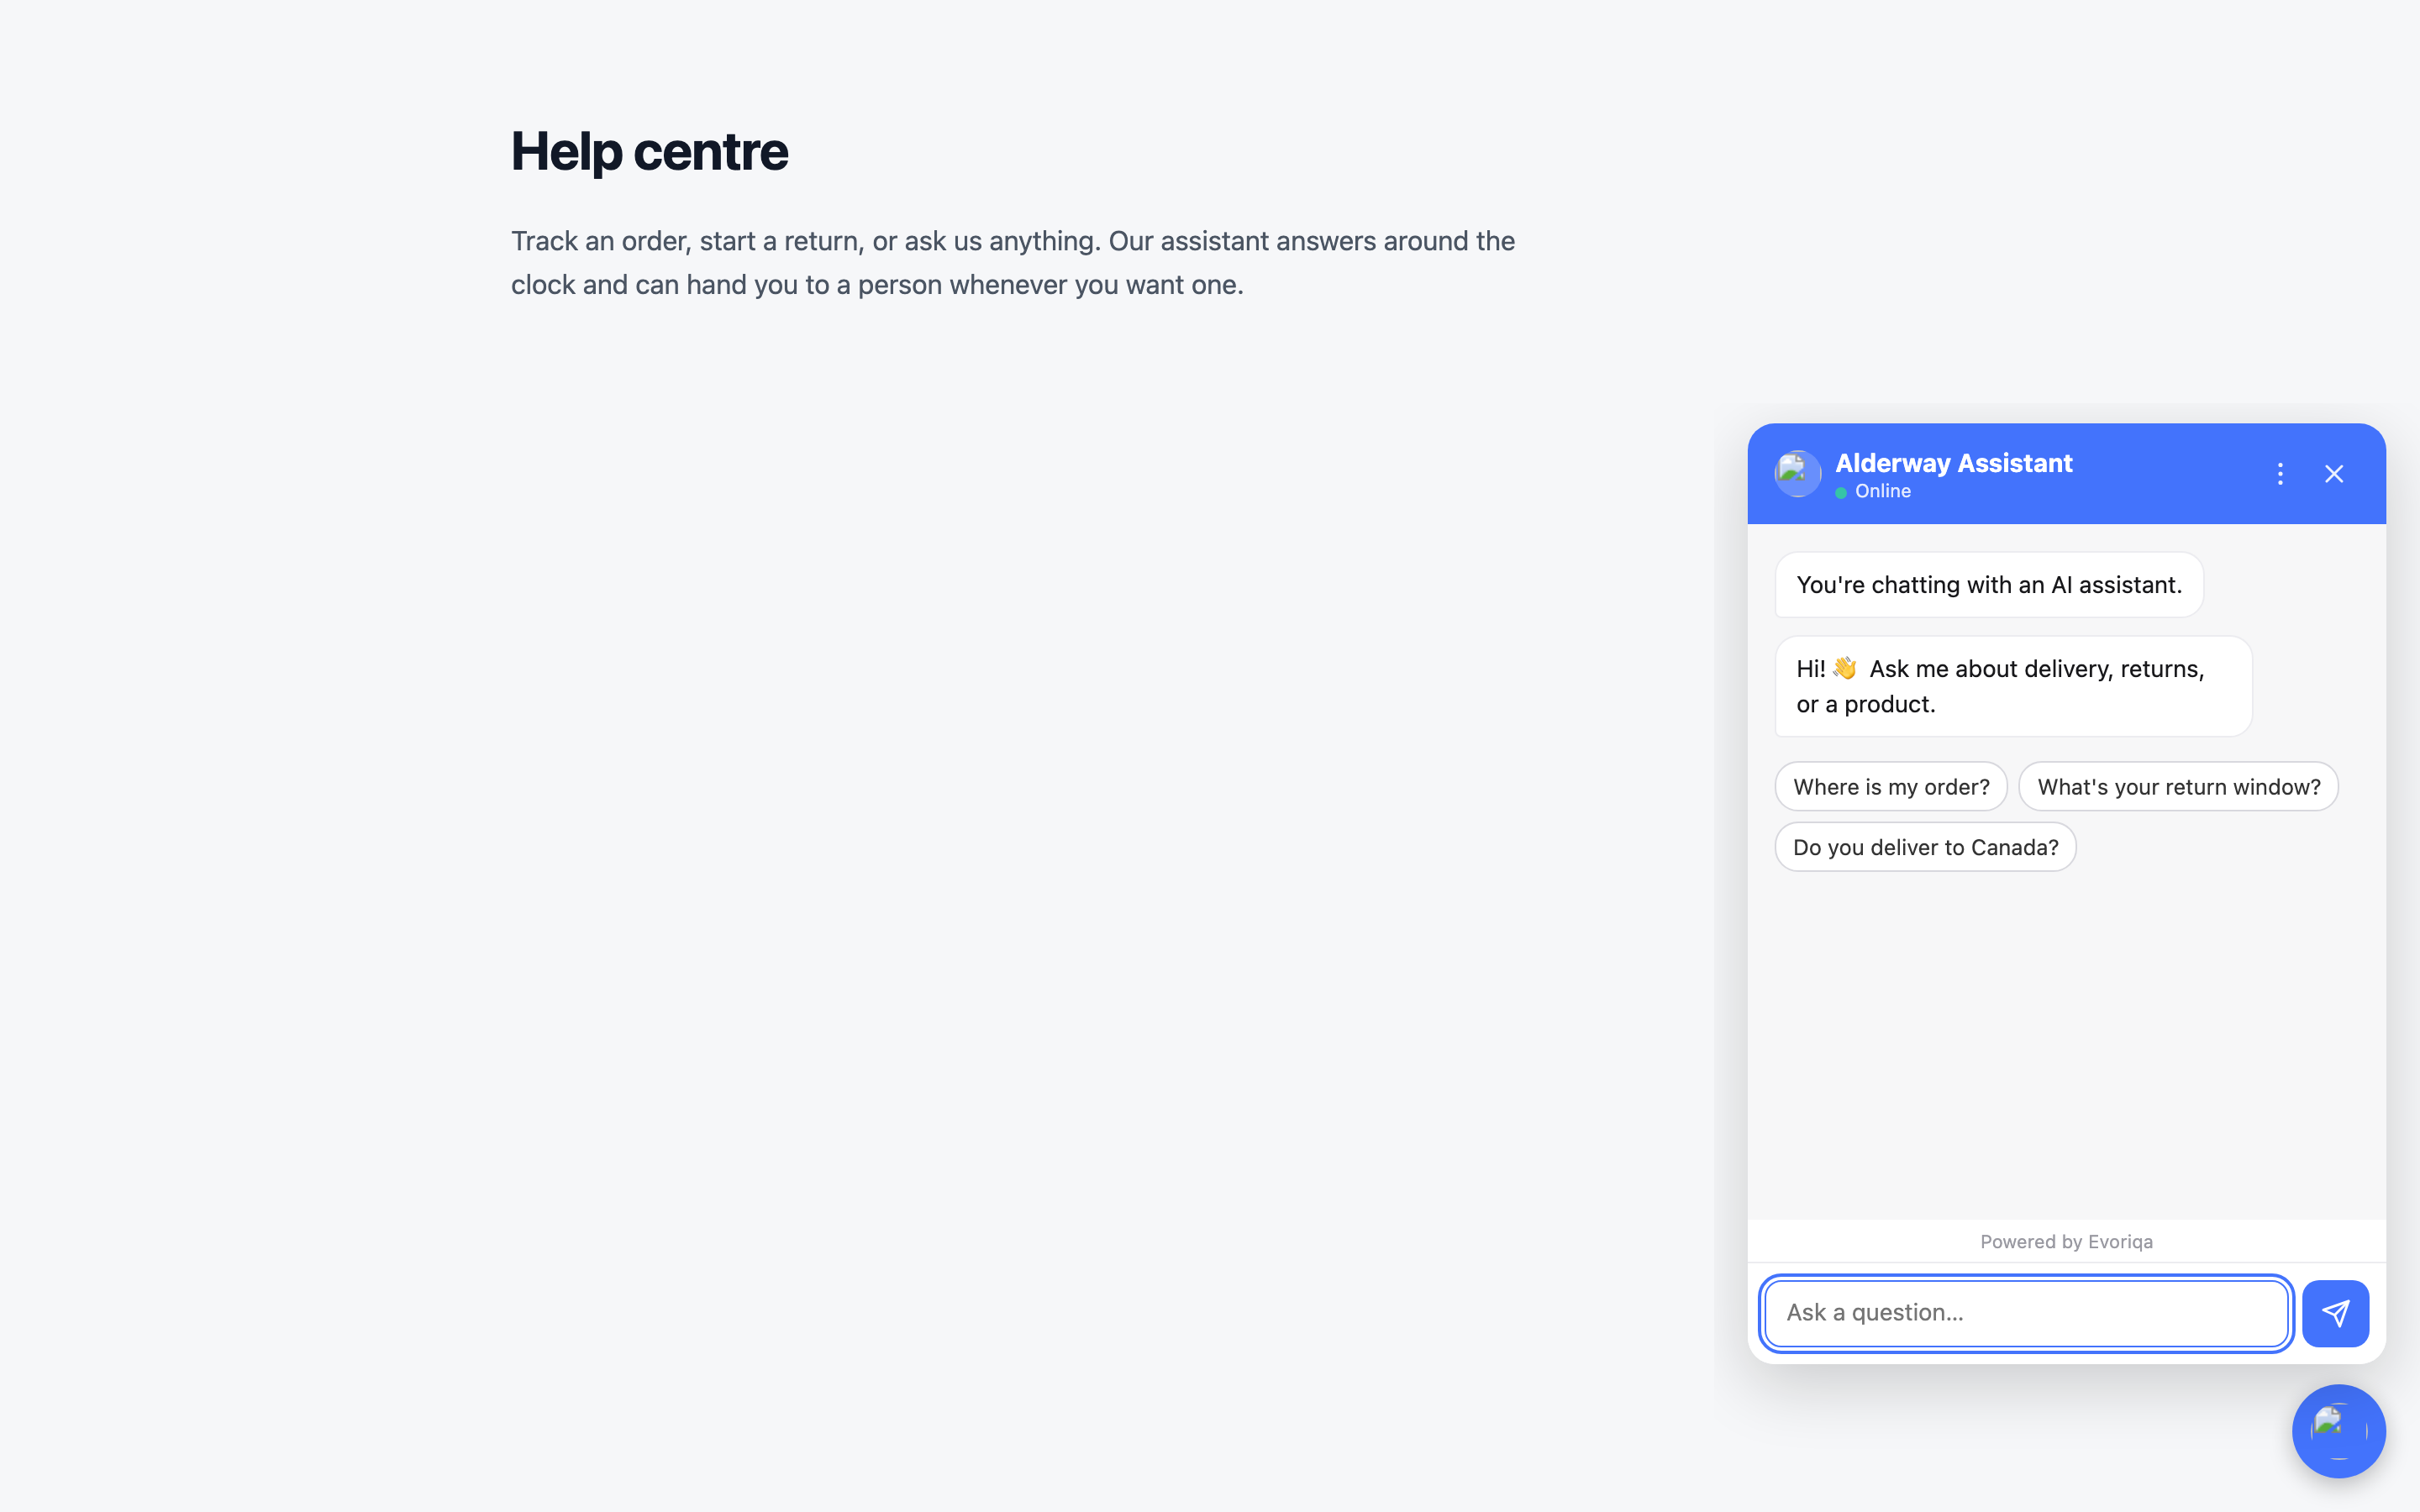
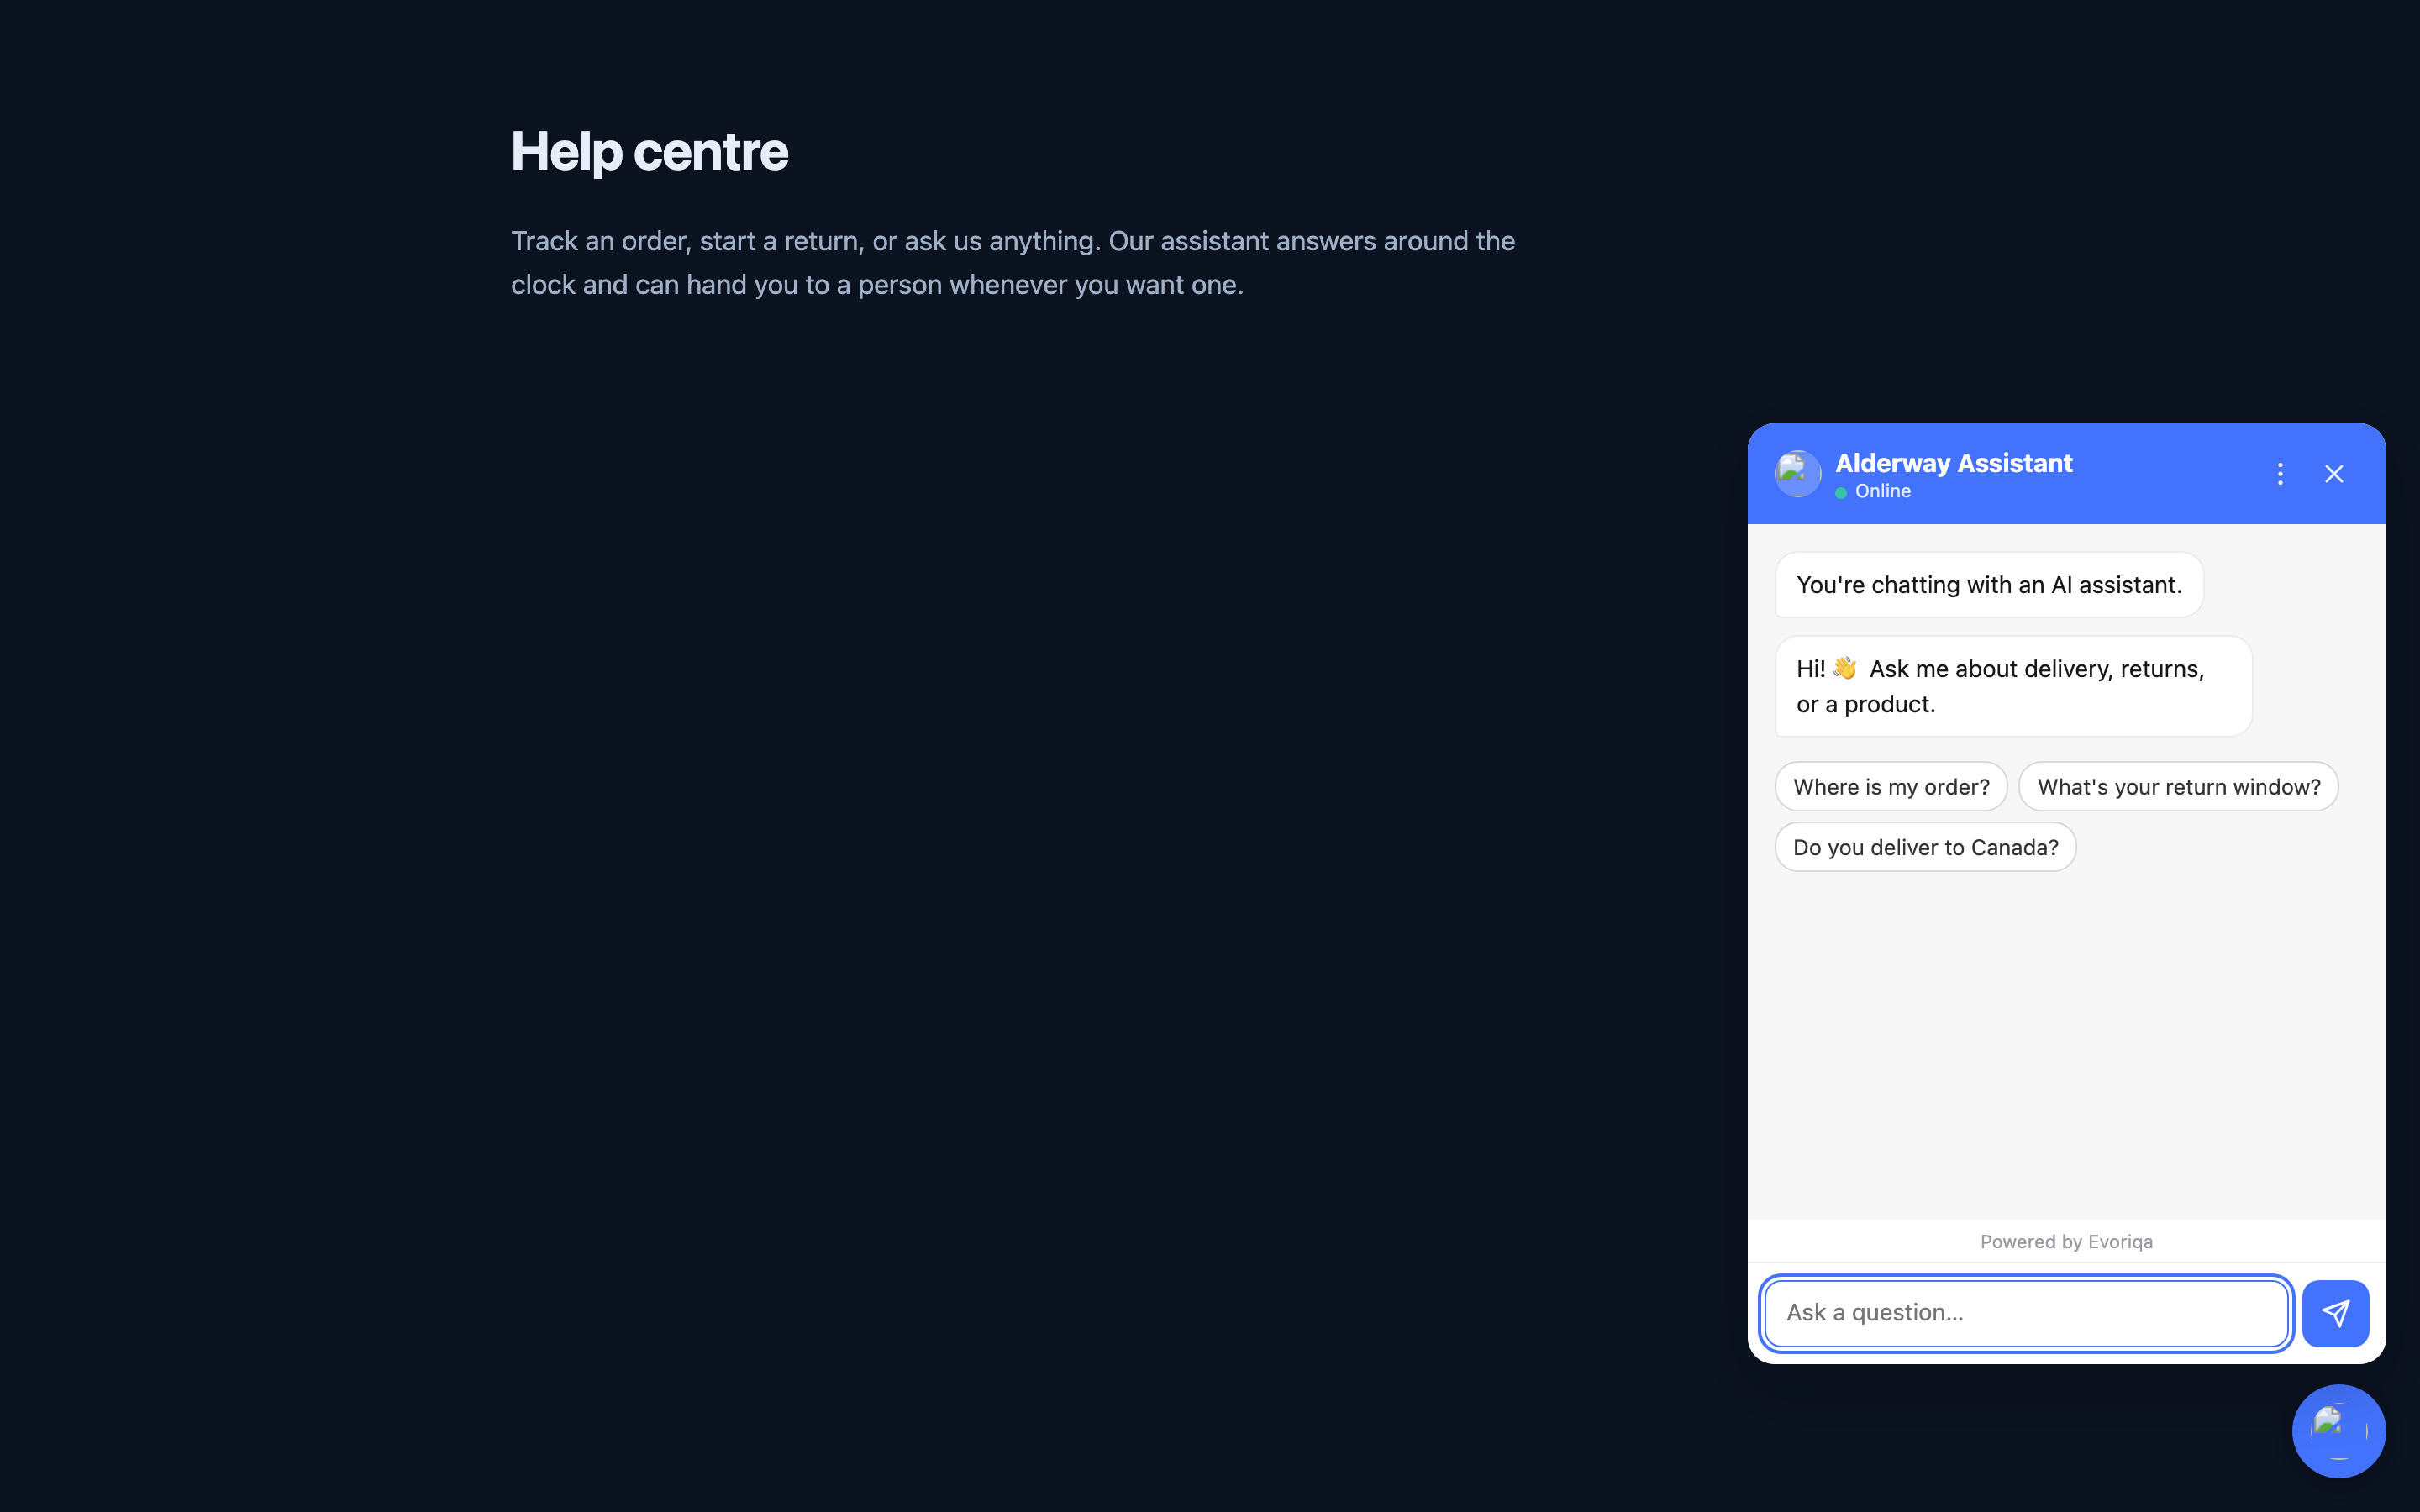
5. Watch the first conversation land
Send yourself a test message from the widget, then open Inbox in the dashboard. The conversation appears live — no refresh — tagged with the channel it arrived on.
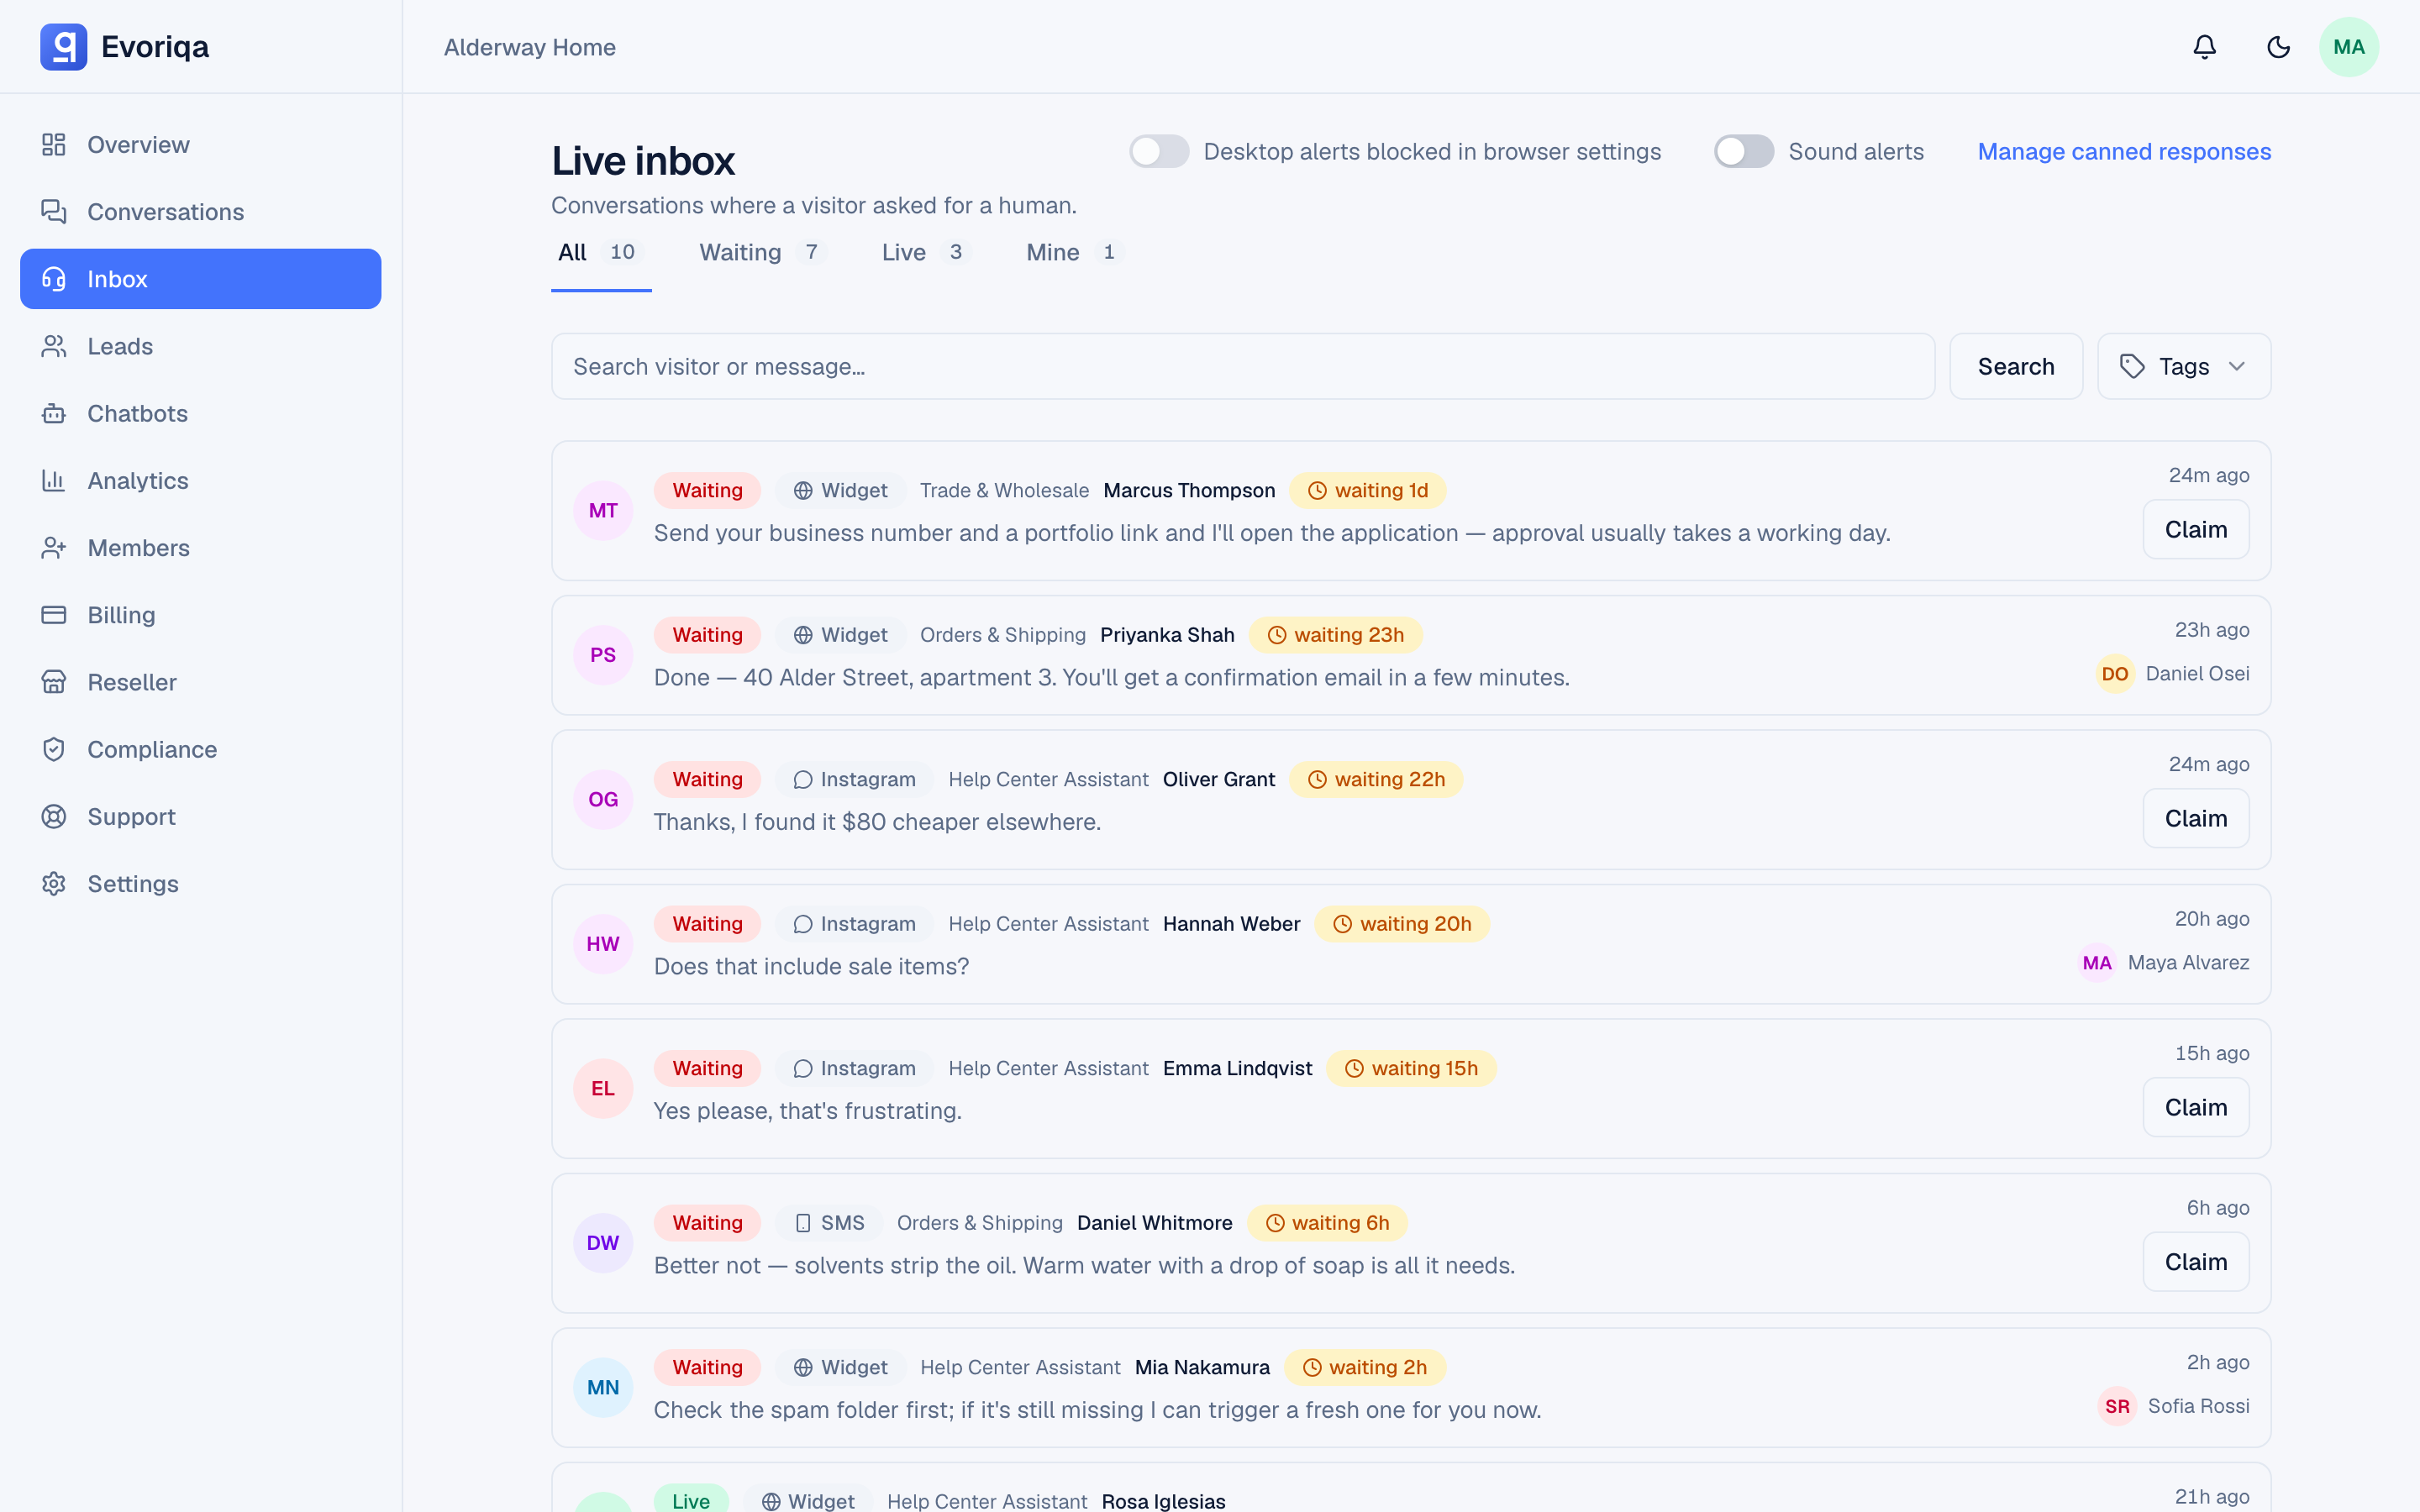
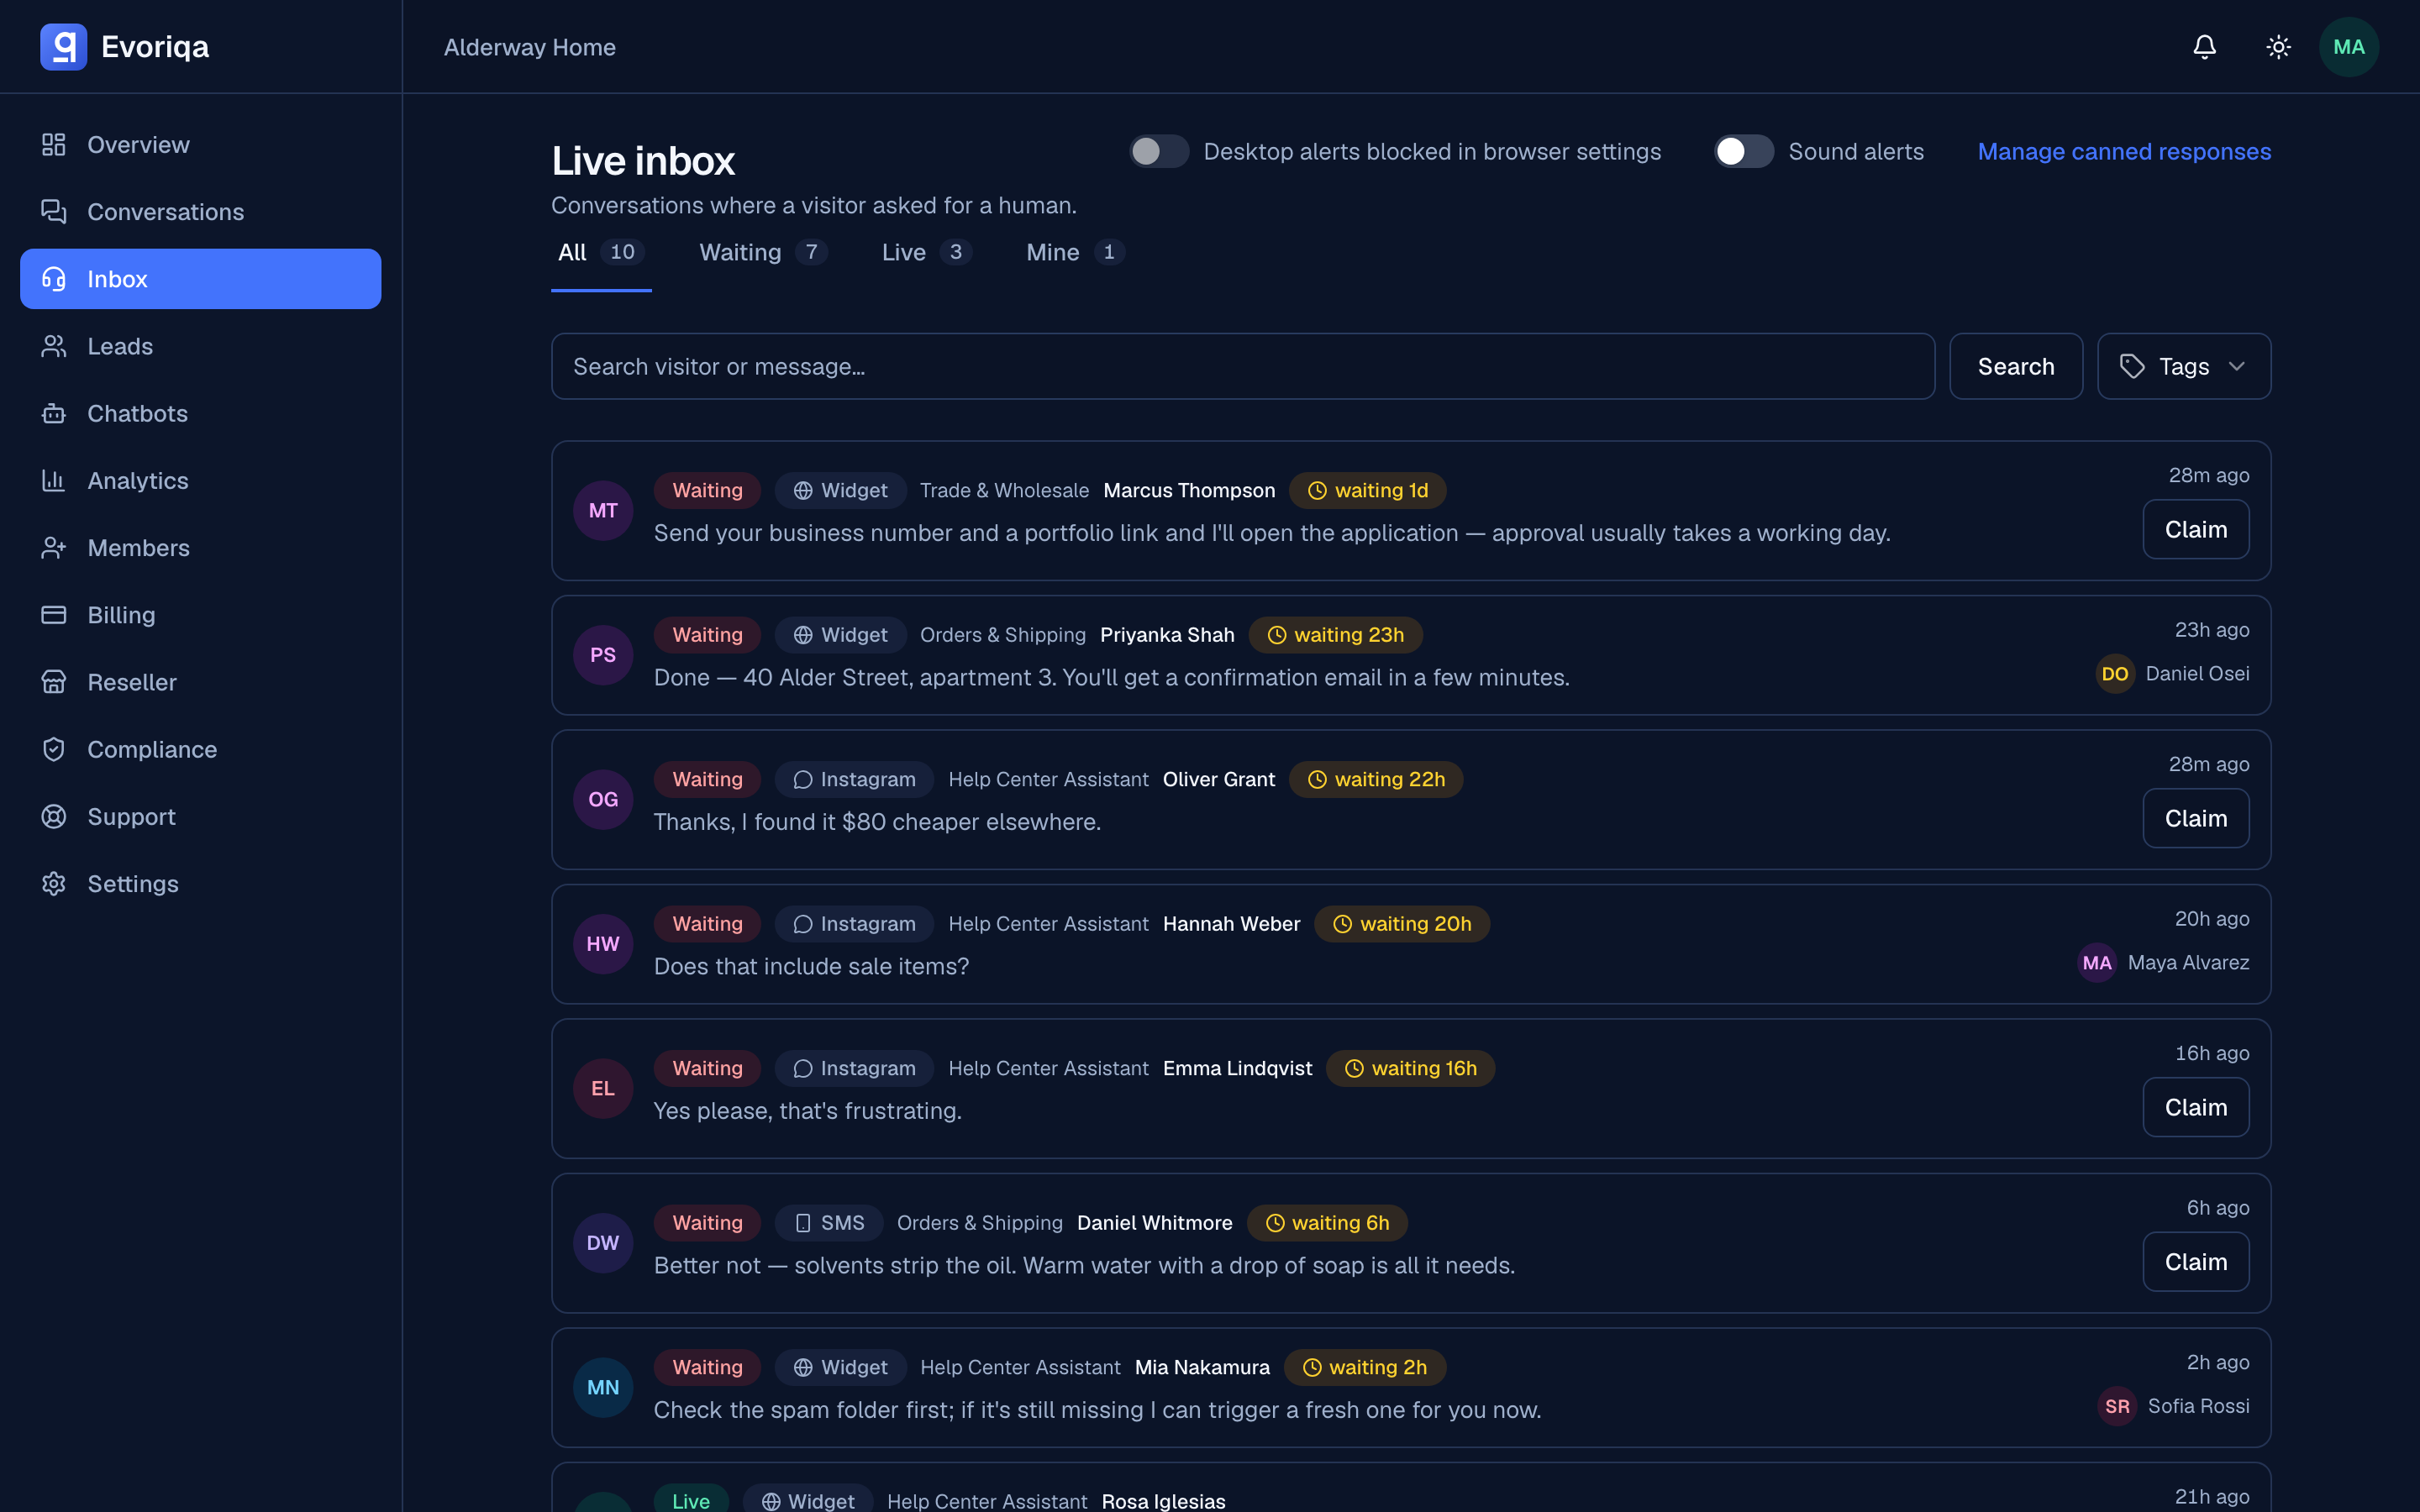
From there you can read the transcript, add an internal note, or claim the conversation and reply as a human. That is the full loop: your content in, an answer out, and a person able to step in at any point.
Where to go next
- Core concepts — the vocabulary the rest of the documentation assumes.
- Knowledge base overview — how the four source types differ and when to use each.
- Channels overview — connect the same agent to WhatsApp, Slack, SMS, email, and phone.
Last updated