Configuring an action
Enable and configure an action end to end: a worked order-lookup example, the three booking modes with per-provider guides, and how to test safely.
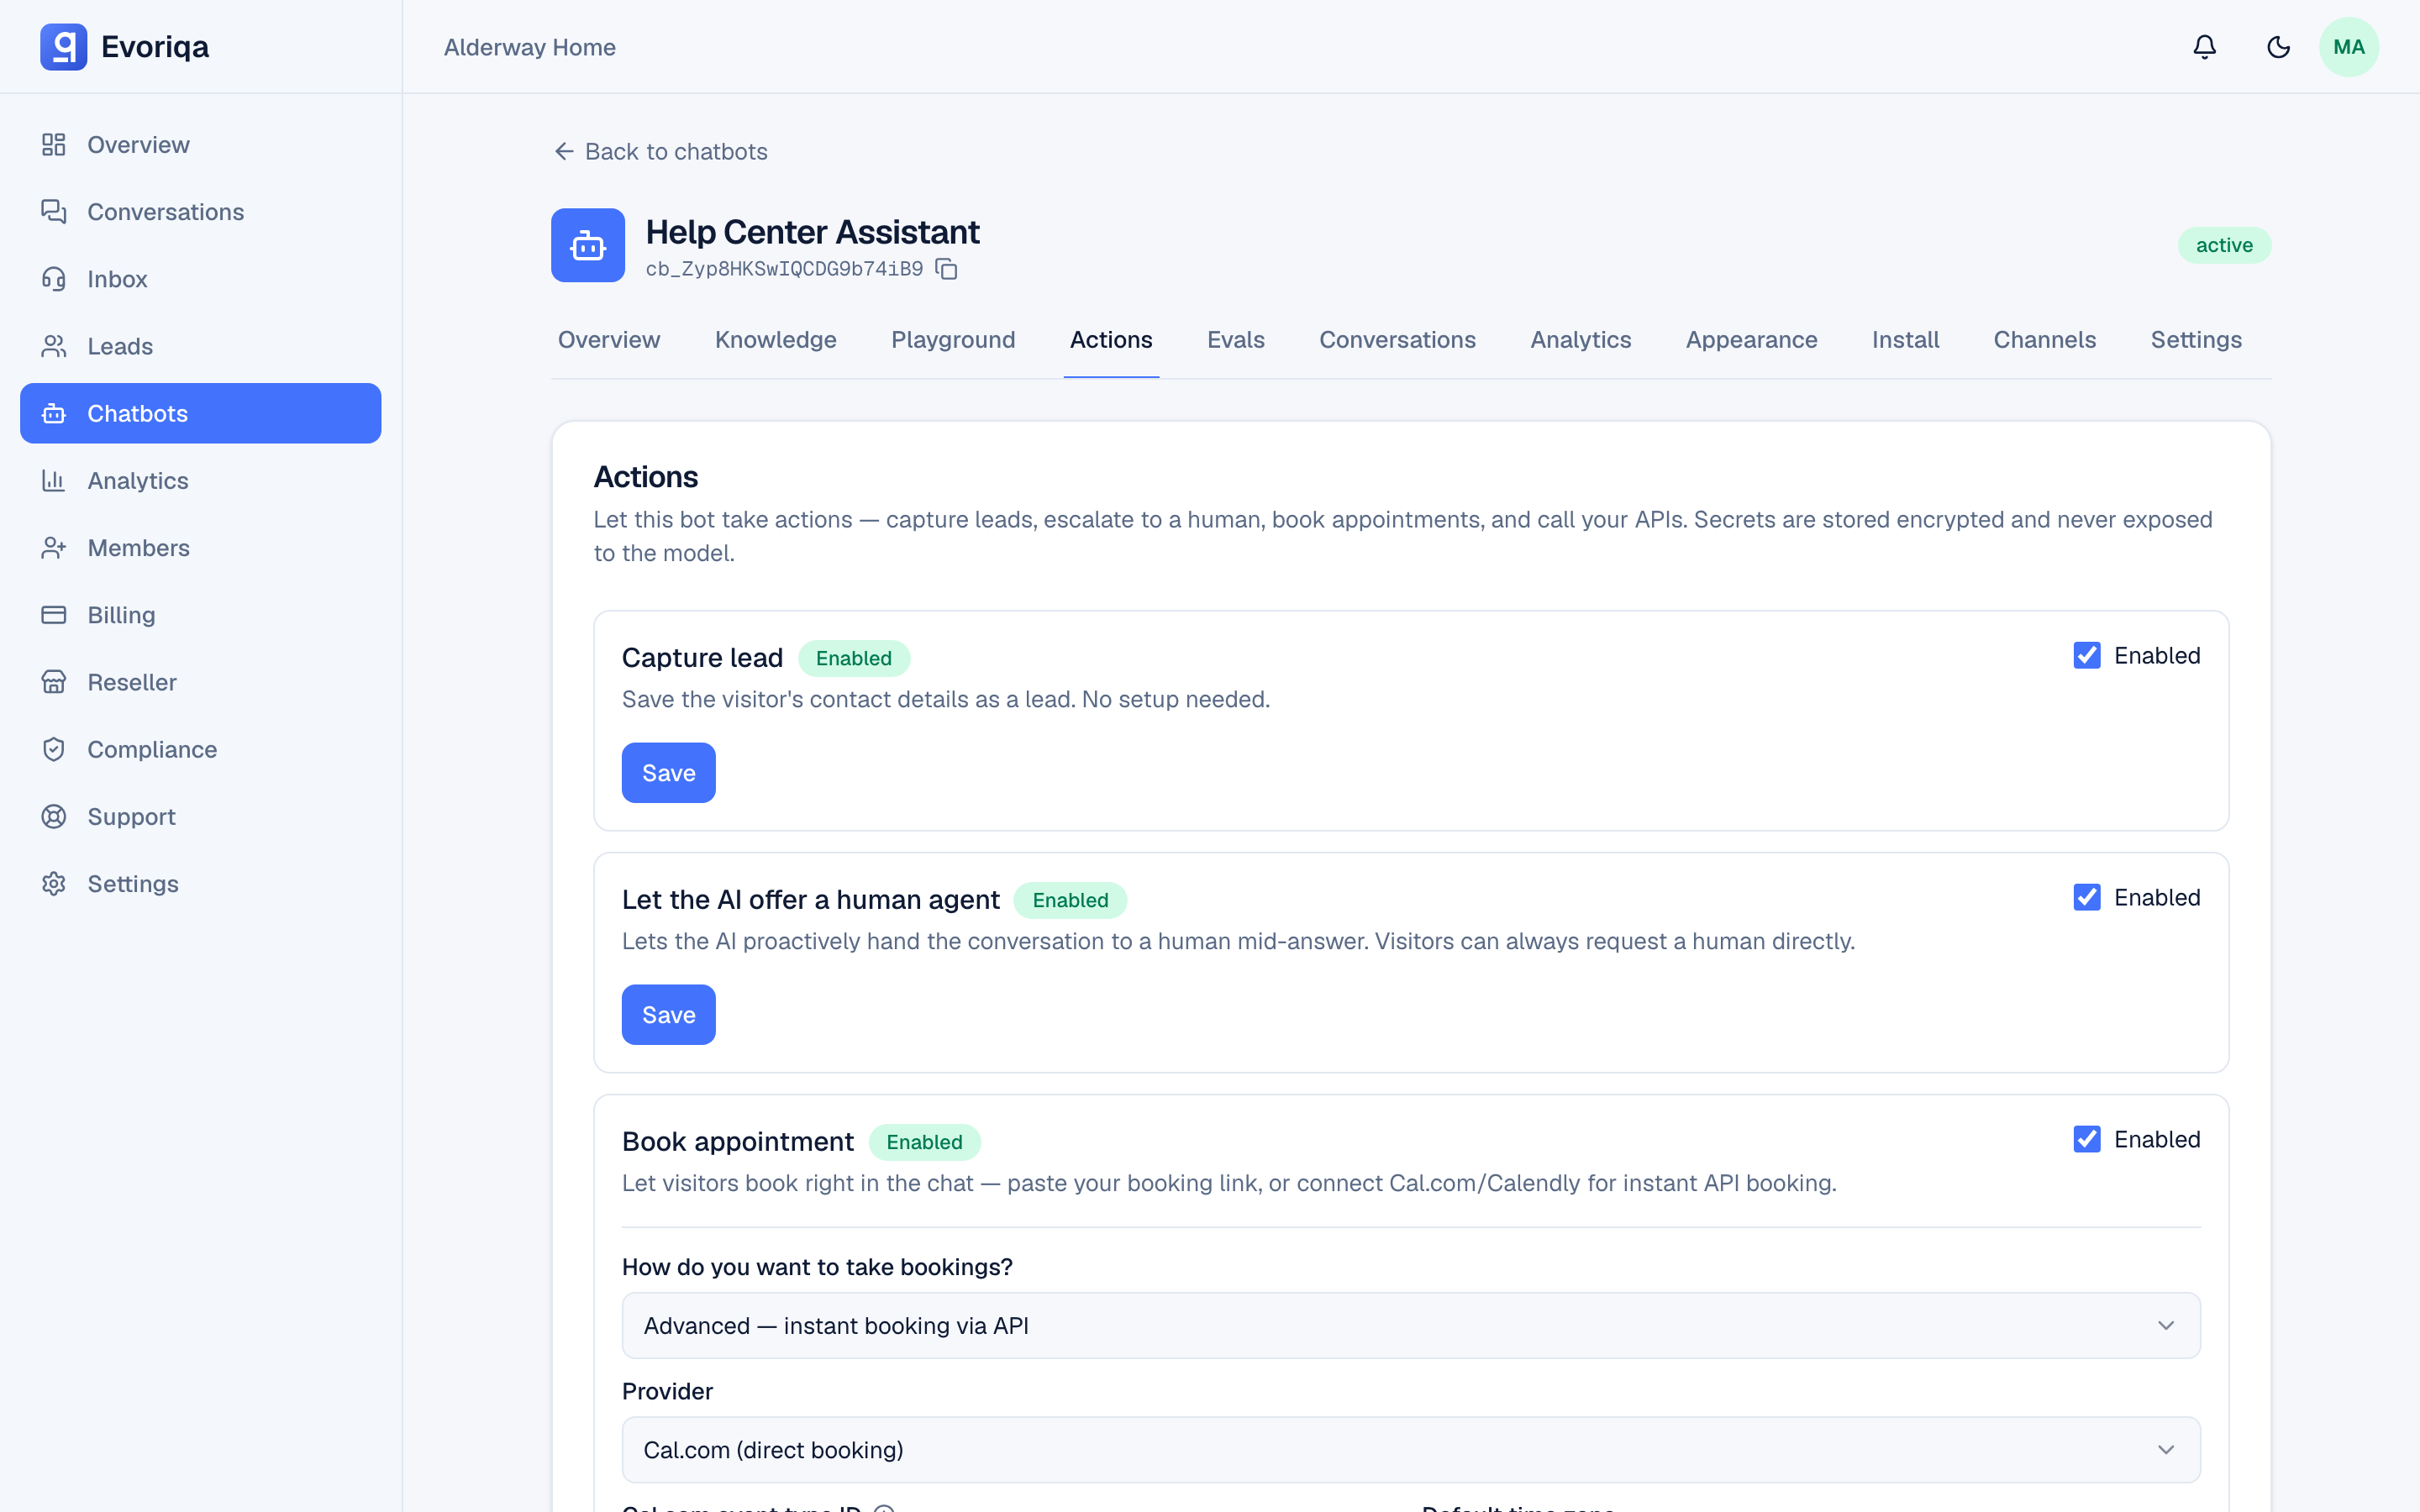
Open a chatbot and choose Actions. Each available action has a card: a toggle, and the configuration that action needs. Owners and admins only.
A worked example: order lookup
Suppose your shop exposes https://api.acme.com/orders?orderId=… behind a bearer token.
1. Store the token as a credential. Under Settings → Credentials, add a secret with a name you will reference — say acme-orders — and paste the token. It is encrypted at rest and never shown again. See Credentials.
2. Configure the action. On the chatbot's Actions tab, tick Enabled on Look up order and set its endpoint:
https://api.acme.com/orders?orderId={orderId}Reference the credential by name so the call is sent with an Authorization: Bearer … header. If your URL contains {orderId} it is substituted; otherwise the order id is appended as an orderId query parameter.
3. Tell the chatbot when to use it. Add a line to the system prompt:
When a customer asks about an order, ask for the order number and look it up
before answering.4. Test it in the playground. Ask "where is order 1234?" and watch the tool status chip. The agent should call the action and answer from the result.
Only a successful (2xx) response is given back to the model. An error response is not fed into the conversation — that keeps an upstream error page from leaking internal detail, or smuggling instructions, into the answer.
Configuring the other actions
- Capture lead — no endpoint. Works with your lead capture settings.
- Let the AI offer a human agent — no endpoint. Puts the conversation into the Inbox queue. Visitors can ask for a person whether or not this is on; what it adds is the AI offering first.
- Create ticket — a webhook URL. The agent posts subject, body, email, and priority along with the conversation id.
- HTTP action — a base URL, plus the hosts the call may reach.
GETorPOST, with an optional path under the configured base. The path cannot escape that host.
Book appointment has its own section below — it now offers three modes: a Simple mode (paste your booking-page link), a Connected mode (link your Calendly or Cal.com account in one click), and an Advanced mode (connect the provider API by hand), so it gets its own walkthrough.
Create ticket, HTTP action, and Advanced-mode booking each write to an external system, so the visitor confirms before any of them runs — see Actions overview. Simple and Connected mode booking are the exception: they open a calendar in the chat rather than firing a call, so there is nothing to confirm.
Book appointment
The first field is How do you want to take bookings? — booking has three modes:
- Simple — paste your booking link. Paste your public Calendly or Cal.com booking page and you are done. No API token, works on any provider plan (including free Calendly), and the visitor books inside a calendar embedded right in the chat. This is the default for a new setup and the simplest path.
- Connected — one-click account. Link your Calendly or Cal.com account once, then pick an event type from a dropdown. The visitor books inside the same in-chat calendar as Simple mode, but the agent can also read real open slots and offer them as tappable chips — with no token to paste and no URL to copy.
- Advanced — instant booking via API. Connect the provider's API with a token so the agent books directly in the conversation, reads real open slots, and confirms each booking. The most setup; needed for a scheduling webhook or fully in-chat direct booking.
All three modes support Cal.com and Calendly; Advanced also offers a scheduling webhook. Each provider has its own setup walkthrough and troubleshooting guide — this page covers what the modes share:
- Booking with Calendly — OAuth connect, personal access tokens, event type URIs, meeting locations, custom questions, free-plan behavior.
- Booking with Cal.com — API keys, event type IDs, direct confirmed bookings.
Simple mode: paste your booking page
Pick Simple — paste your booking link, then paste your public booking-page URL into Your booking page link — the same link you would send anyone, such as https://calendly.com/you/intro-call or https://cal.com/you/30min. The provider is detected from the link (the field confirms ✓ Calendly link or ✓ Cal.com link as you type).
- It must be an
httpslink on the provider's own host —calendly.com(or a subdomain) orcal.com/app.cal.com. A bare domain with no booking path is rejected. - No token, no event-type ID, nothing to verify. Saving makes no call to the provider, so it works on any plan — including a free Calendly account.
What the visitor sees. When the conversation reaches a booking, the provider's real calendar renders inline in the chat — an iframe, with no third-party scripts — and an Open in a new tab ↗ link always sits beneath it. The visitor picks a time and enters their name and email right there: the agent does not ask for those first, the calendar collects them. When they finish, the card flips to a Booked confirmation, and the completion is recorded in the action-run log. If the calendar cannot load (rare — some booking pages disallow embedding), the card swaps to a Pick a time ↗ button after a few seconds so the visitor is never stuck.
Because nothing fires from the chat side — the booking happens inside the provider's own page — there is no confirm-before-run step for showing the calendar, and Simple mode does not use the availability slot chips (get_appointment_slots); real availability lives inside the embedded calendar.
Simple mode needs a visual surface. On messaging channels (WhatsApp, SMS, and the social messengers) there is no calendar to embed, so the agent shares your booking link as a plain URL instead. On voice even a link is useless — the agent never mentions one; it promises a scheduling callback, collects the caller's name, email (read back aloud), and preferred time, and the conversation lands in the inbox flagged needs_human when the call ends. See Booking on a call.
Connected mode: one-click account
Connected mode links your scheduling account to the whole workspace once, so any chatbot can book against it without a per-action token. Pick Connected — one-click account and two panels appear:
- Calendly — click Connect Calendly (OAuth, no API key to copy) — see Booking with Calendly.
- Cal.com — paste a Cal.com API key and click Connect — see Booking with Cal.com.
Once a provider is connected, an Event type dropdown lists that account's event types by name and duration. Pick one and its public booking page seeds the in-chat calendar — the field confirms ✓ Booking page: …. If you have both providers connected, a Which calendar should visitors book? dropdown chooses between them first.
Saving stores an in-chat calendar (embed) config, exactly like Simple mode: the visitor books inside the provider's real calendar framed in the chat, and there is nothing to confirm from the chat side. What Connected adds over Simple is live availability — the agent can read real open slots and offer them as tappable chips, and tapping one opens the embedded calendar already targeted at that time (see Timezones and availability).
Both Simple and Connected mode also expose a Show "Book a meeting" button in the widget checkbox. Leave it on (the default) and the widget shows a persistent Book a meeting chip so visitors can open the calendar even if the AI never offers it; untick it to hide the chip and let the AI surface booking on its own.
Disconnecting is workspace-wide. The Calendly or Cal.com connection is shared across every chatbot in the workspace, so disconnecting it stops live availability for all booking actions that use it — not just this one. The dashboard asks you to confirm first.
Advanced mode: connect the provider API
Advanced mode books directly in the conversation. Pick a Provider first; the choice decides which fields appear and how a booking is completed:
| Provider | Dropdown label | How a booking completes |
|---|---|---|
| Cal.com | Cal.com (direct booking) | Creates a confirmed booking directly via the Cal.com API. |
| Calendly | Calendly (scheduling link) | Books the invitee directly, with a scheduling-link fallback (below). |
| Scheduling webhook | Scheduling webhook | POSTs the booking details to an endpoint you host. |
In Advanced mode the agent asks the visitor for a name, email, and time before it books — a request missing any of those is rejected rather than sent half-formed — and reads the booking back for the visitor to confirm before it fires. If the event type has required intake questions — Calendly custom questions or Cal.com booking questions — the agent asks the visitor those too, including a multiple-choice question's options, before the booking is proposed.
Advanced bookings can also be made changeable by the customer: an opt-in Let customers cancel or reschedule switch. See it on the Cal.com and Calendly pages.
Provider setup lives on the provider pages:
- Booking with Calendly — personal access token + event type URI, meeting-location and custom-question handling, the free-plan scheduling-link fallback, troubleshooting.
- Booking with Cal.com — API key + event type ID, direct confirmed bookings, troubleshooting.
Both providers have a Load event types button: paste the token, save, click it, and pick your event type from a dropdown instead of hunting IDs or URIs out of URLs.
Phone numbers
Booking never asks for a phone number, but if the visitor volunteers one in full international format (a leading + and country code, e.g. +14155550123) it is passed through — as the attendee's phone on Cal.com, and as the SMS reminder number on Calendly. A local or malformed number is silently skipped; it never blocks the booking.
Timezones and availability
On both Cal.com and Calendly the agent can read real open slots before it proposes a time — in Advanced and Connected mode alike. On the widget those slots appear as tappable chips, rendered in the visitor's own browser timezone, which the widget captures automatically and never asks for. The difference is what a tap does: in Advanced mode it books that slot directly through the API; in Connected mode it opens the embedded calendar pre-targeted at that slot for the visitor to confirm on the provider's own page. Simple mode has no slot chips — availability lives inside the embedded calendar.
Channels that have no browser to report a timezone — WhatsApp and voice — fall back to the action's Default time zone (the Cal.com field), and to UTC if that is unset. The bot names the timezone out loud when it proposes a time so there is no ambiguity.
Honest confirmations
The bot only says "Done — you're all set." when the provider actually confirmed the booking. If the slot was taken it offers other times; if a detail was invalid it asks the visitor to re-check it; and on a hard failure it gives a friendly message and the widget opens the contact form automatically, so the visitor is never left stuck.
That line and the failure messages beside it are fixed framework replies rather than model output, and they exist in all 32 supported languages. A chatbot with a pinned language always uses it; one that mirrors its visitors follows the language of the visitor's own confirmation. See Languages.
Saving is verified
When you save an enabled Advanced booking action on Cal.com or Calendly, the configuration is checked before it goes live:
- 1Shape — a Cal.com event type ID must be a positive integer; a Calendly URI must be an
httpsapi.calendly.comevent-type URI. A bad shape is rejected with an actionable message. - 2Live check — the saved token and event type are verified against the provider. A definitive rejection (the token is refused, or the event type does not exist) blocks the save with a
422that tells you which.
If the provider simply cannot be reached at save time, the save succeeds and the dashboard shows a warning — you may be configuring while the provider is down, so a transient outage never blocks you.
Simple mode and the Scheduling webhook provider skip the live check. Simple mode has no token or event type to verify — a booking-page link is checked for shape only (https, on the provider's host) and saved. The webhook provider just POSTs the booking details to your endpoint, exactly like Create ticket.
Testing safely
- 1Point the action at a staging endpoint first.
- 2Check the Recent runs panel on the chatbot's Actions page to confirm what actually happened: each run shows the time, action, status, latency, and — on a failure — the provider's real error message, with filters and pagination.
- 3Only then switch the URL to production.
An enabled write action is live for real visitors on every channel that chatbot serves. Enable it when the endpoint on the other end is ready to receive real requests, not while you are still building it.
Where to go next
Last updated